I will preface this page with a disclaimer. The modification performed in the content covered in this page should not be duplicated without first considering the danger and safety risks included. The intentions of this project was to add an extra seat to my vehicle for special family trips to accommodate my large family. If you modify your vehicle in this manner you do so at your own risk. I do not accept any responsibility for bodily injury or death by any persons attempting to duplicate my results.
With that said….
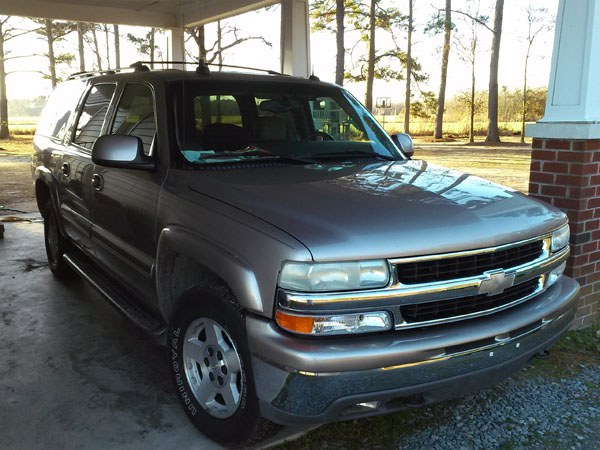
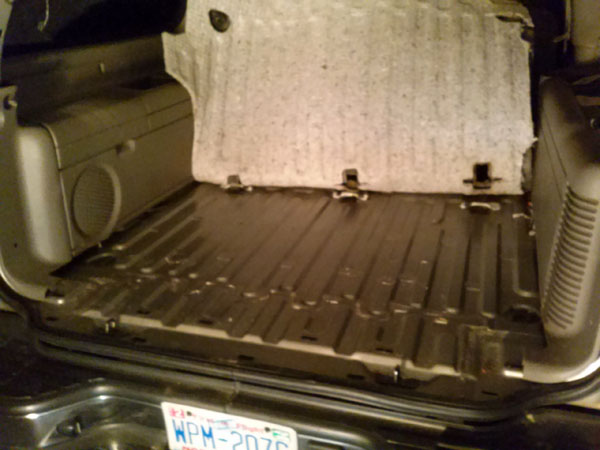
Like any large family one of the biggest necessity’s is a SUV or van to get around in. Until the birth of our 7th child we enjoyed our 8 passenger 2003 suburban and wouldn’t dream of letting it go. My oldest child is driving now, so that is good. Getting our family to a gathering means driving two vehicles, which is bad. On gas that is. Our suburban is paid off, so I started thinking about the options for additional seating. There are companies that sell aftermarket “little” seats, but they didn’t look factory in my opinion. Then I did a google search for additional seats in a suburban and found a video where a guy installed 3rd row seating from another suburban into the cargo area of his suburban. The execution of the install was a “best effort” and I applaud him for sharing his work, but I wanted something that should have come from the factory. Here is what I started with.
The video that inspired this project used a 3rd row bench seat, but I wanted something more flexible. After quite a bit of research I came to the conclusion that the 3rd row seating from a Yukon or Tahoe would be best. They came with a twin bucket configuration. With one section in you had one seat, but with both sections in you had three seats. Next I discovered that the 3rd row seating brackets mounted on a flat floor. DING DING, we have a winner. The hunt was on and I made a trip to the local pull it yourself yard. As luck would have it they had exactly what I wanted, but the interior was the wrong color. Since the seats themselves were available on craigslist I opted to get the brackets only. Next up with the seats and again I was blessed with good fortune. An ad on craigslist netted me the perfect seats. They were correct in color and interior pattern. By now I was excited and this is what followed….
I apologize for the dark pictures, but the project was done late in the evening outside.
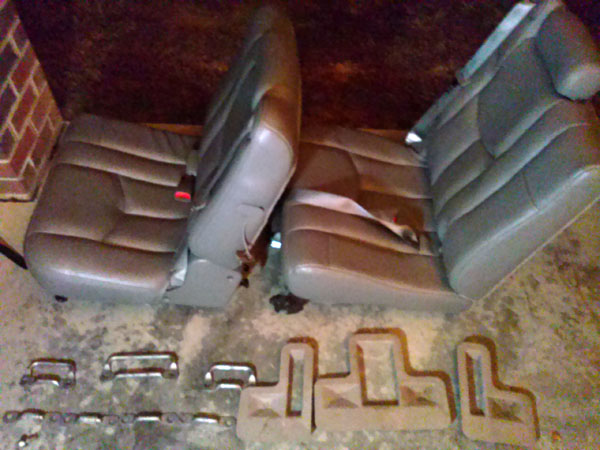
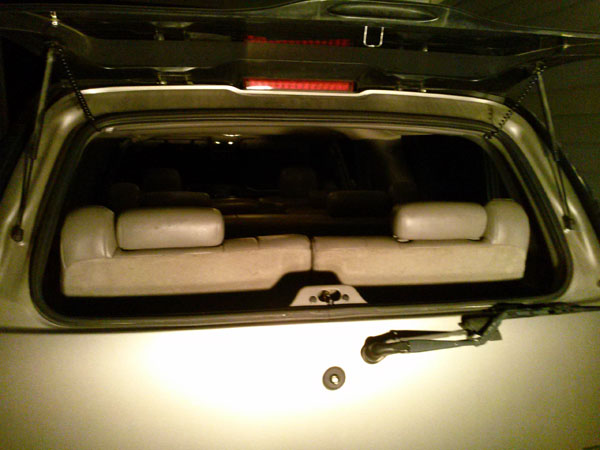
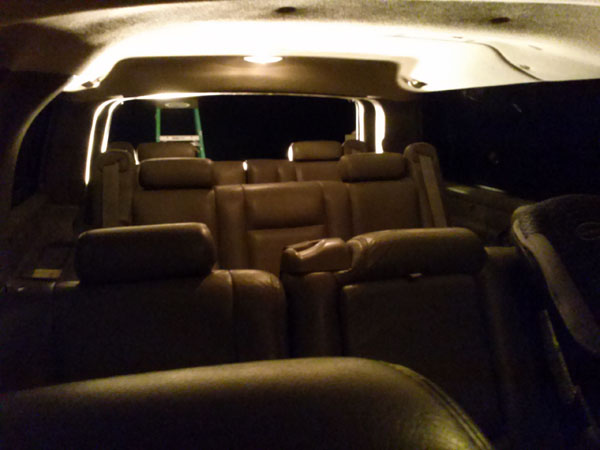
Pictured above are seats from a 2006 Tahoe
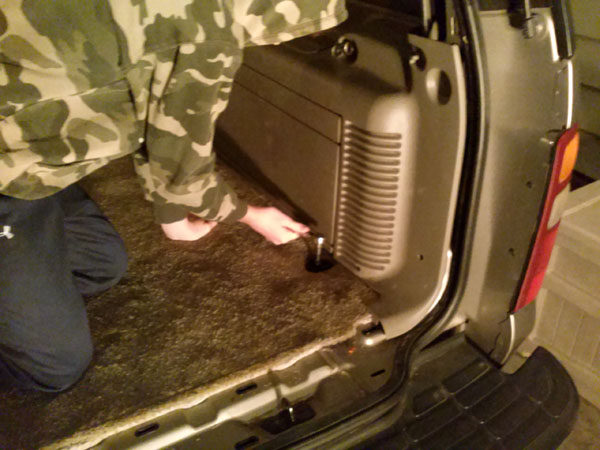
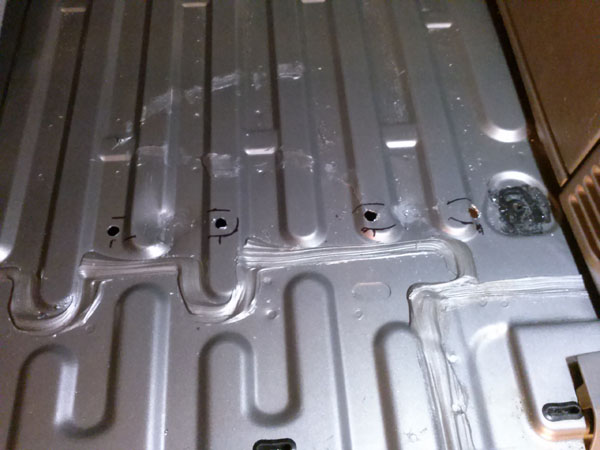
I wanted my install to look factory and that meant I had to install the brackets as flush to the floorboard as possible. In order to do that I had to remove some interior plastic, loosen the side interior panels and pull back the carpeting and insulation.
Next I needed to test fit the seats to get the proper install locations. That gave me a starting point in which to square up my bracket install.
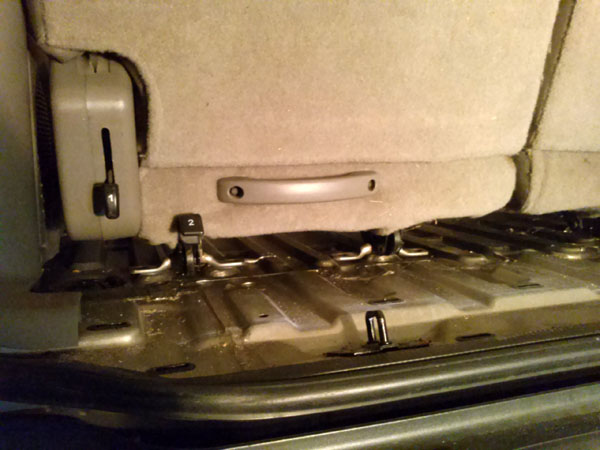
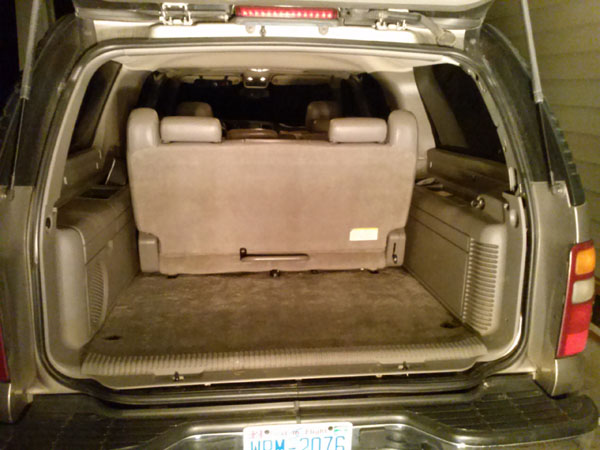
As you can see this install is going to place the seats very close to the back hatch. This is in order to give the riders the most possible leg room. After the test fit was completed I started marking my rear bracket locations. I ensured that they were square and began drilling holes. I was very careful to check under the vehicle for clearance. The gas tank filler neck runs in on the drivers side and the rear AC unit run under the passenger side. I used a punch tool to mark each location before drilling. That allowed me to see the desired location from beneath. Please note that one of the rear bolts had to penetrate both the floor and a sub brace. The front brackets were done the same way. The bolts for the front and rear brackets are exactly 16 and 1 half inches on center from one another by my measurements. Please note that the right most front bracket only has one bolt. The other bolt location was have interfered with the hardened AC lines.
The second bracket in this picture positioned the bar over a rise in the floor, so a hammer was used to clearance the bracket.
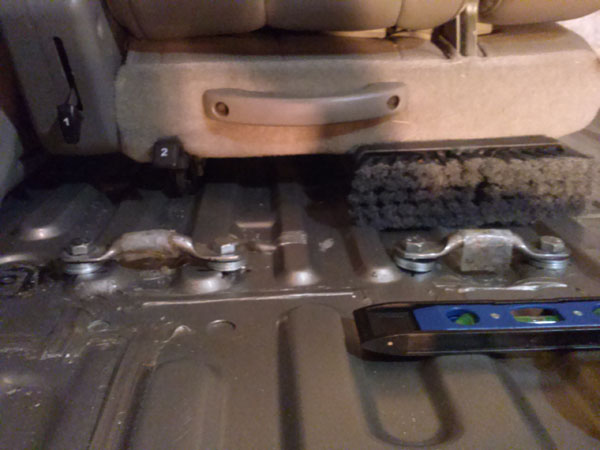
The original 3rd row brackets in my Suburban had 1 inches of clearance for each bracket, so I did the same using washers. The bolts are 1/2 inch by 2 inch bolts. Each bracket was leveled as well.
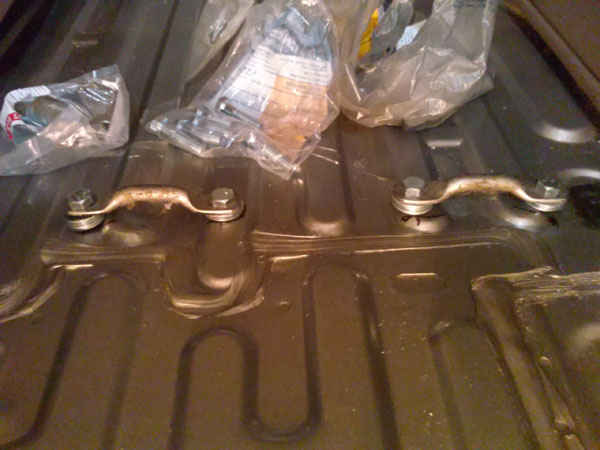
47 washers were used in this project
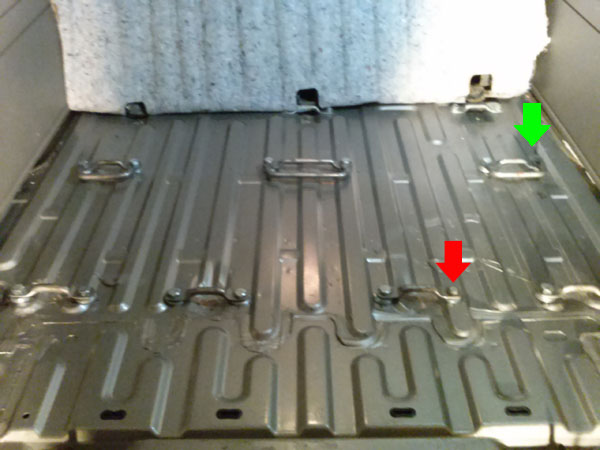
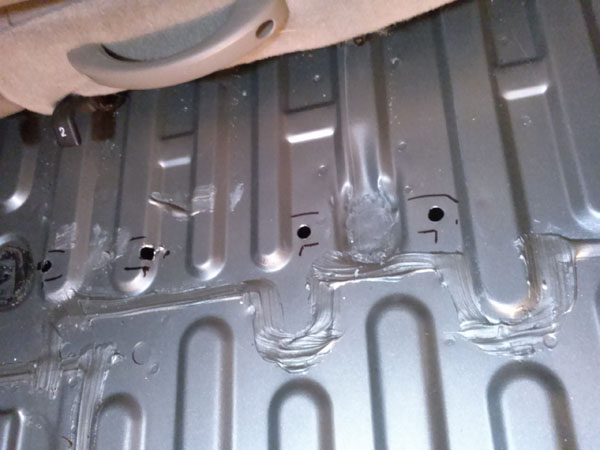
Here is a look at the finished bracket install. The red arrow shows where a longer bolt was used to clear the floor bracing. The green arrow is where the bolt was skipped because the AC lines. I zip tied the appropriate amount of washers to the bracket to keep the bracket from dipping. Each seat was fitted to the newly installed brackets before the insulation and carpet were cut.
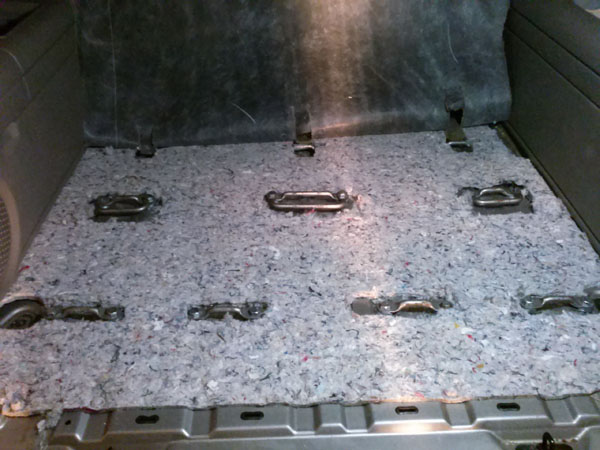
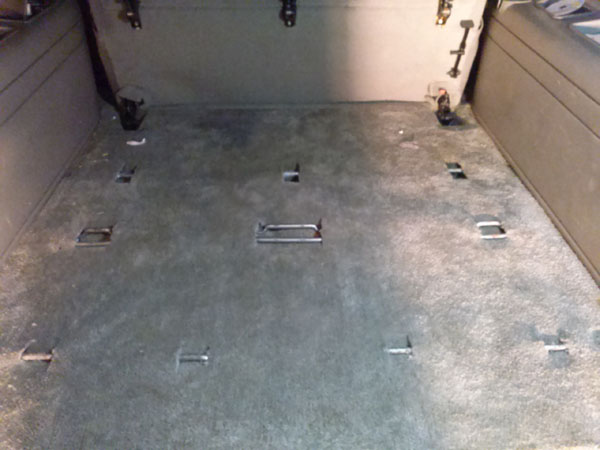
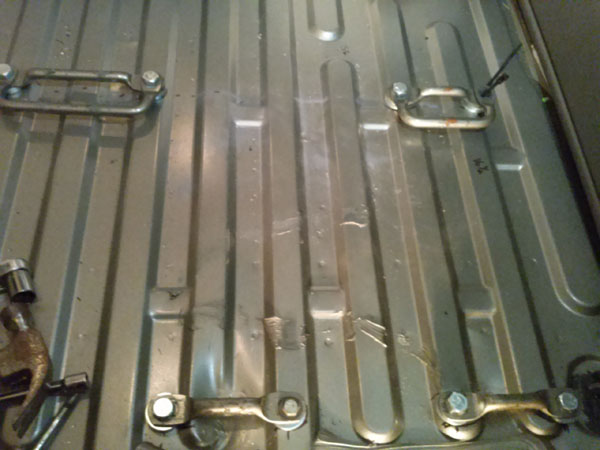
Here you can see that my new brackets look just as factory as the 3rd row brackets. Time to install the seats.
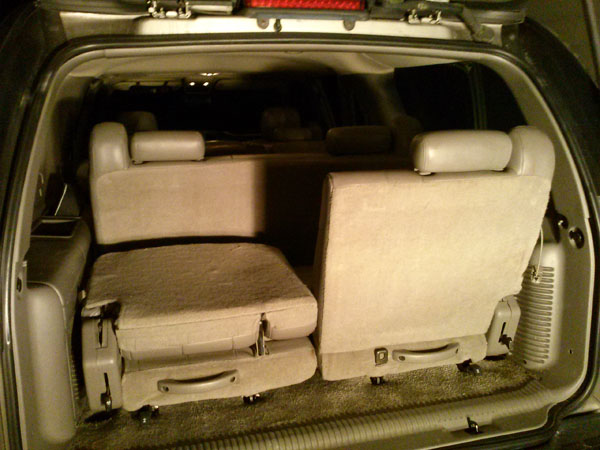
The finished install put the seats 1 inch towards the front compared to my test fit, but I am very pleased with the placement.
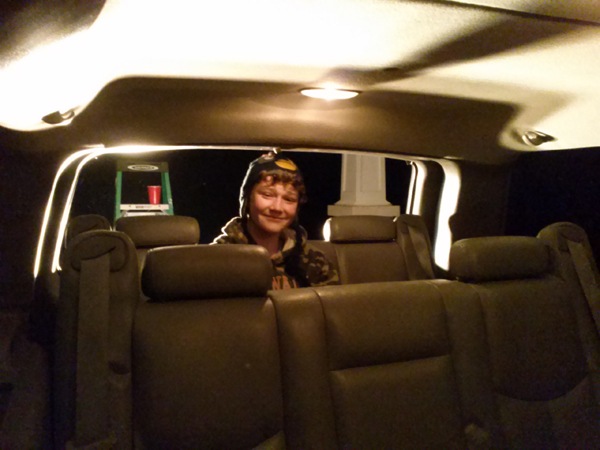
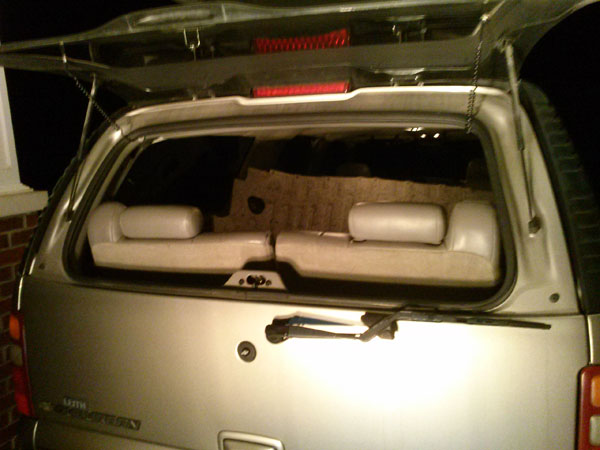
Here is my helper showing that the emphasize on flush mounted brackets makes all the headroom difference in the end. Here are some other shots of the finished install.
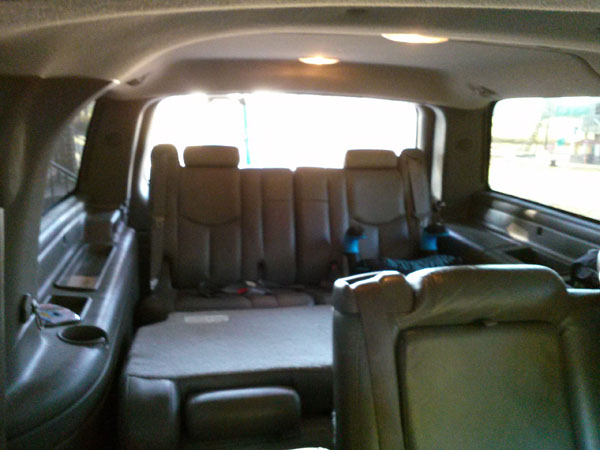
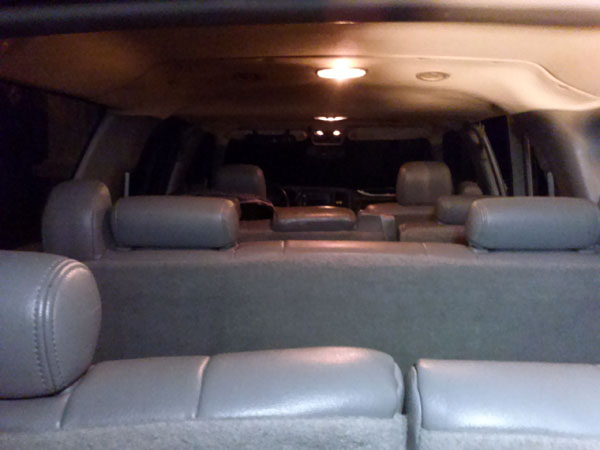
Altogether the project took 4 hours to complete.
Tools used:
1 hammer
rachet with 3/4 inch socket
3/4 inch boxed in wrench
hole punch
drill with a 4 inch long 1/2 inch bit
Sharpie
Chalk line
Hot cocoa (it was 50 degrees out, LOL)

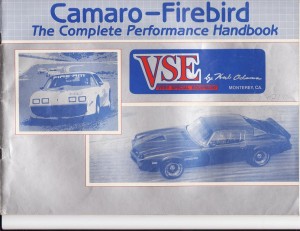
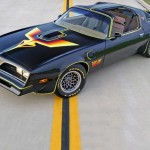

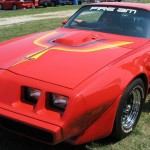
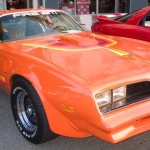


 YearOne continues to expand on its line of updated classic muscle car wheels, this time turning attention to another iconic Pontiac offering. The original “Rally II” wheel was offered in 15″ diameters for 1970-81 Firebirds and Trans Ams. If you prefer the classic look of the Rally II’s your previous options were the factory 15×7 design or the aftermarket 15×8 design. By todays standards a wheel greater then 15″ is needed, but you would have to lose that classic look.
