Over the last few weeks I’ve managed to get most of the remaining exterior trim items installed including the side glass and exhaust tips.
I used tinted glass windows from AutoCity Glass. I was very happy with the fitment and quality of the glass. It fits very well and I had no issues whatsoever. The glass is tinted a light gray which I really like. It isn’t film tint but tinted when it’s is manufactured. AutoCity is a good company to deal with. The quality is excellent and customer service is excellent as well. They have pretty decent prices and shipping is quick and reasonable.
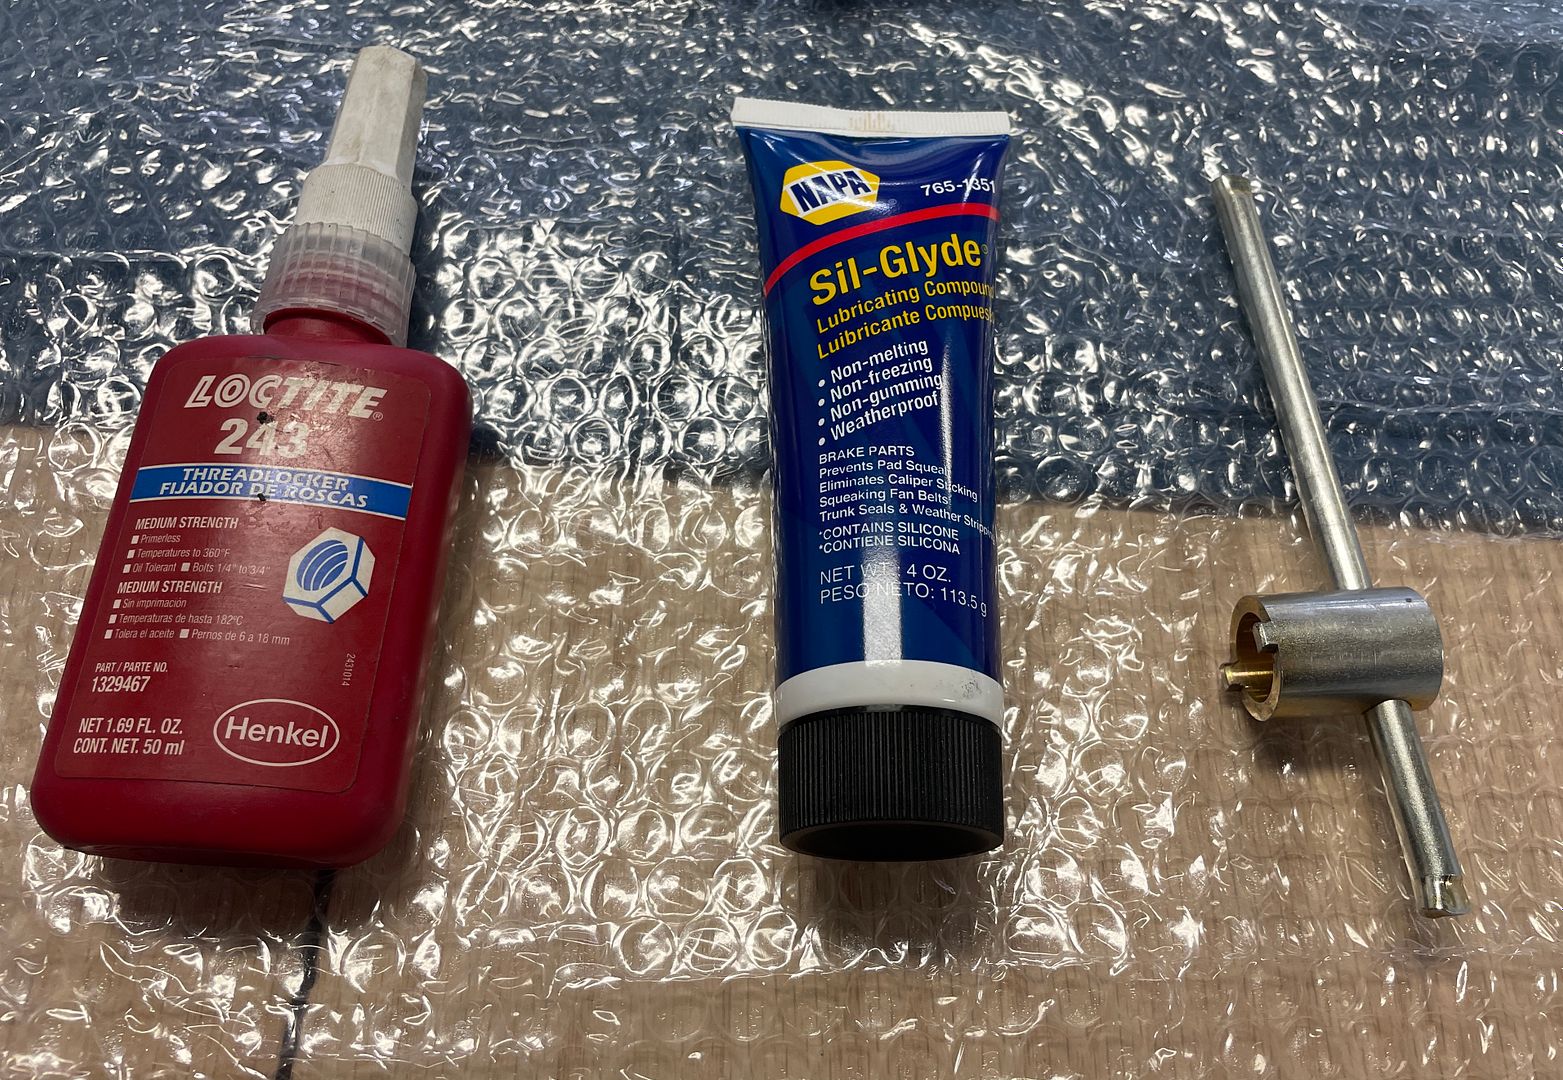
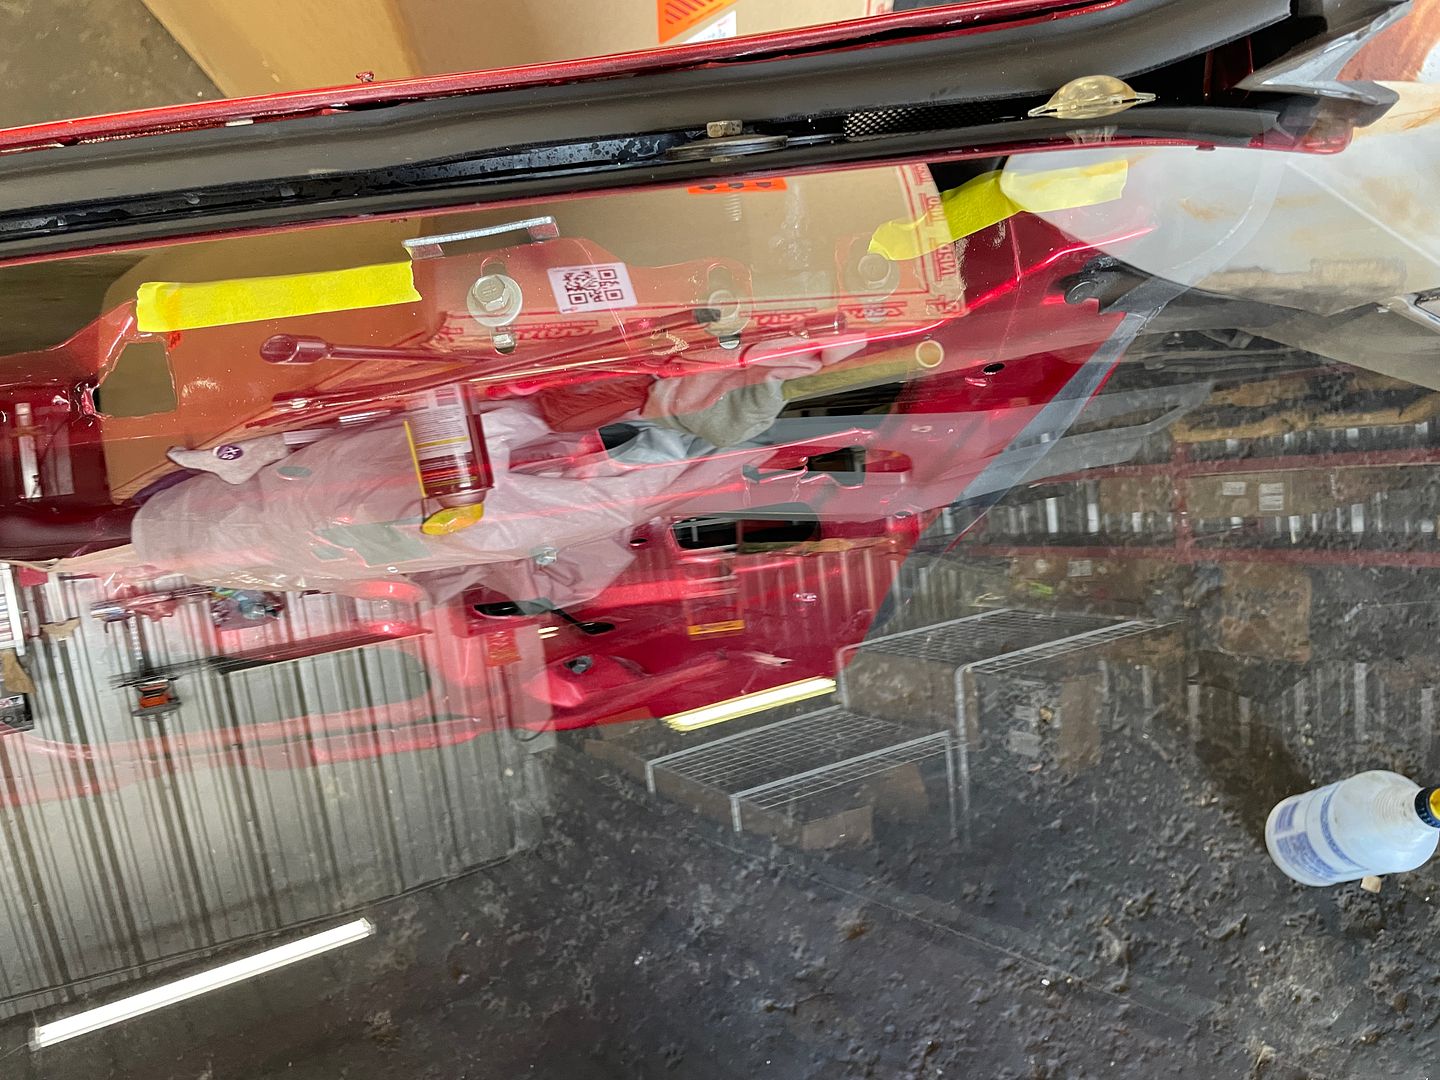
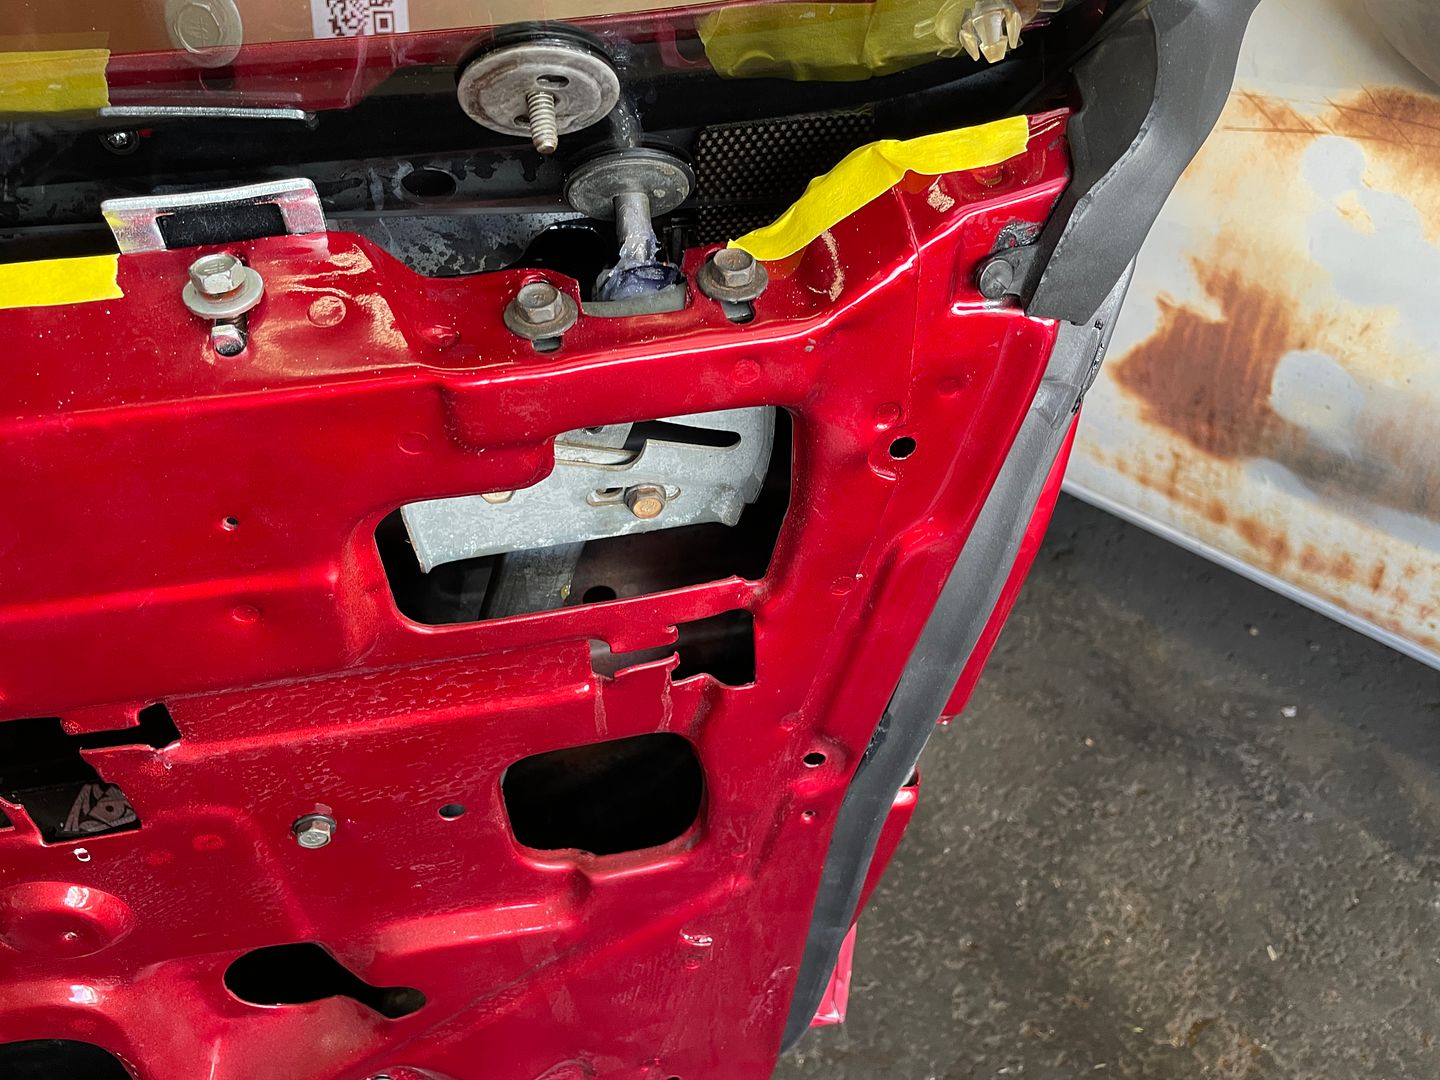
I was able to re use the original hardware for the glass. I did clean it up and re lubricate the rollers. One product I found that works great is “SilGlide” . It is a lubricant sold at Napa. It works very well for the rollers and tracks. I installed the inner window tracks and guides. Another tip, especially if your glass is tinted with film is to tape off the upper inner door edge. This offers some protection from unwanted scratches when installing the door glass. I bought a nut roller tool to install the hardware on the glass . I got it from NPD and it worked very good . I also used LocTite to ensure nothing came loose.
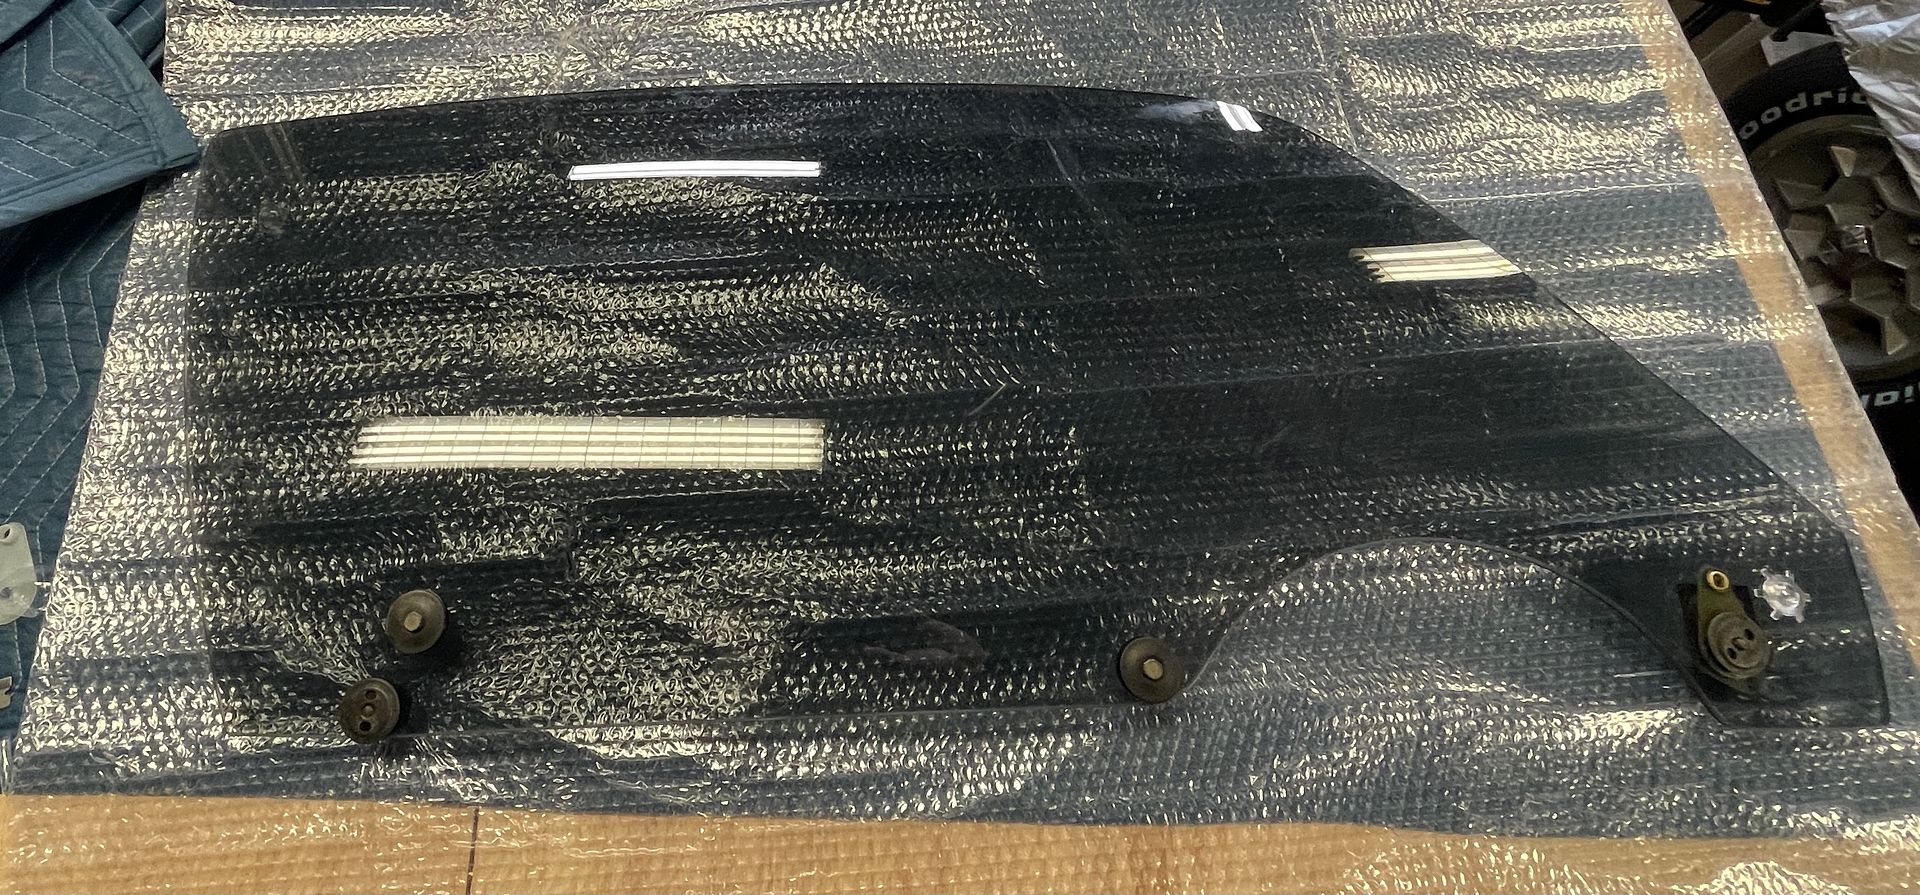
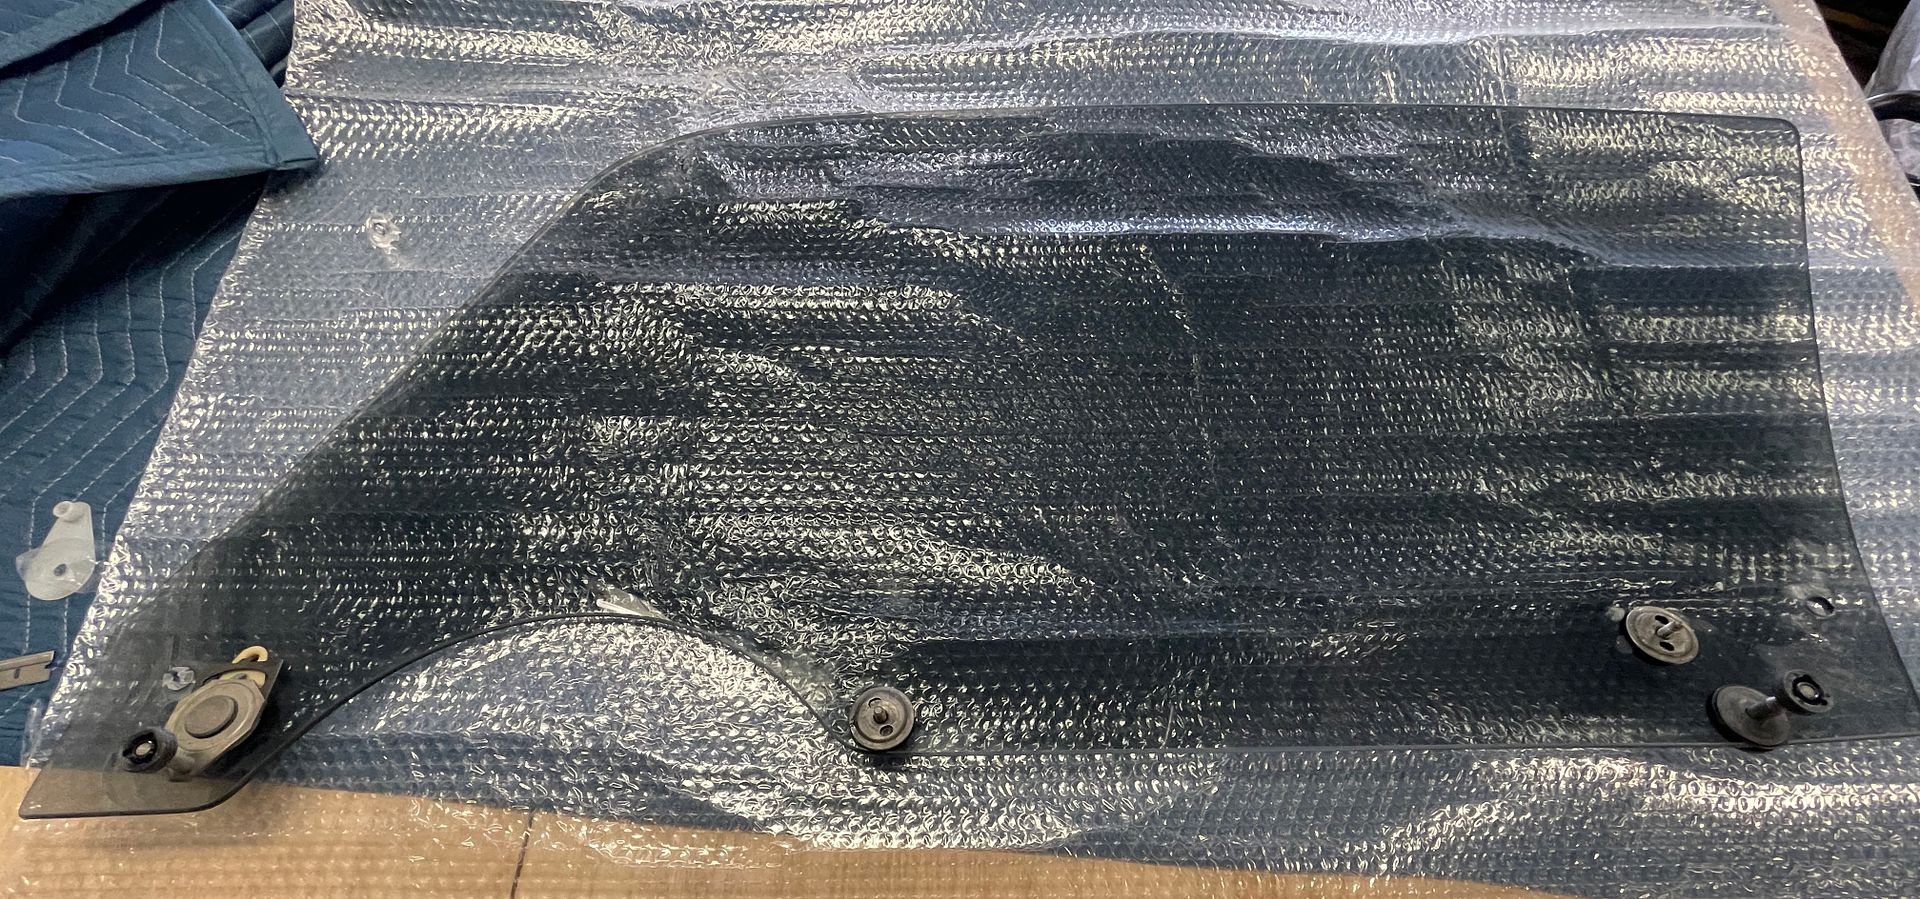
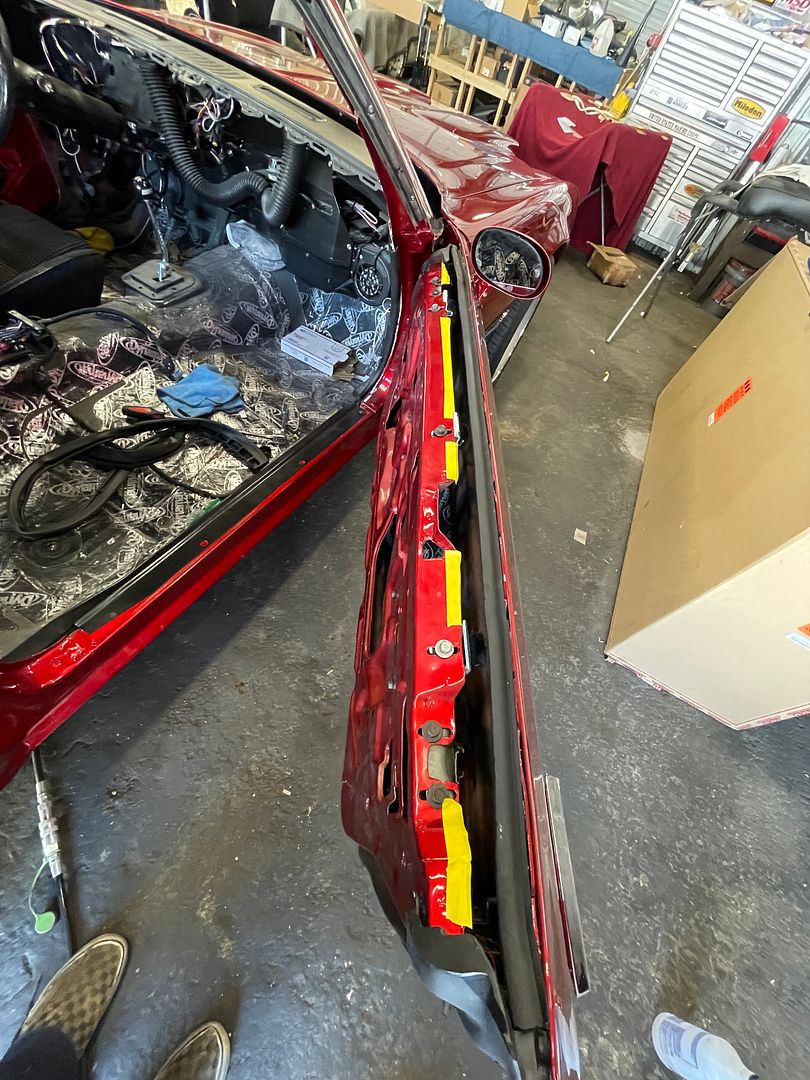
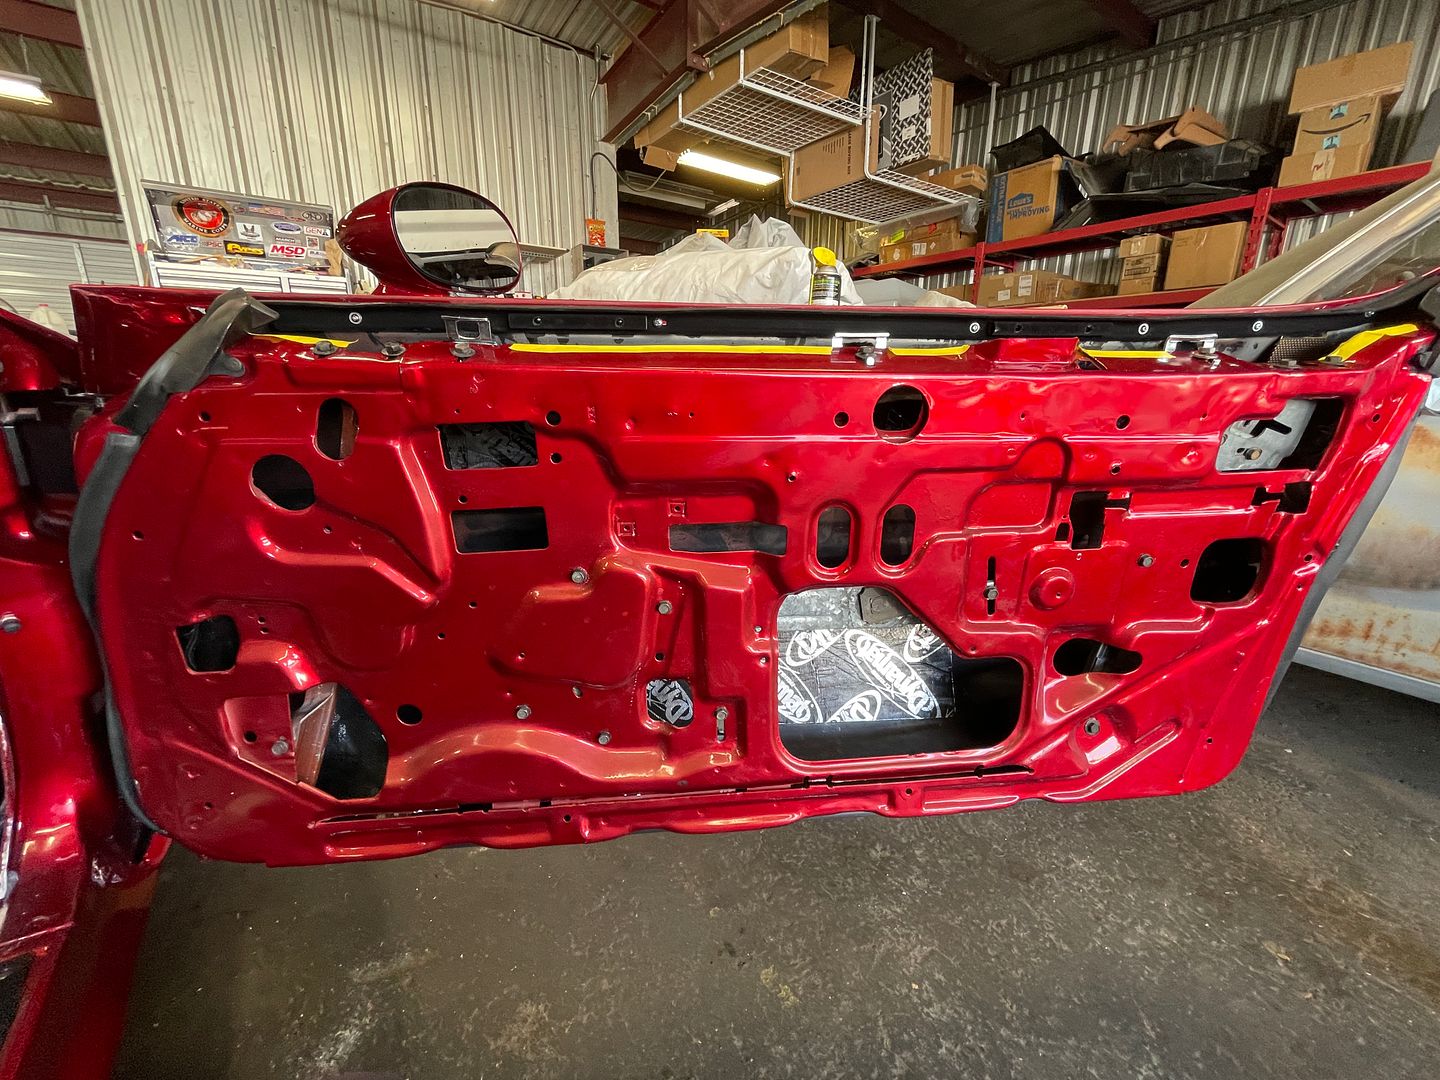
Installing the door glass is pretty easy. The technique is to insert the glass at an angle lining up the rollers into the tracks. Once the rollers are lined into the tracks the glass goes in pretty easy. I recommend taking your time and ensuring the rollers stay in the tracks . You do have to pay attention to the hardware mounted on the window itself. In can snag the outer door rubber sweep. Just make sure it doesn’t tear or damage the outer sweep. I used a popsicle stick to move it clear enough not to get caught up. Once the window is in the tracks you simply bolt it to the horizontal track and next step is to align the windows.
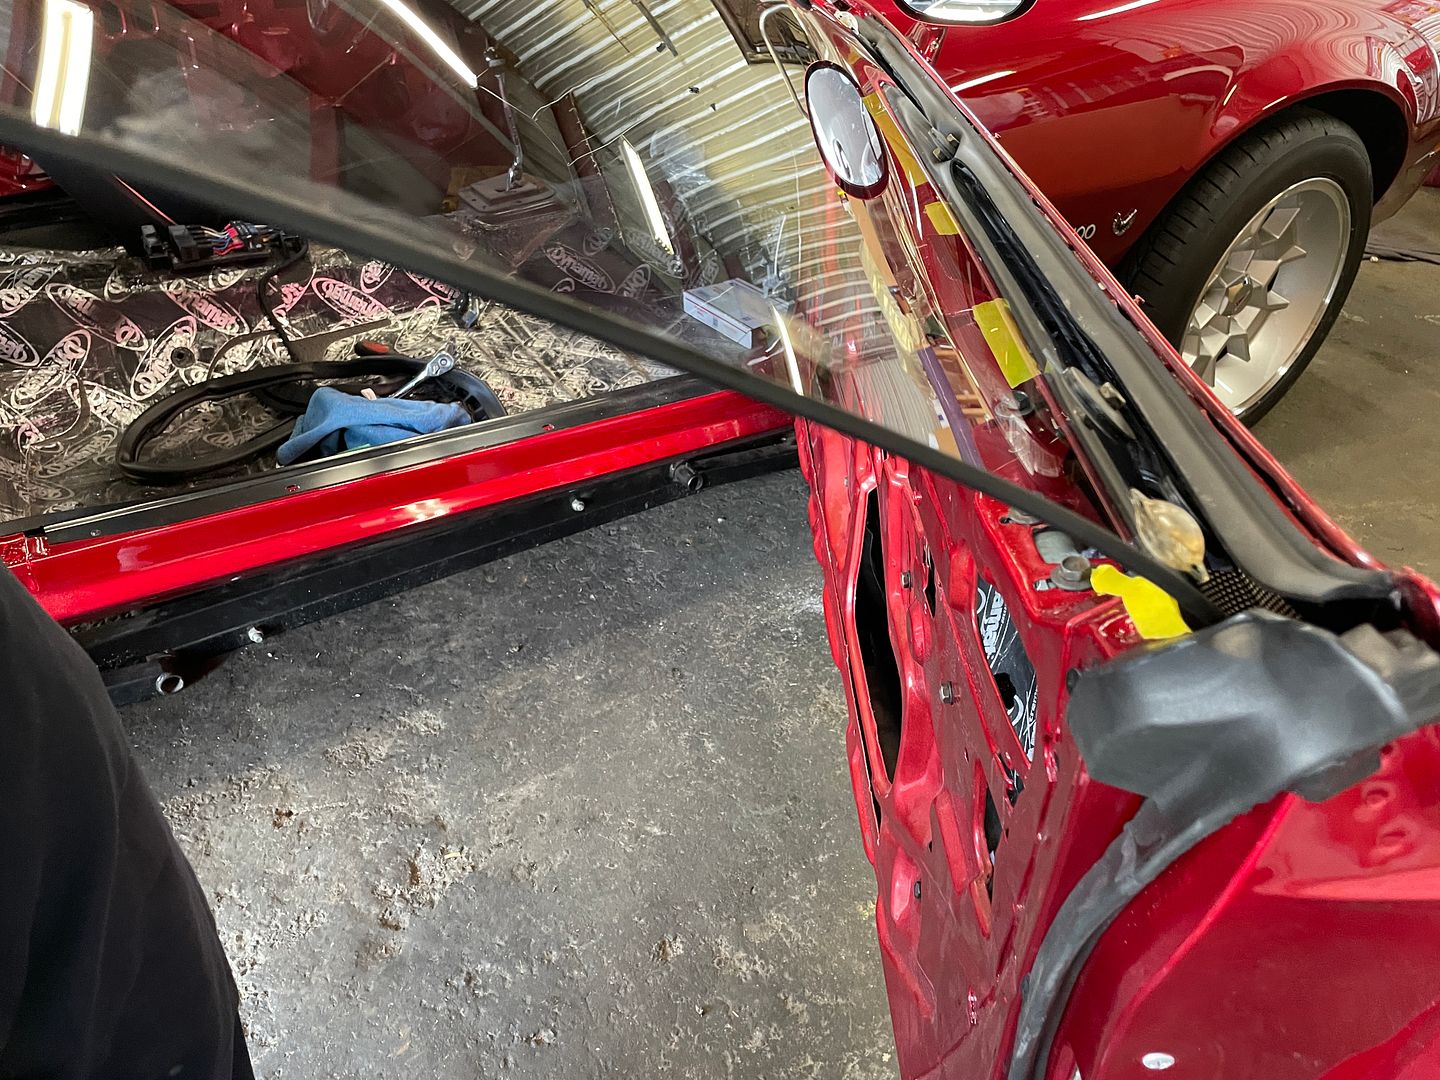
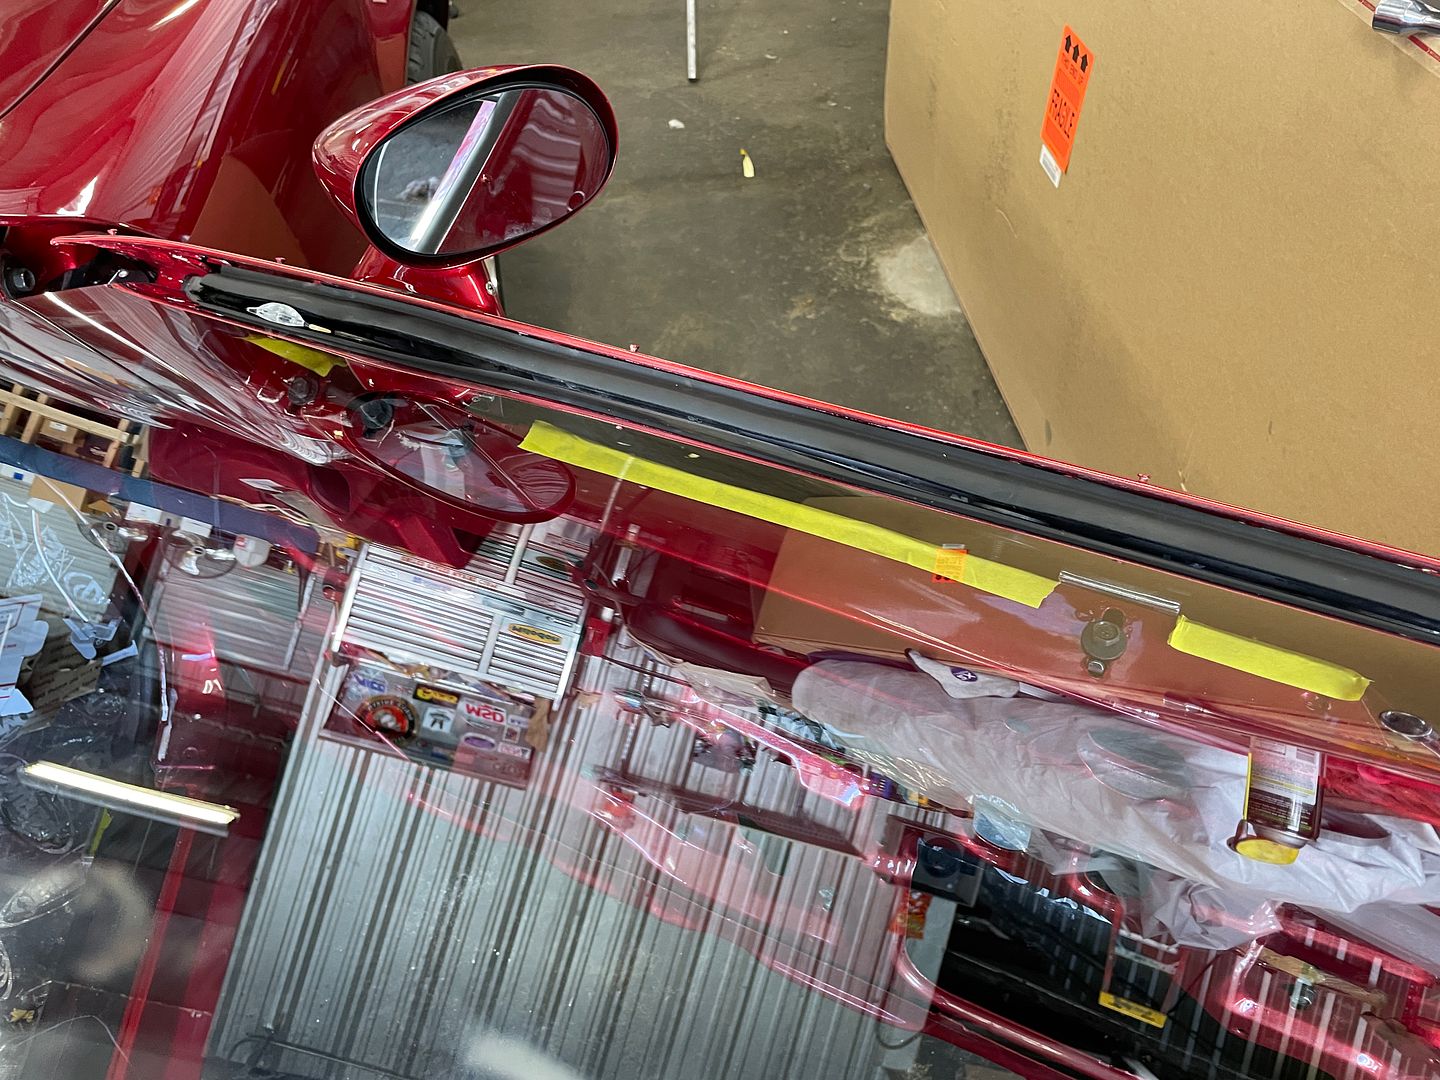
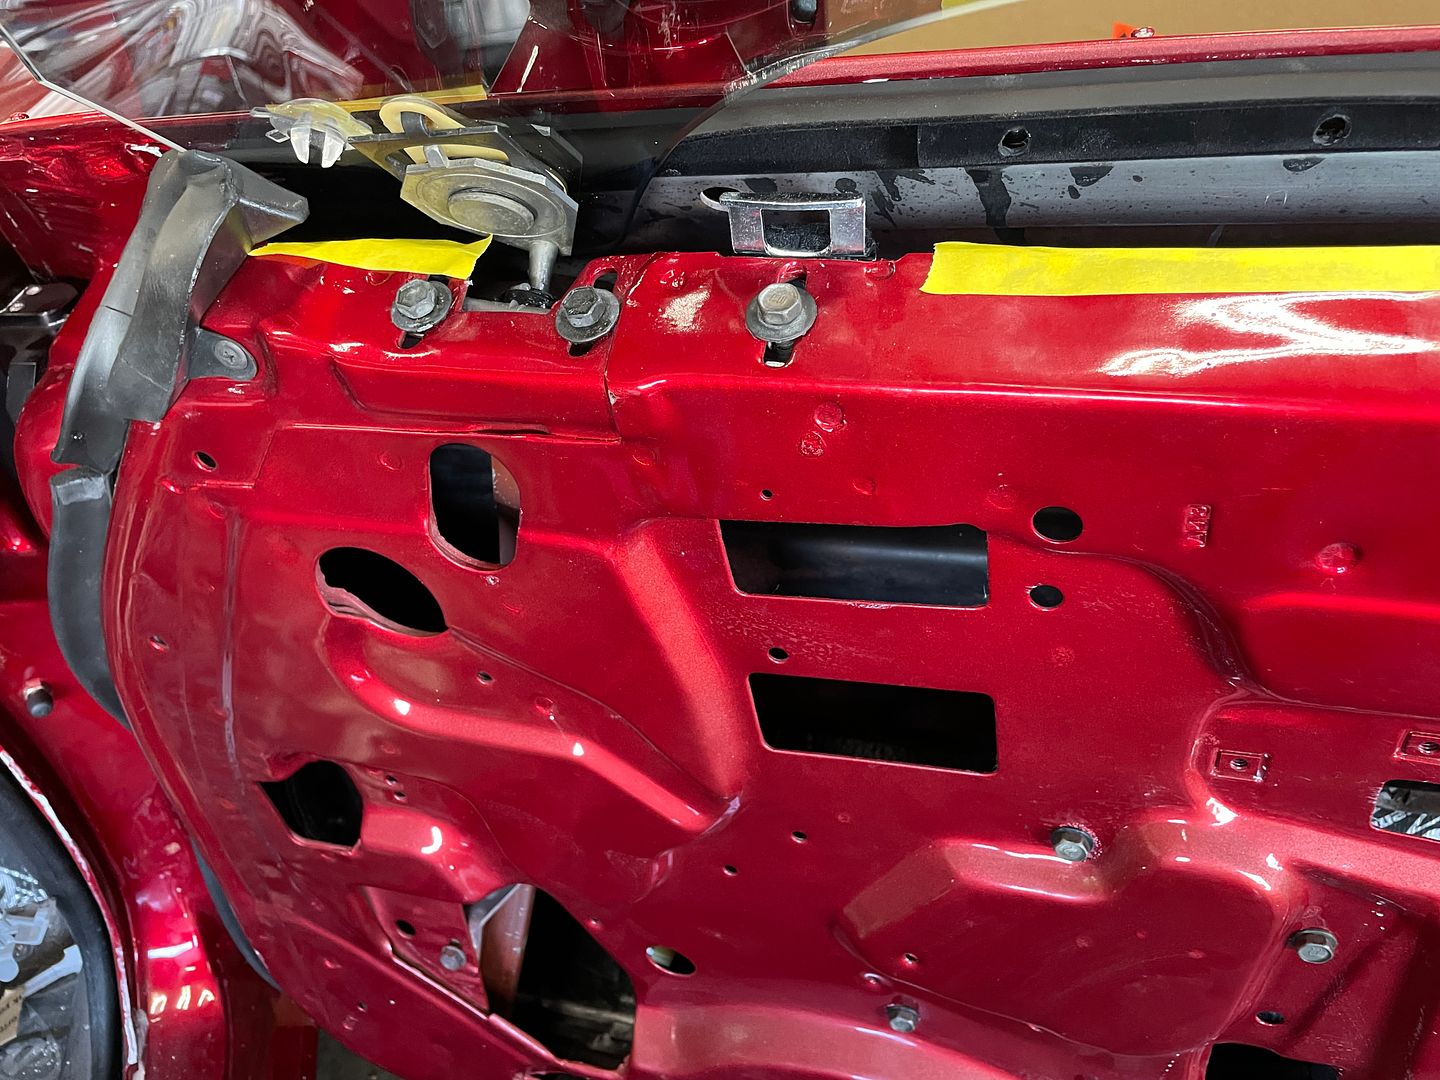
I have power windows, so before installing the glass I had to ensure the motors worked properly. I installed new motors and they worked very well. I modified the switch and power supply to the motors by incorporating relay switches to the motors. The relays actually serve as a secondary switch to provide direct battery power to the motors. The relays close and open based on the the power window switches and simply take the current load and voltage loss off the switch. This gives improved power to the motors and the windows go up and down a bit quicker with a bit more strength.
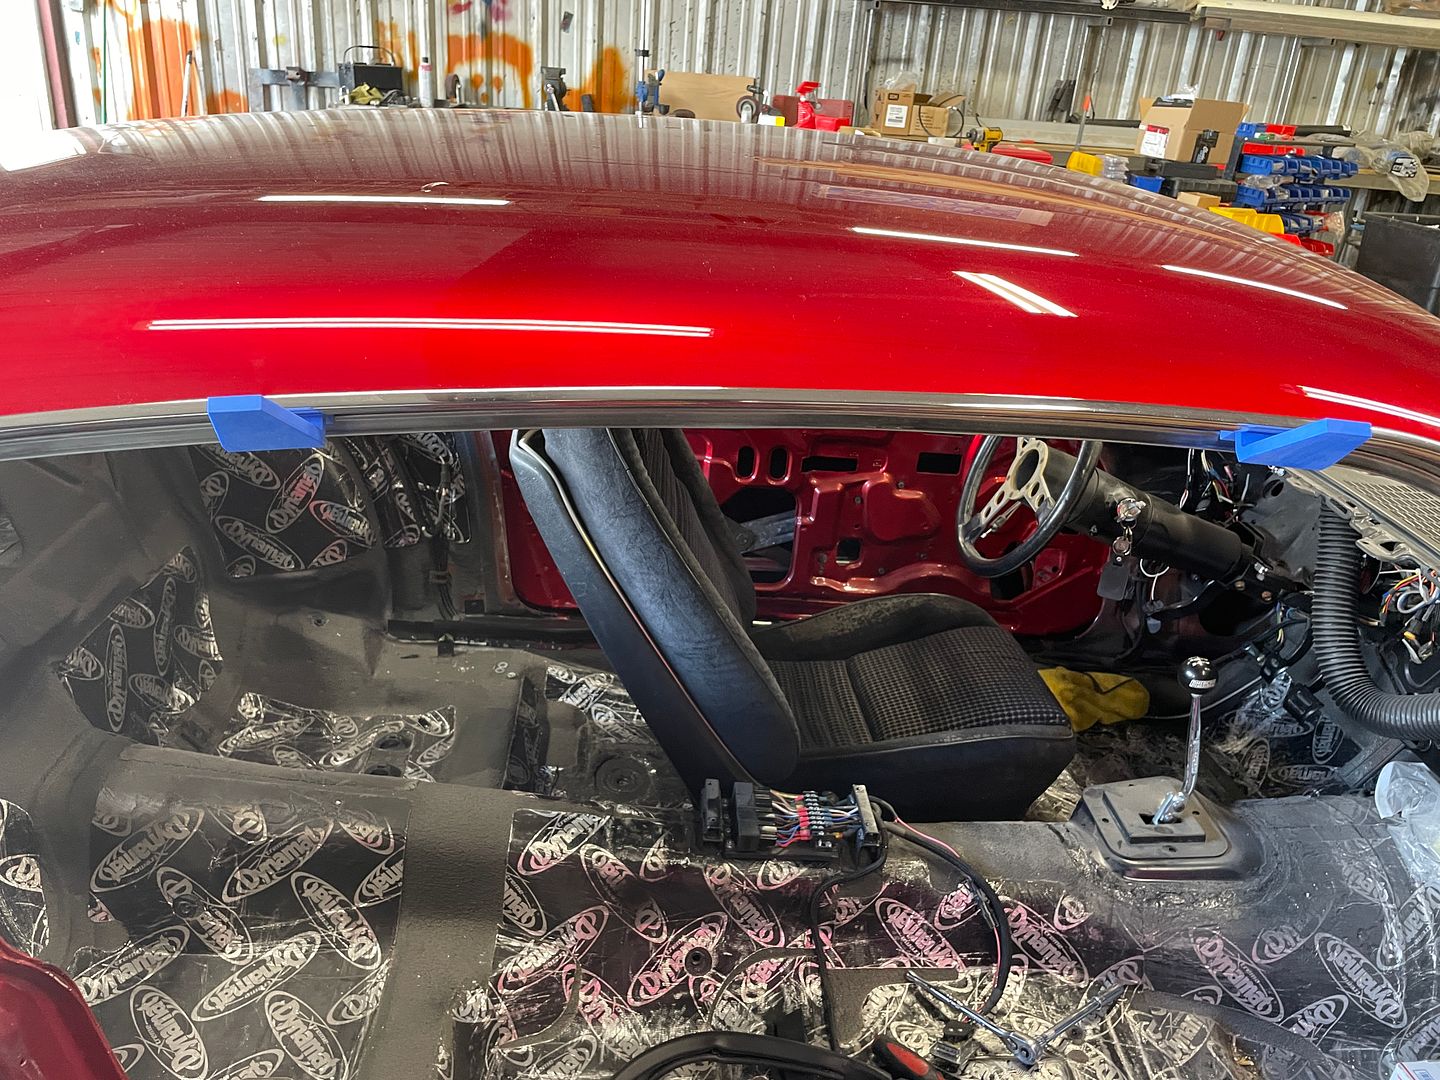
Several months back, Gene73, made up a file to have the unobtainable window alignment blocks 3D printed. I had a set made and they work great. Gene it’s now the Patron Saint of window alignment! These alignment blocks made the window alignment so much easier!! The window alignment really only took me about 15-20 minutes. Truthfully, only a few minor adjustments were needed. Window alignment can be brutal and painful.
One thing I would suggest, remove the side view mirrors before usin the alignment blocks. The vertical guide block may interfere with the side mirror. This happened to me, put a scratch on the side view mirror. Fortunately, I was able to send it to my painted and he can correct that.
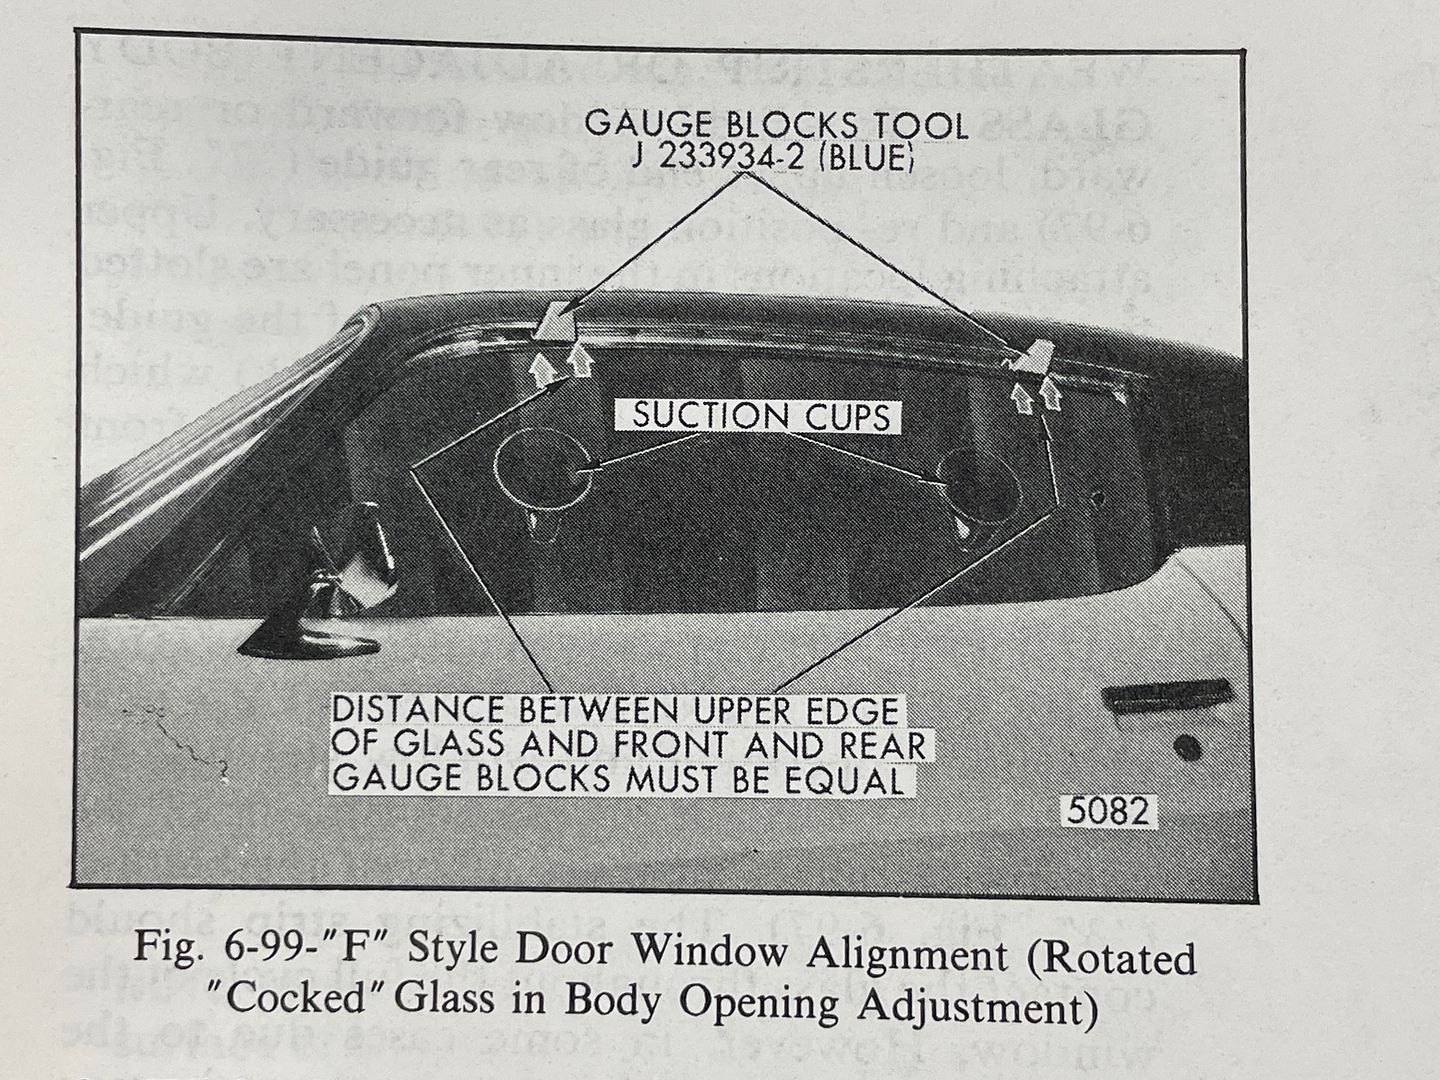
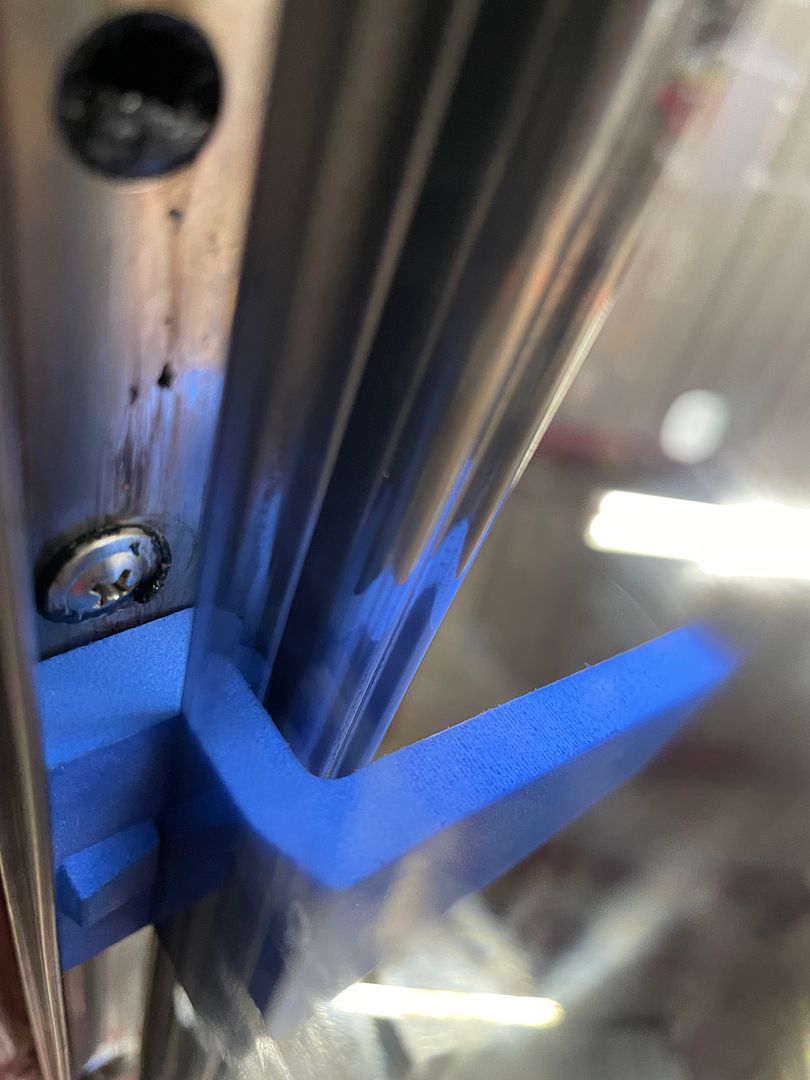
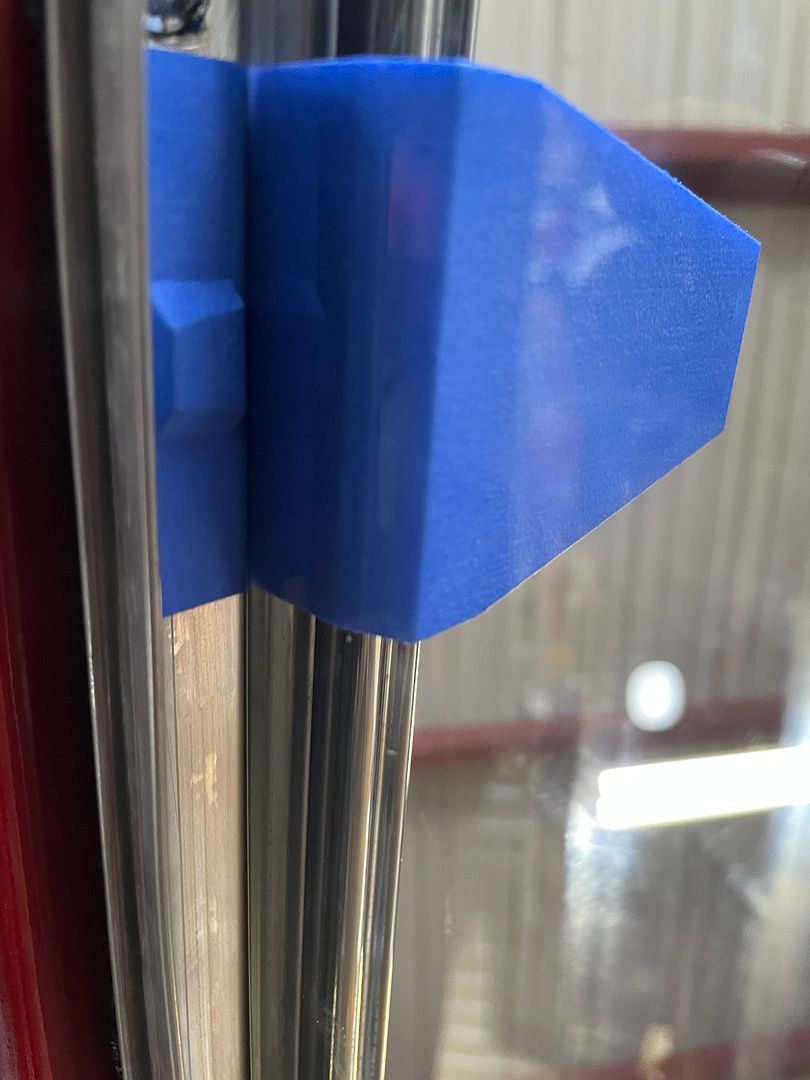
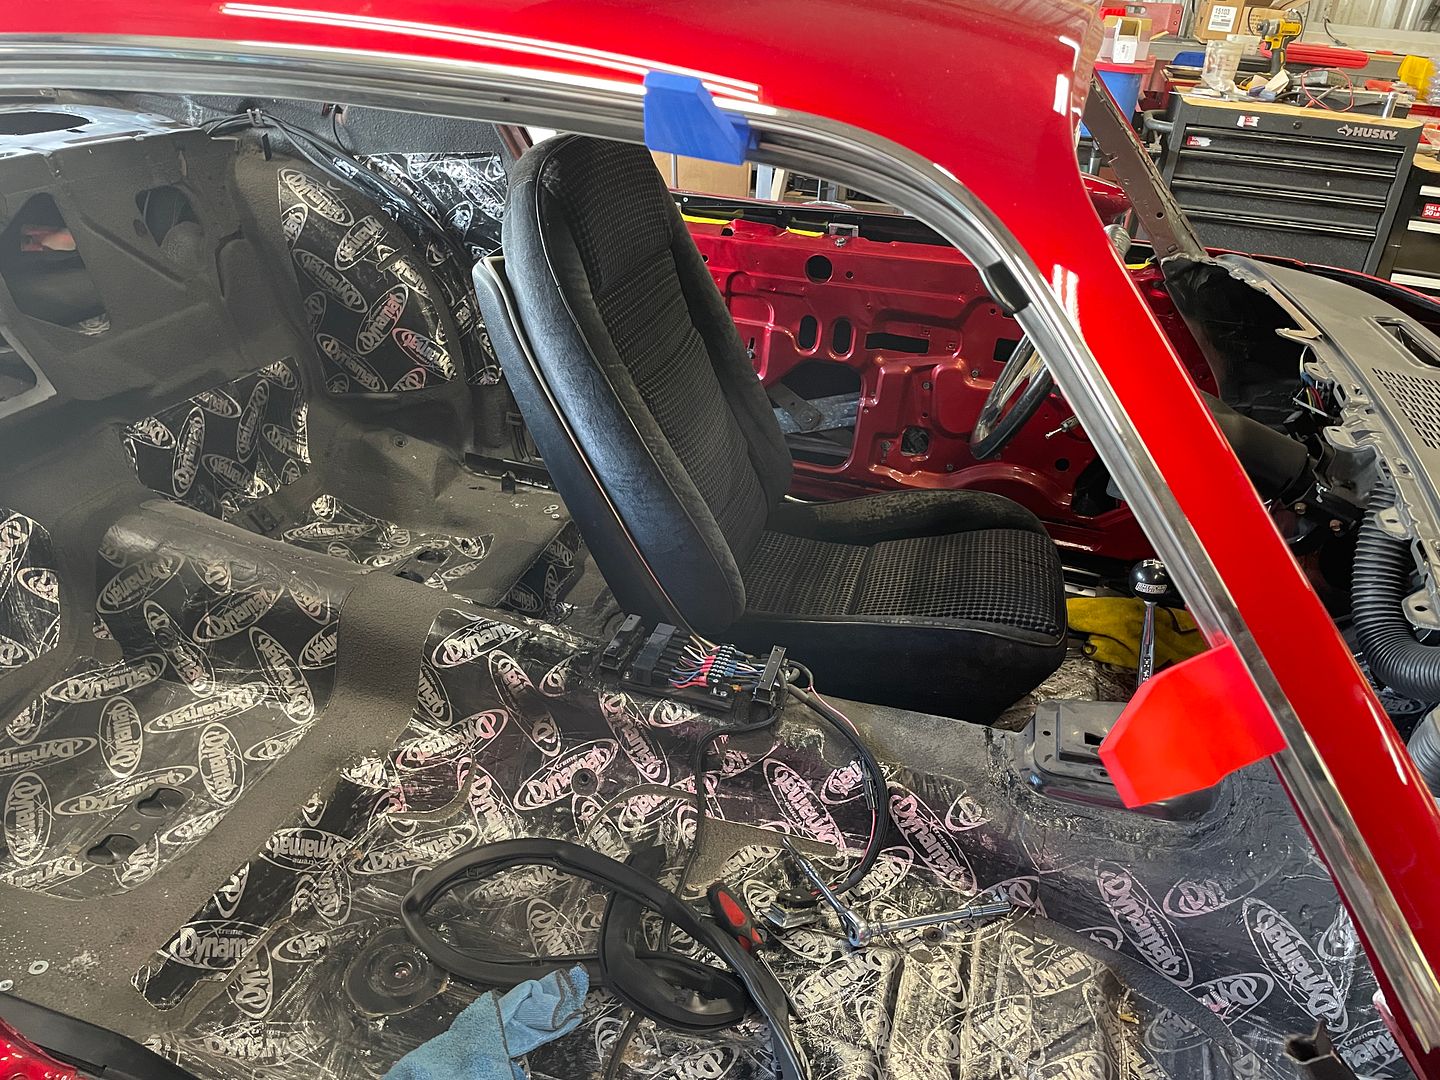
A very good reference to use is from the Fisher Body Manual, specifically it gives guidance on making any alignment adjustments.
Once I was done, I installed the roof rail weatherstrip. Initially, I used the Soft Seal brand which I really didn’t like. It is a lot more firm than stock weather strip and I didn’t really care for it. The other Soft Seal weather strip I used did work well in other areas but not on the roof rail. I ended up buying a latex rubber set from the Parts Place. The latex roof rail seals worked much better, similar to stock weatherstrip. They were also more expensive but i was really happy with the decision to use them. Once the weather strip was installed I only had to make some very minor adjustments to obtain an excellent fit.
An important note to keep in mind close the door SLOWLY! Make sure the glass doesn’t catch on any trim. Any kind of interference can shatter the window.
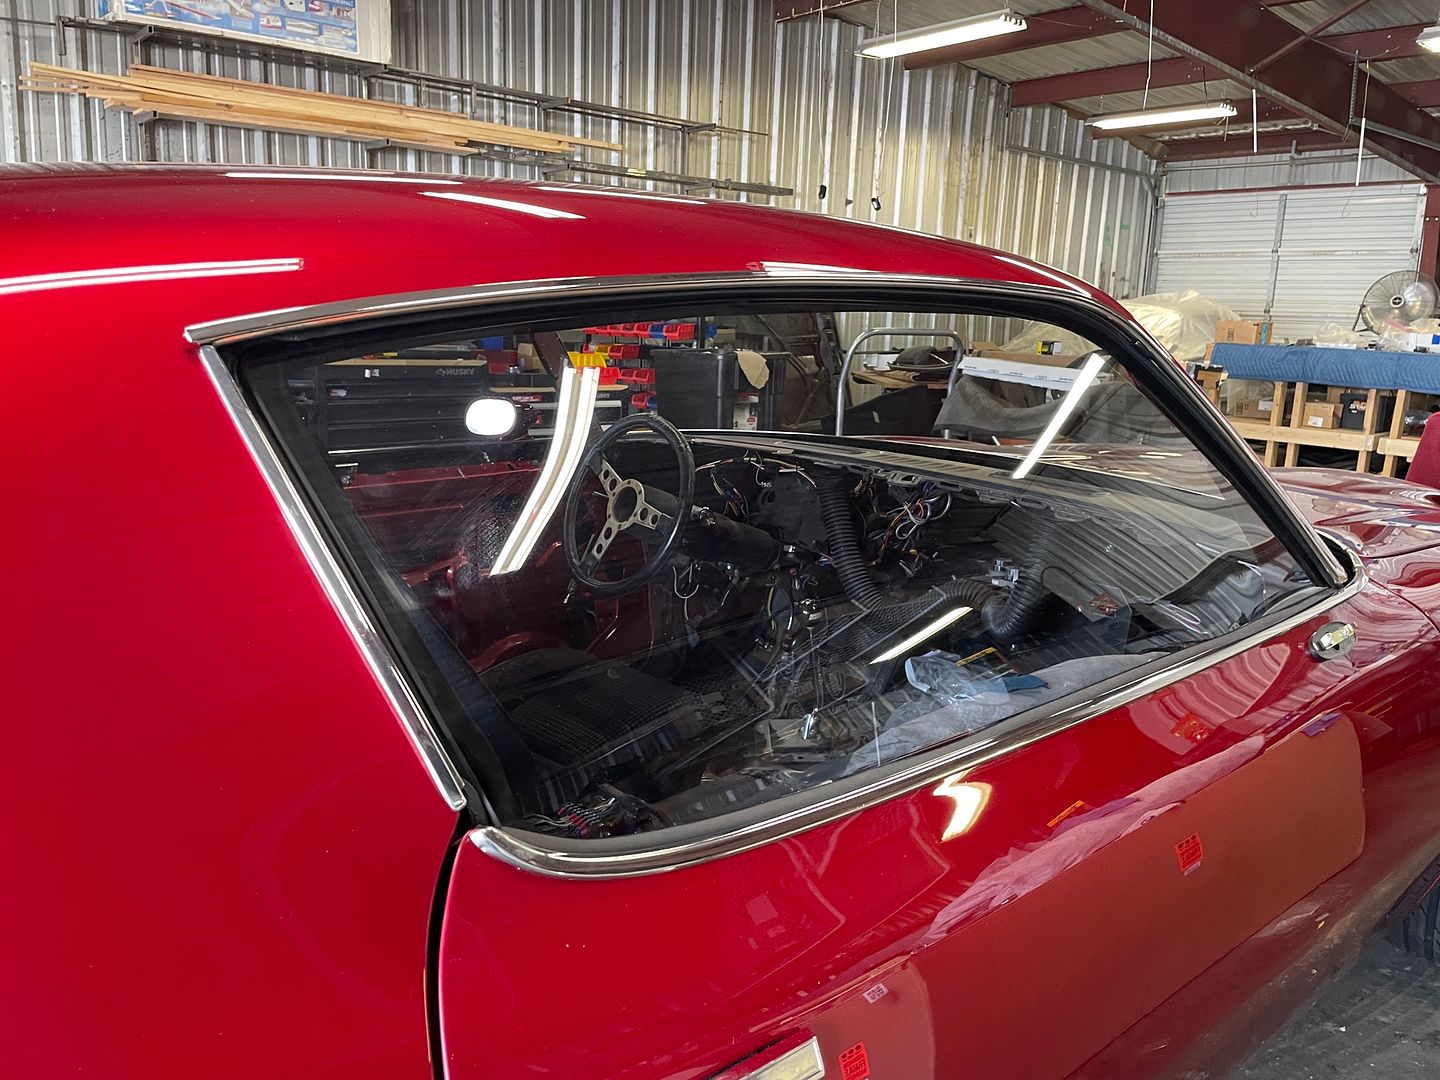
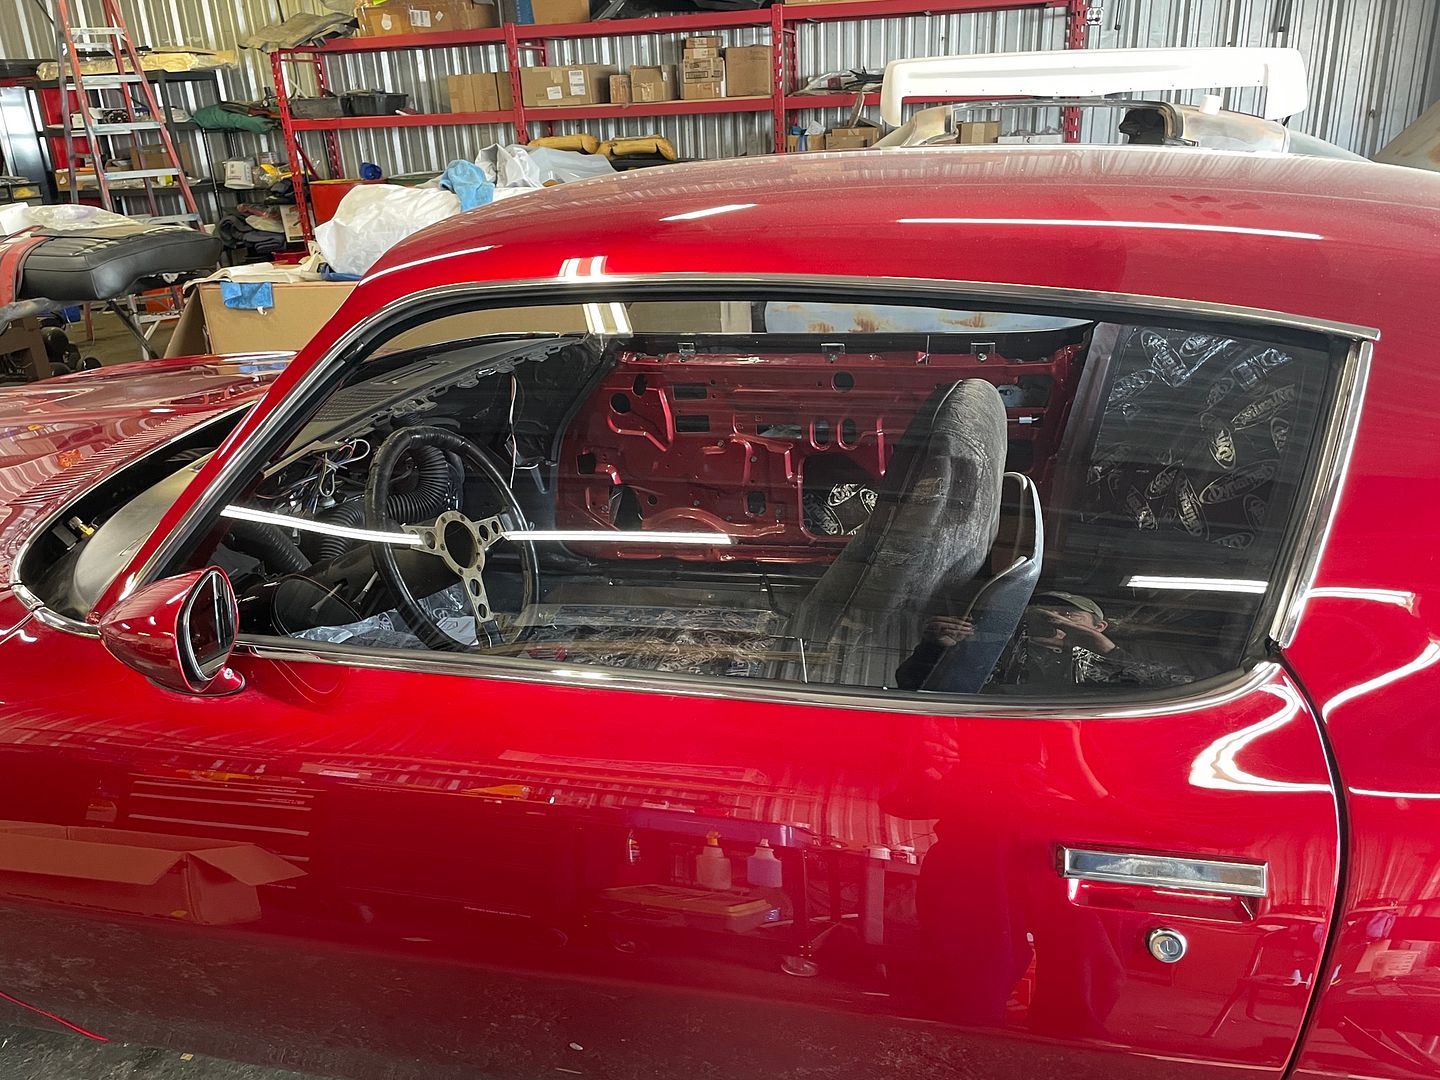
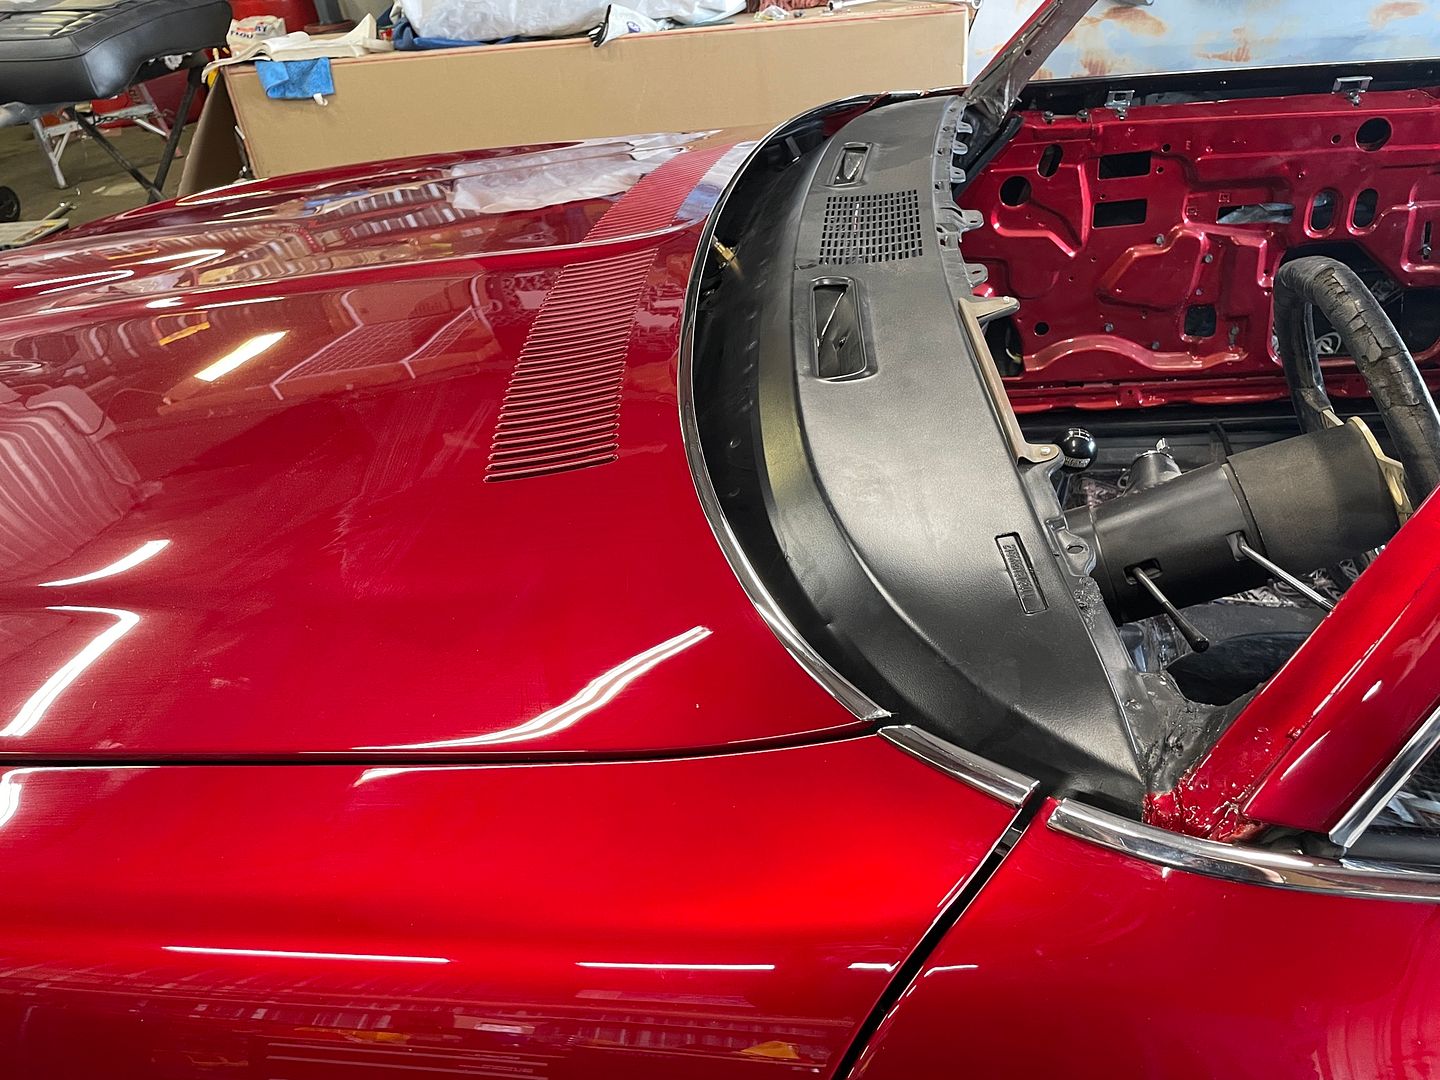
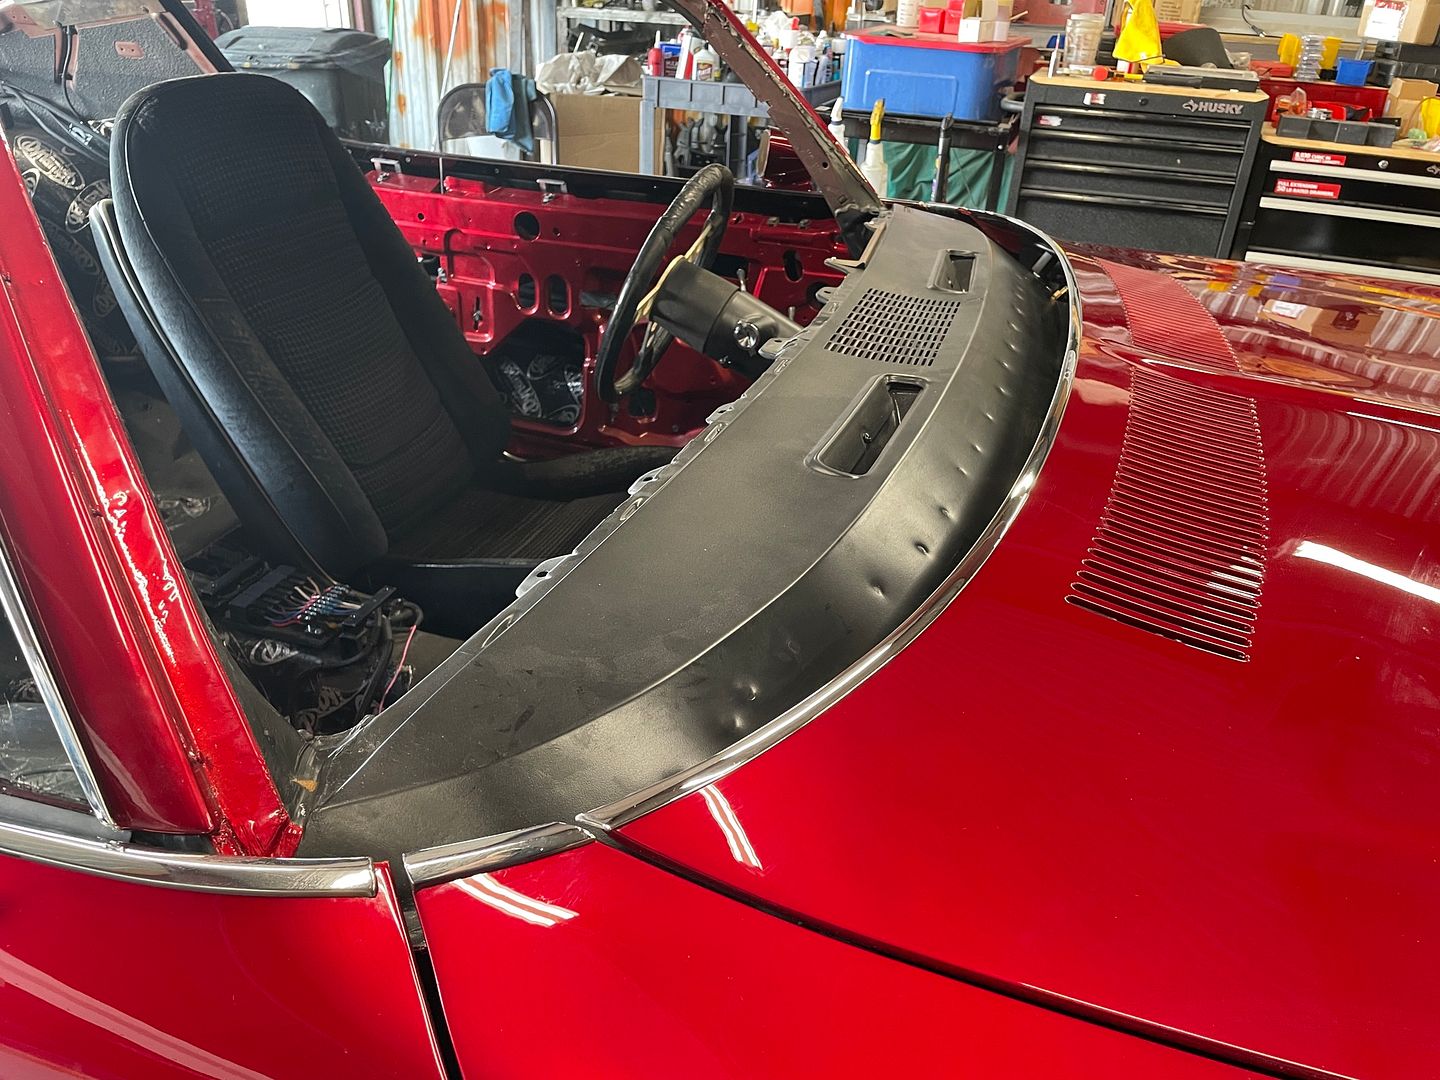
This car has the chrome trim along the doors. I used new plastic retainers and the door trim installed quite well. I added the other trim pieces on the hood and front fenders. I used a small smear of Sil Glide on the edges off the fenders and hood. They slide on snug and firm. Using the Sil Glide kept the metal trim from scratching the paint.
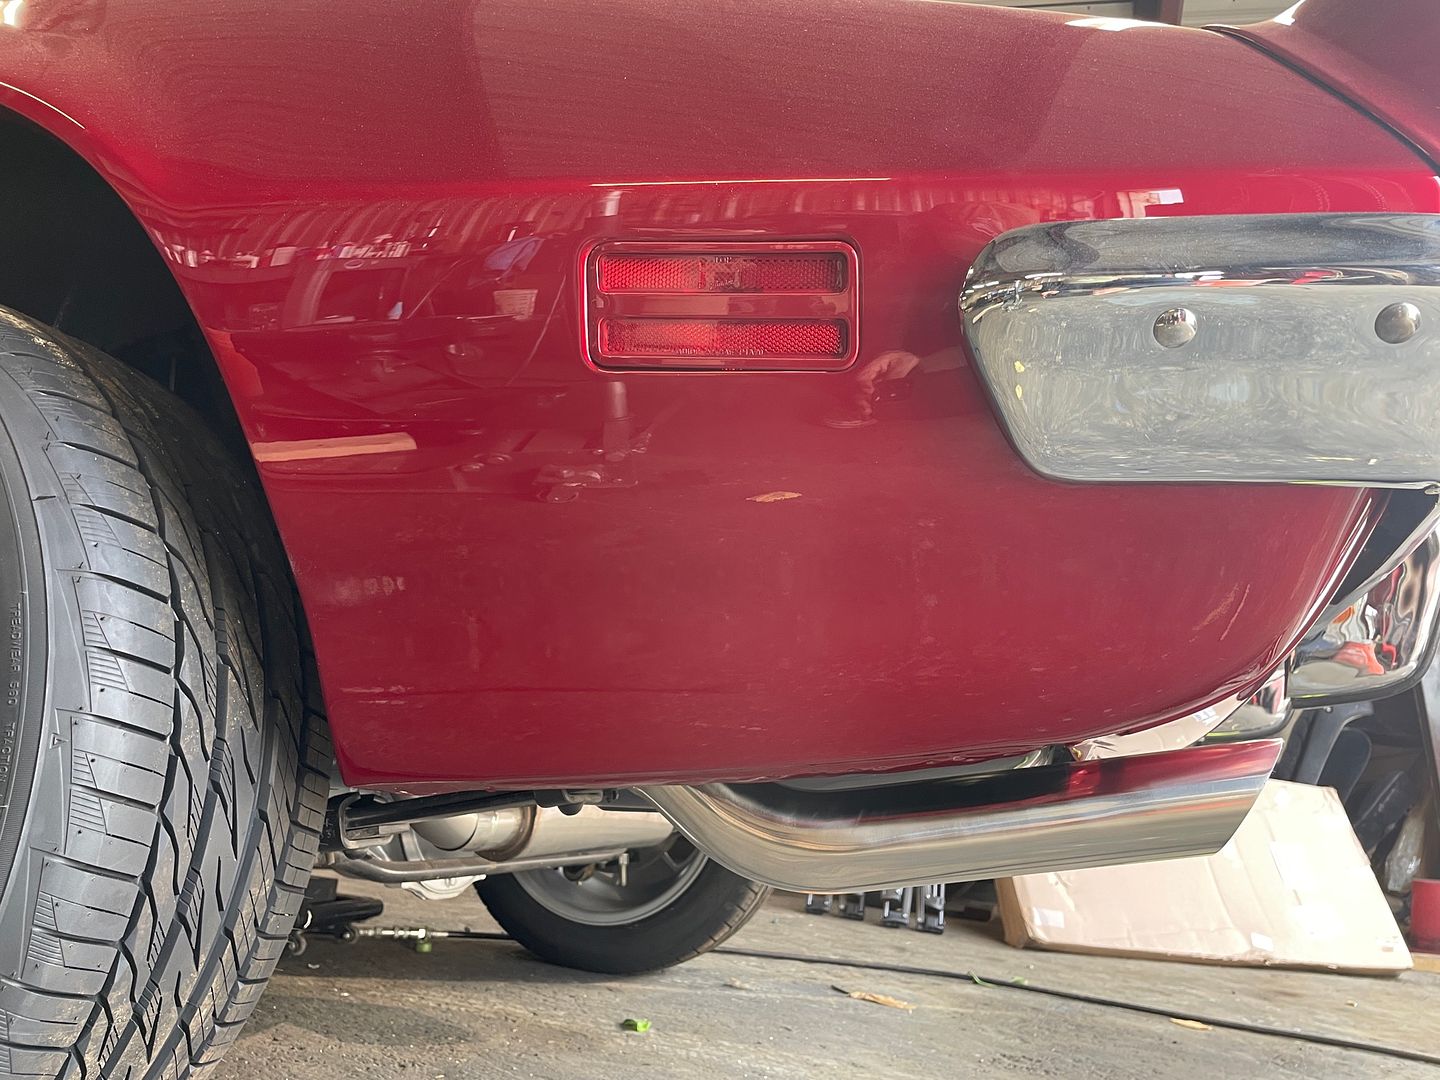
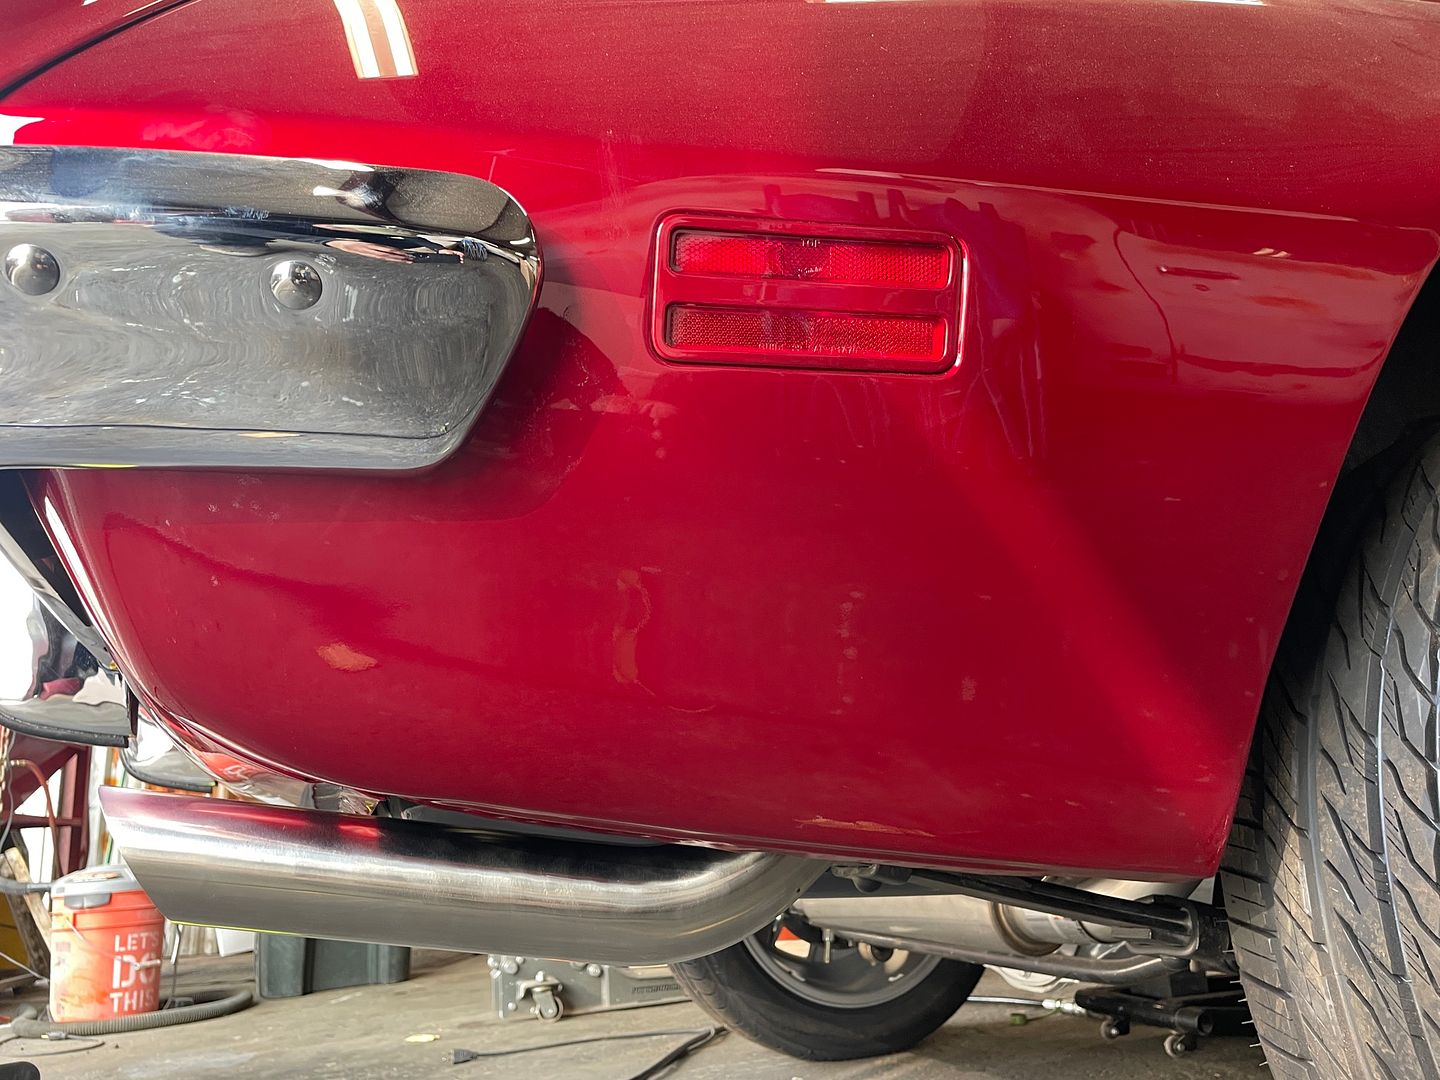
Lastly, I attached the exhaust tips. This was pretty quick and easy job. They fit just as good as to be expected.
With exception of front and rear glass, the outside is pretty much done. So now I start working on interior stuff. I am getting ready to install the headliner which is a bow type headliner. I’m sure this will be a little challenging because it requires more installation time than a shell type headliner. I am real happy with the progress so far and I am looking forward to working on the interior. Getting really close to being back on the road for the first time since 1996!
Jim