Thanks Willie! That's a really cool magazine. Dated 1980 too!
Thanks! I'm having a lot of fun building this car.
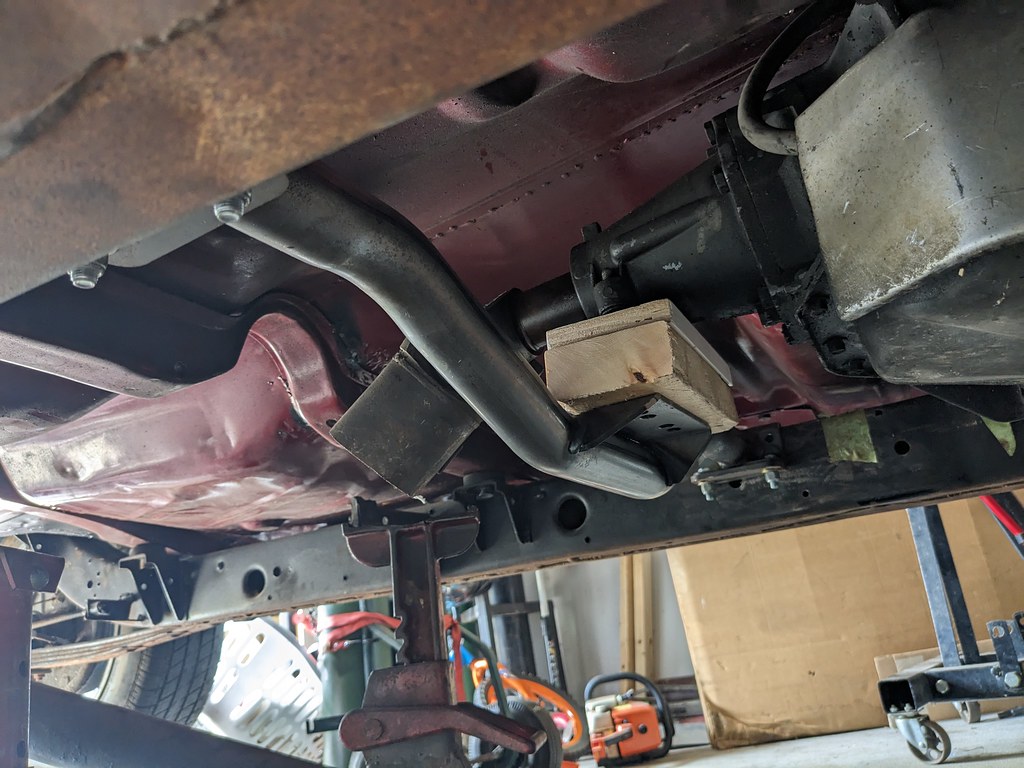
Moving forward, I was able to get the transmission crossmember mocked up and it's going to work great with the right driveline angles. It does still need to be tilted up about a 1/2" more, but there is a lip in the tunnel that needs a little BFH work.
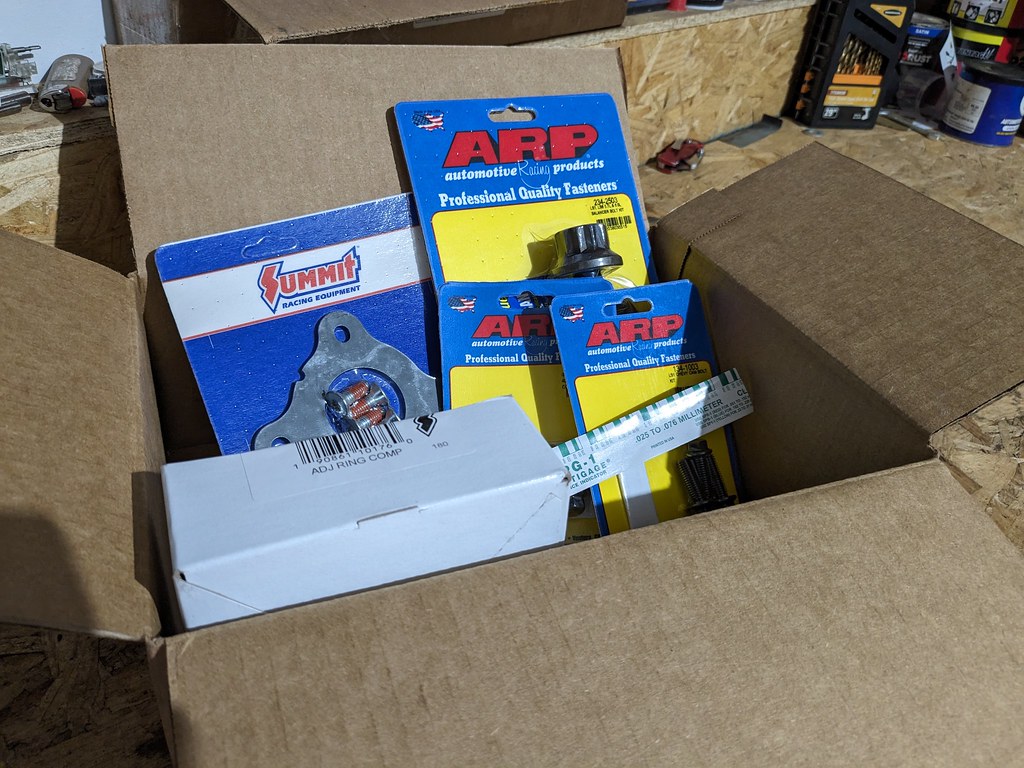
I placed an order from Summit and got the rest of the bolts, gaskets and a new piston ring compressor to get the short block finished up. I'm going to be gapping the rings for boost because down the road I'll be adding a turbo, or possibly an LSA supercharger. I've got a buddy doing an LSA swap right now and it's making me want to put on on this car too...
Since the engine is still mocked in the car, I was side tracked with my fuel system. My plan from the beginning was to use a stock fuel pump to have the most reliability, and my experience with the 10-15 Camaro SS fuel pump was fantastic. Vaporworx sells a conversion kit to allow them to run at a fixed 58 or 43 psi with a kit. So that was my plan, but after I decided to use the wagon fuel tank that pump is way too short. The CTSV and SS Camaro fuel pump assemblies only go to about 7.25" tall and my tank with a recess panel for the pump needs to be about 11" tall. After some thought, I decided that I'd buy an SS pump and build my own pump using other parts I have acquired. I've nicknamed this the "Frankenstein Pump" since it will be made using so many different parts. CTS-V fuel hat, Silverado rods/springs, SS Camaro fuel pump lower section and 4th gen Camaro fuel pressure regulator.
Now, before someone chimes in and says I should have just bought the PWM kit to control the fuel pump that did cross my mind. However, I've still got so many other parts to buy and that money could be used for other things right now and I already had the fixed pressure adapter. Plus I like a good challenge and if it keeps me on track with my budget, it's a win-win.
I did this several weeks ago, but I started off with the first wagon tank that I picked up for really cheap and used that as my test tank. I cut a hole in it where I new I wanted the fuel pump and made sure that this whole project would even be possible. It's a very tight spot where the fuel pump fits flush on the bottom of the tank, but it fits and that's what's most important. Time to collect parts.
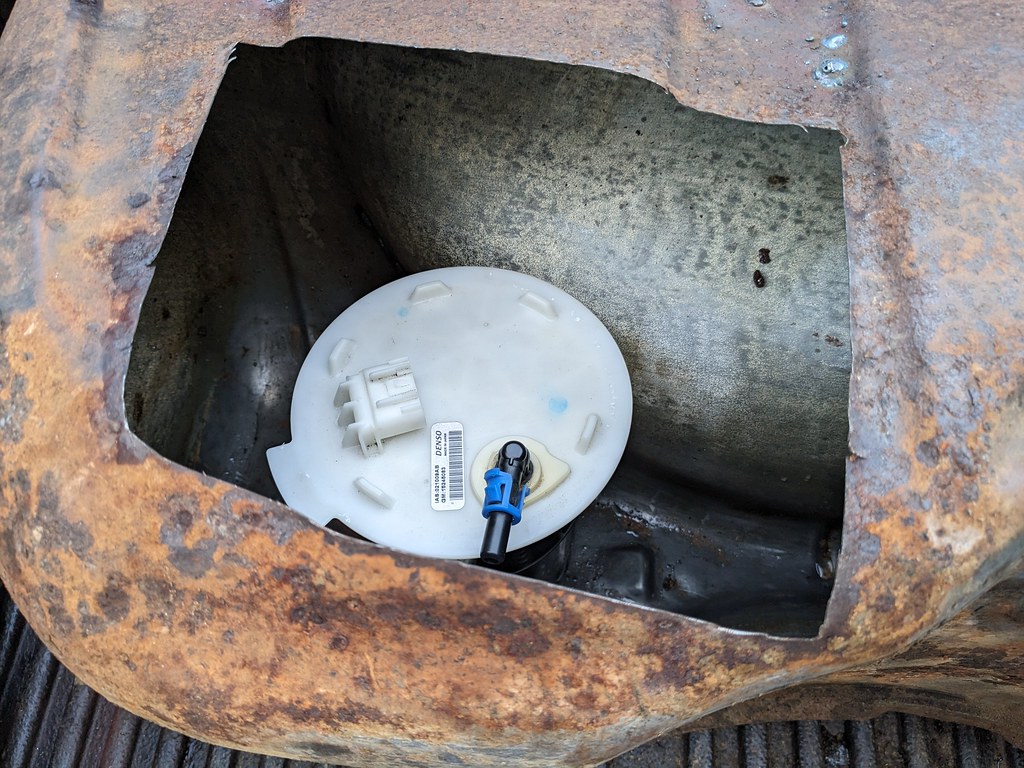
While I was figuring out what rods to use for when I extended the SS fuel pump, I came across a new Delphi pump out of a 09-13 Silverado for crazy cheap on eBay. It also came with a new green seal, so I picked that up for $35 bucks.
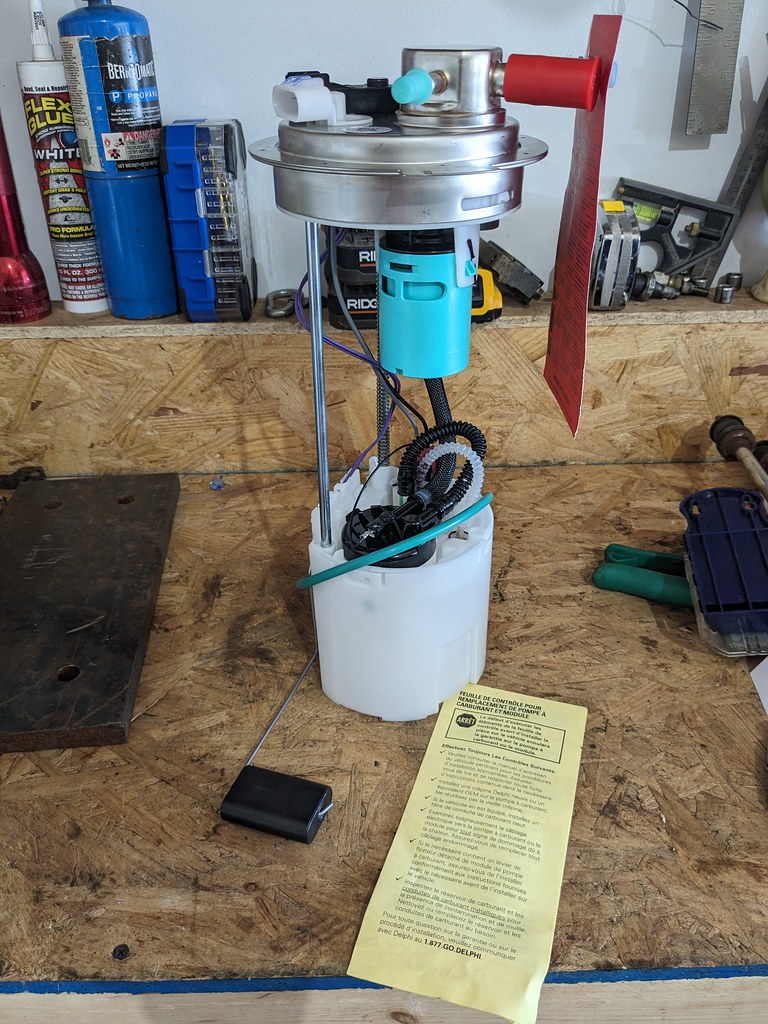
Also on eBay I found a wrecking yard selling a 13 SS fuel pump with 40k miles and they accepted my offer for $45 bucks. I now had all the parts for my "Frankenstein Pump".
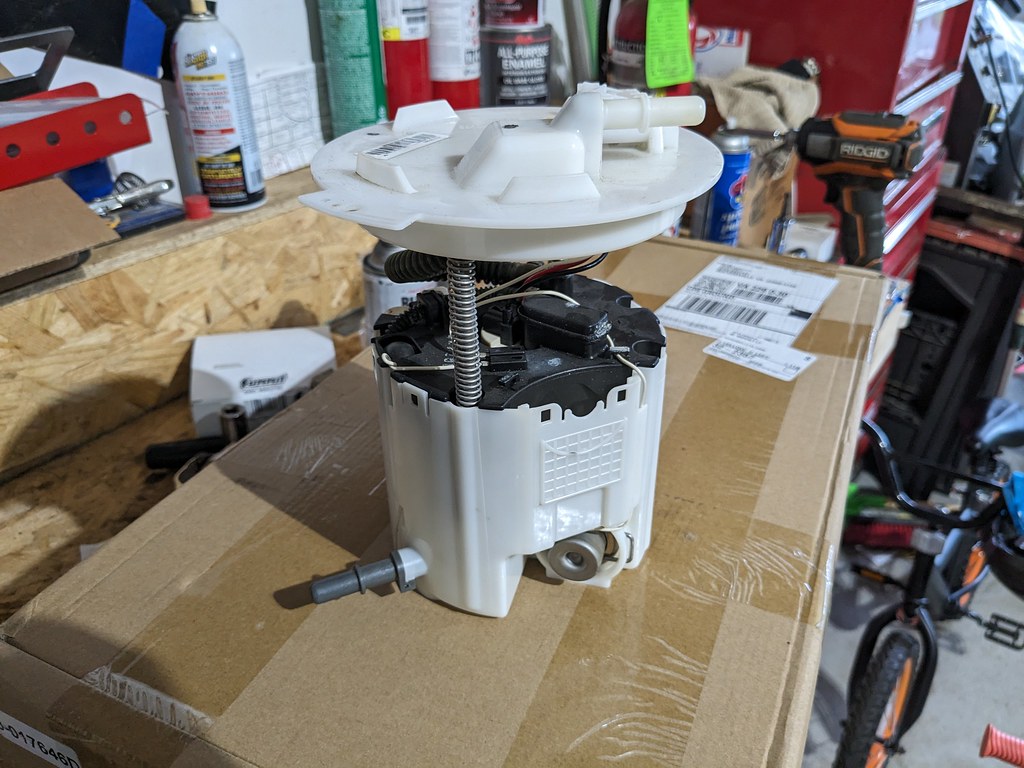
First step was to disassemble the two pumps. First up was the SS fuel pump. There is an inner assembly that is held in with some clips that had to be popped out to remove the clips for the top lid to come off.
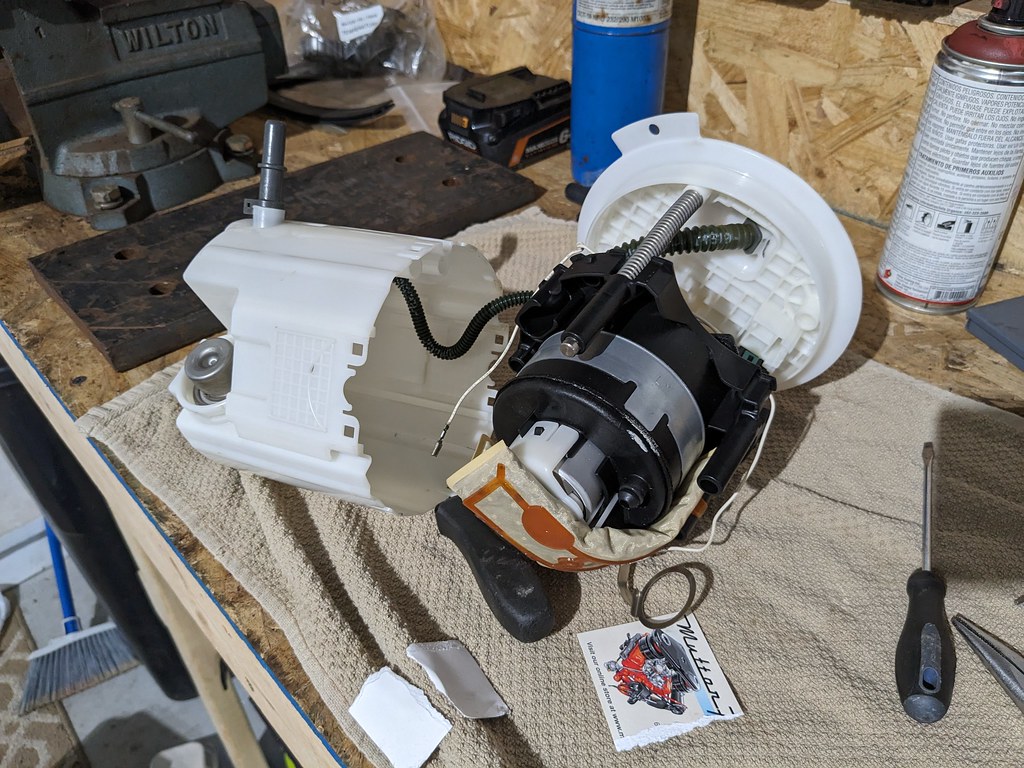
After I robbed the rods from the Silverado pump, I did a quick test fit using the SS Camaro top fuel lid and it gave me the height that I needed at full compression. I bought a new 10mm corrugated hose a while ago because I was pretty sure I was going to be doing this project at some point. It fits perfectly for this application.
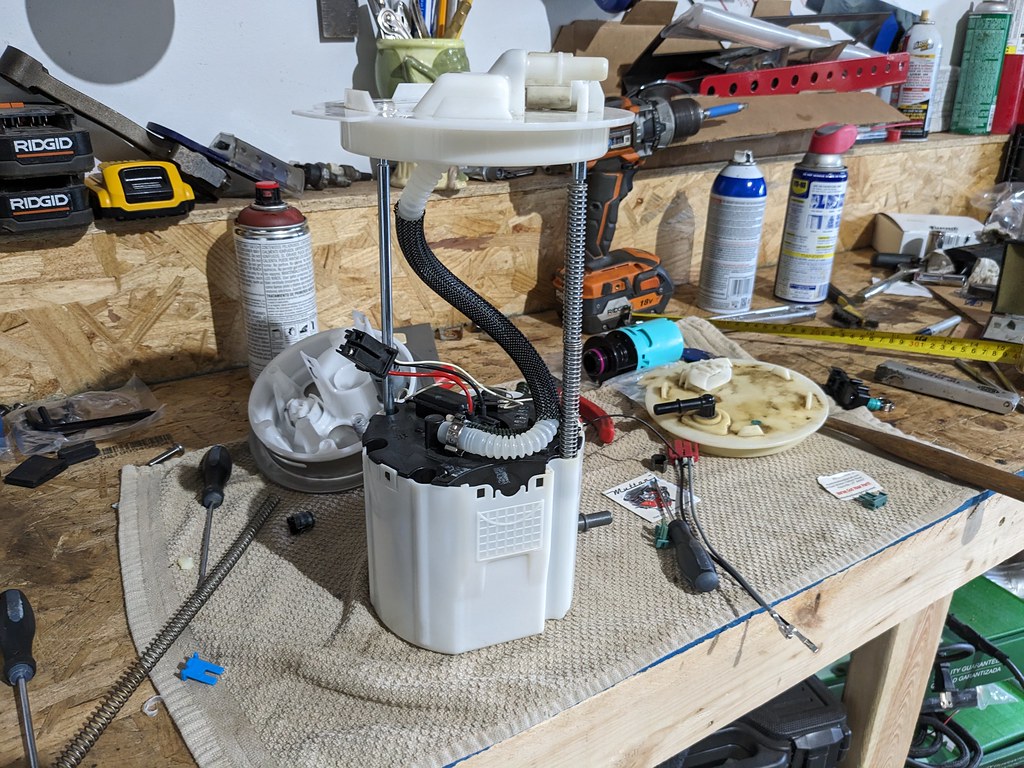
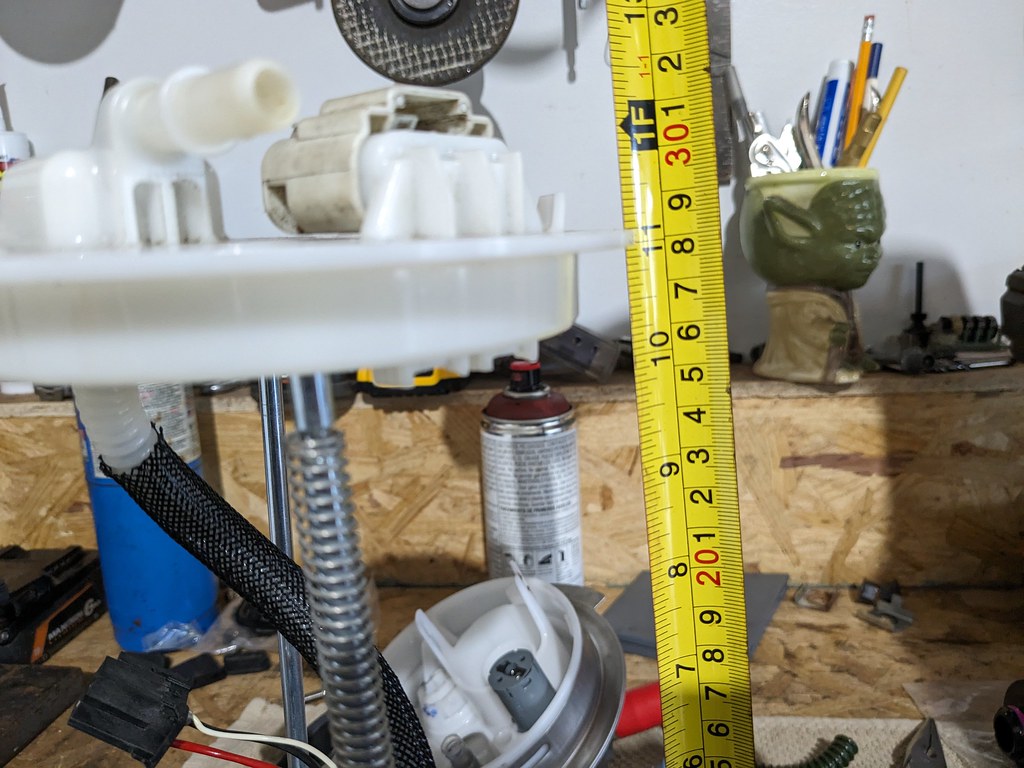
While I liked the SS fuel hat better, where the rods are held in was a press fit and too loose to fit the longer rods. I had a spare CTSV fuel hat from my Camaro and that was a perfect fit. And there were slots in the SS pump lower section for the rods to go since the rod spacing is different between the SS and CTSV.
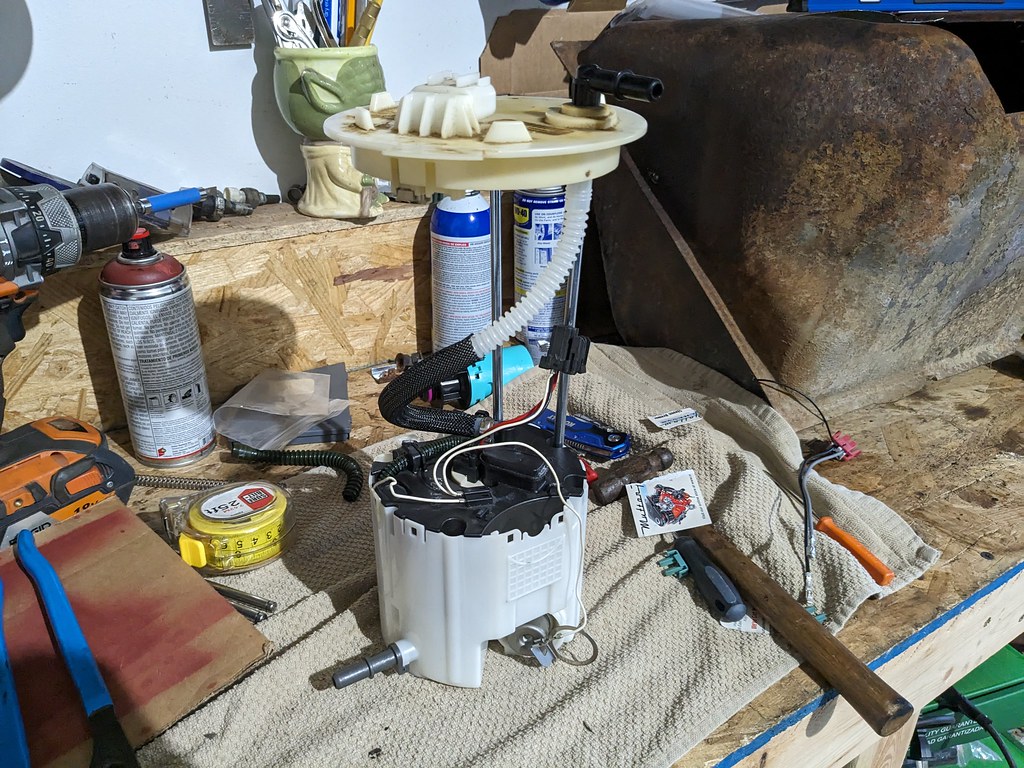
Now that it's all fitting together nicely, it's time to work on the fitment into the fuel tank. Glad that I had a spare tank to play with since I cut this one too far on the vertical side. Perfect for getting me measurements though.

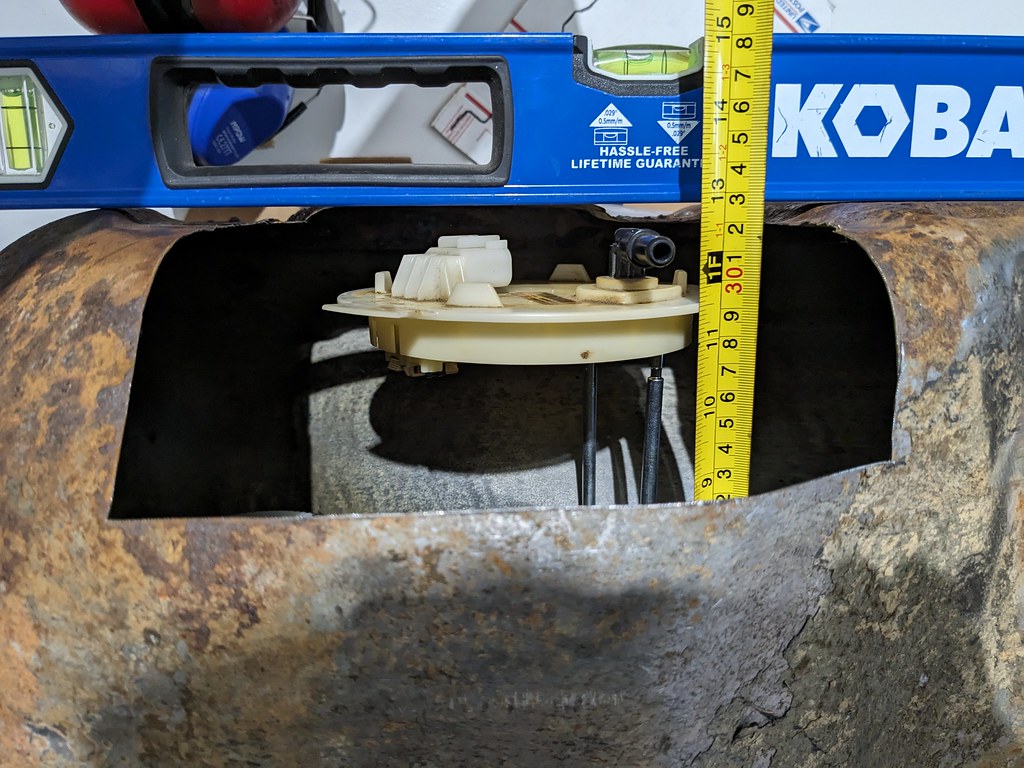
I also wanted to make sure that there would be enough room for me to get a tool around the fuel pump ring.
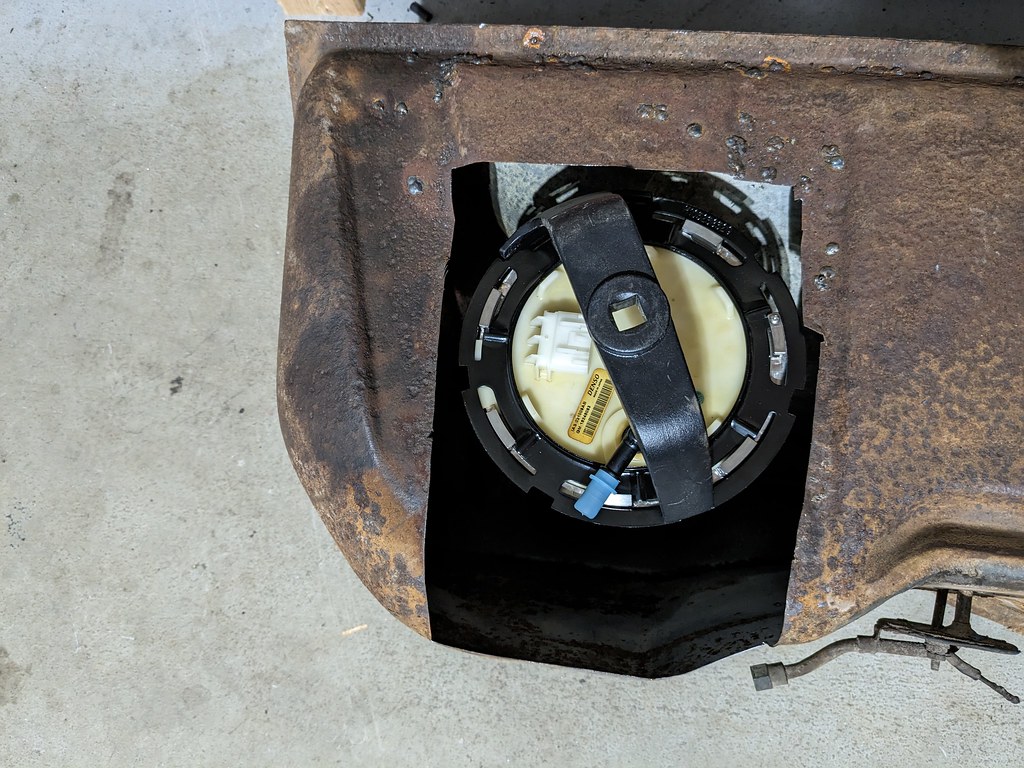
At this point, I'm completely satisfied with the fitment of this pump in the tank so I took some measurements off the test tank and transferred them to my good tank. I made sure that my cuts were way smaller than needed to be so that I could creep up on the final cut lines.
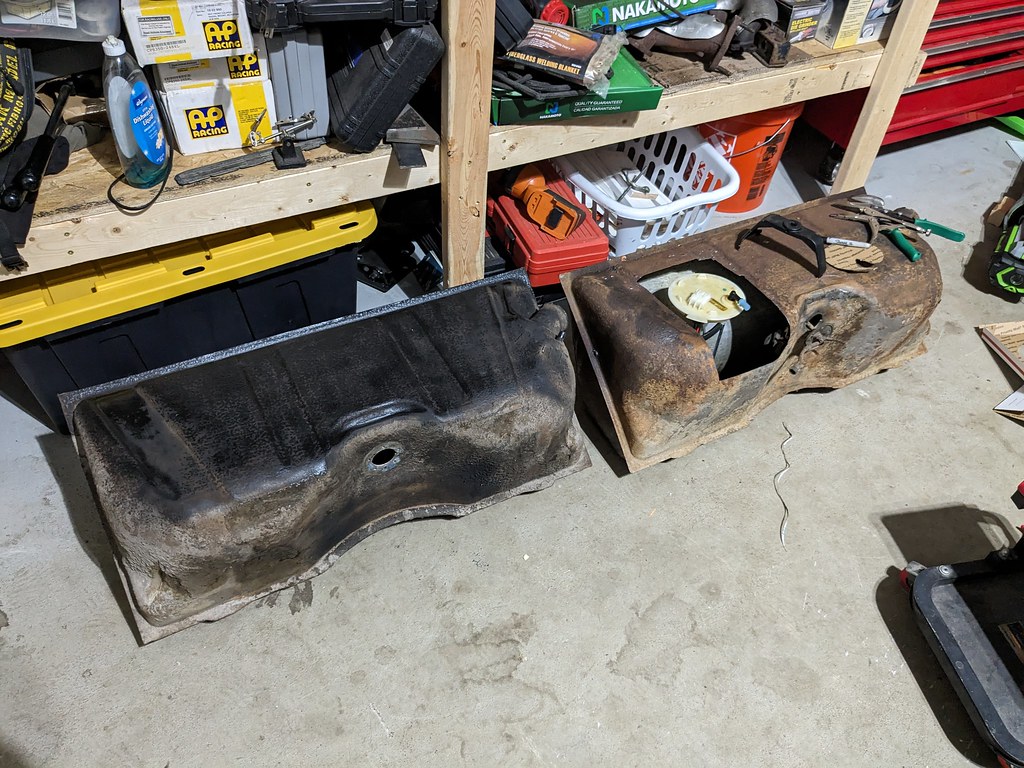
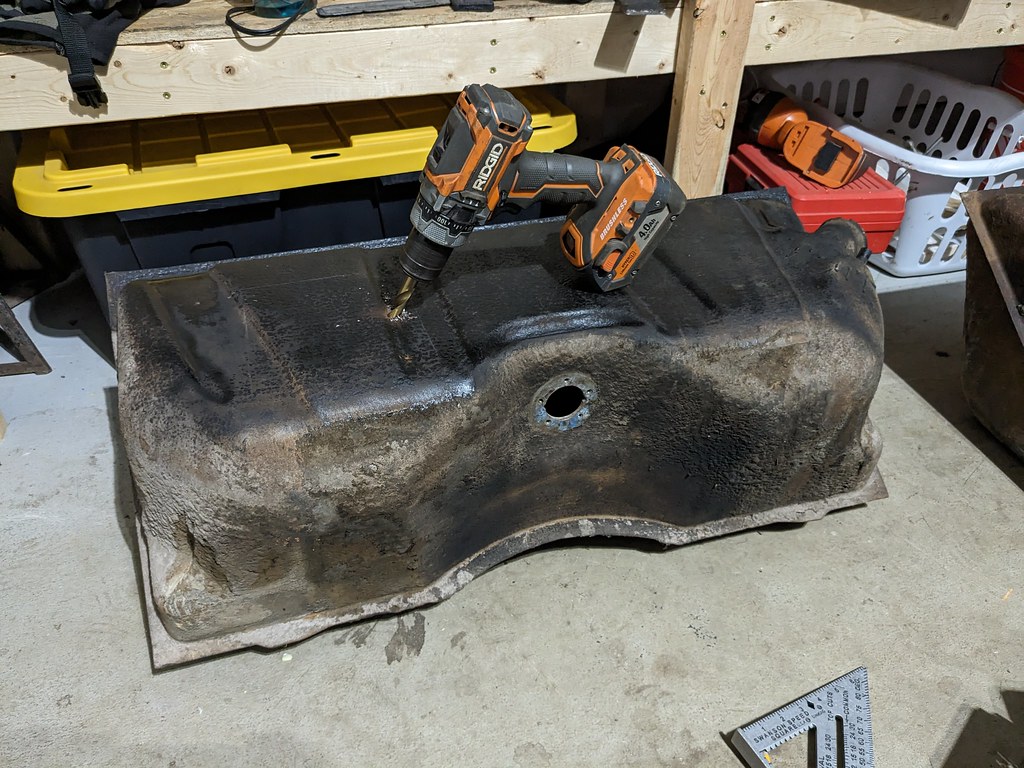
I wanted to play around with some cardboard to see what the recess panel will look like and fit. Now because there was such a tight fit for where the fuel pump had to be placed, I wanted to make sure that the recess panel was centered as perfectly as I could get it. I build the recess panel template and used the inner inner diameter of the locking ring for my initial hole. With the template fitting snuggly on the top of the fuel pump hat I placed the pump in the exact spot it needed to be in the fuel tank. That centered up the template and allowed me to make some marks for my final cuts.
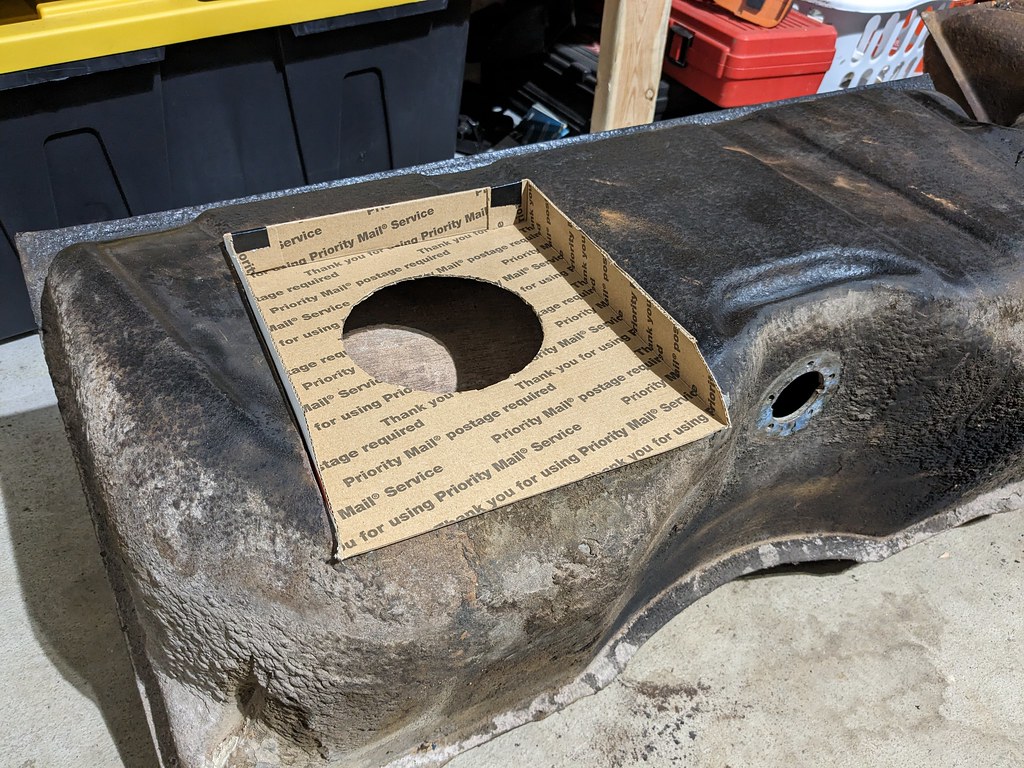
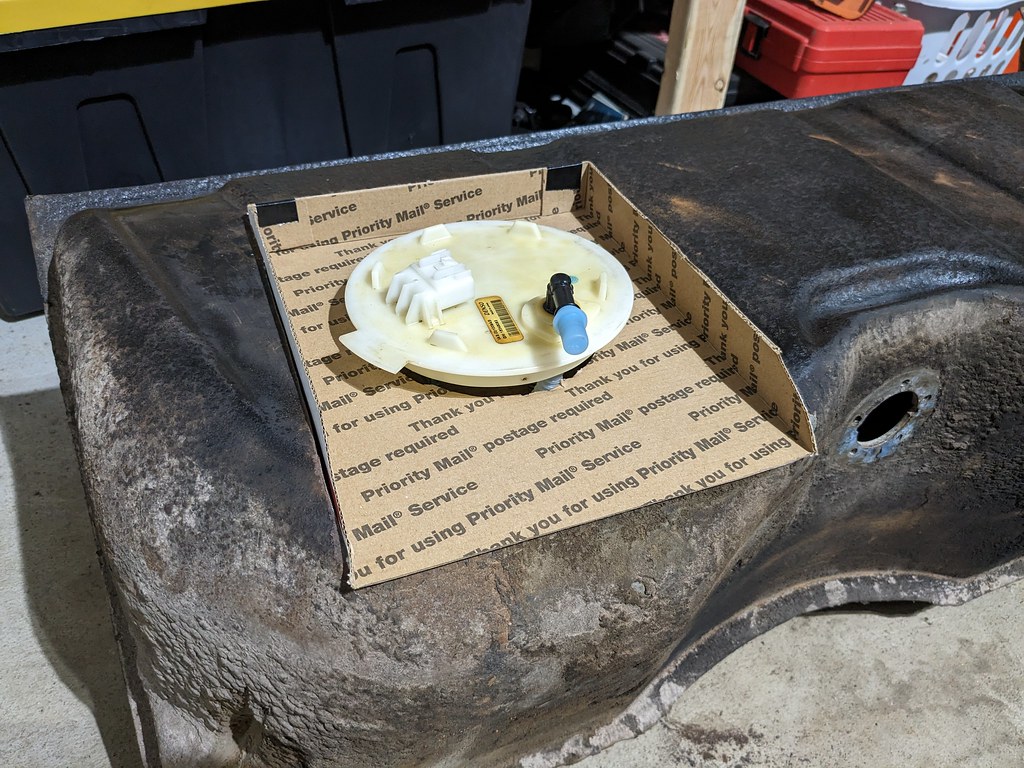
Now that I confirmed the fuel pump is exactly where I wanted it, I cut the hole larger to test fit the actual fuel pump ring I'll be using and once again checked the fitment.
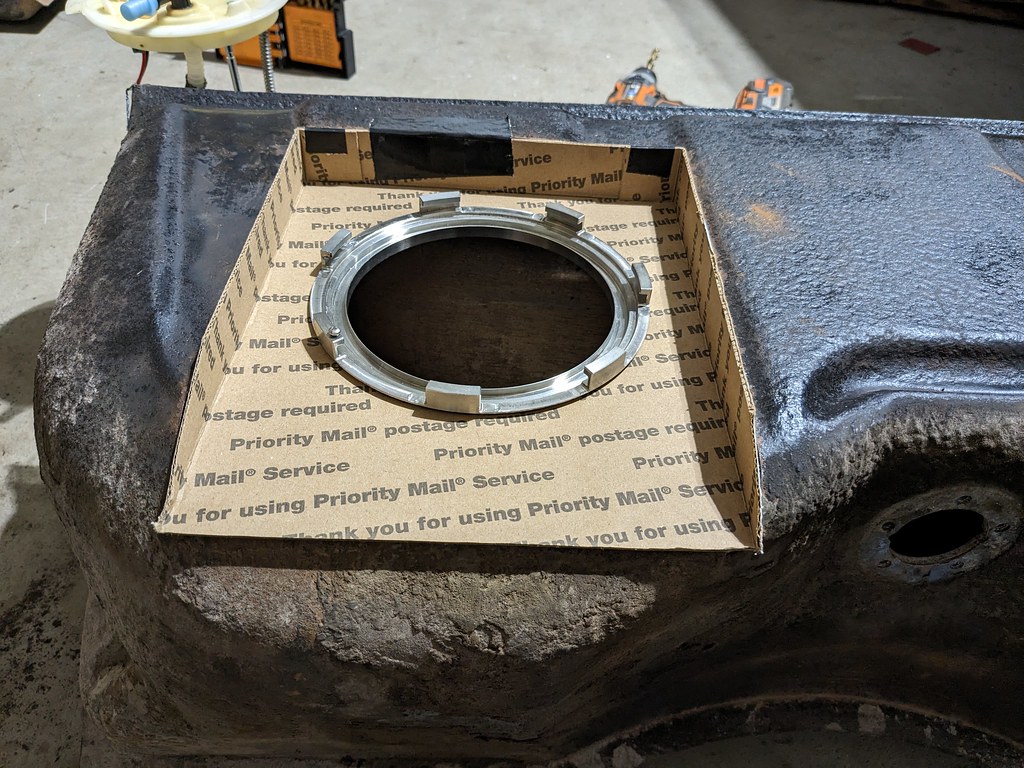
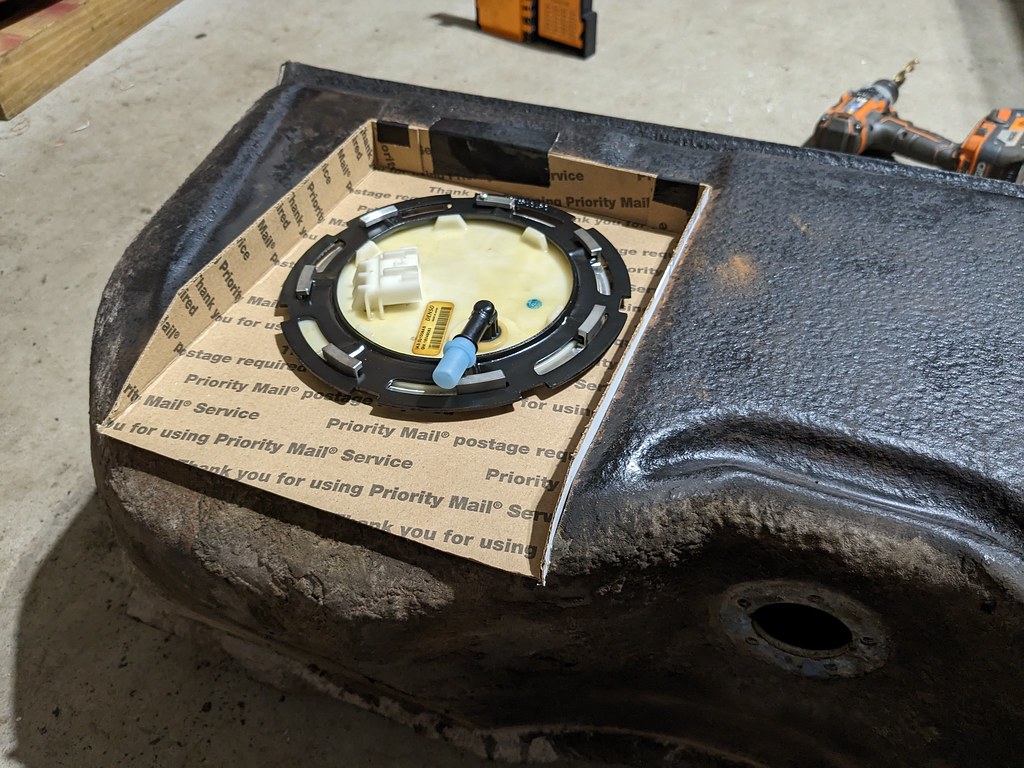
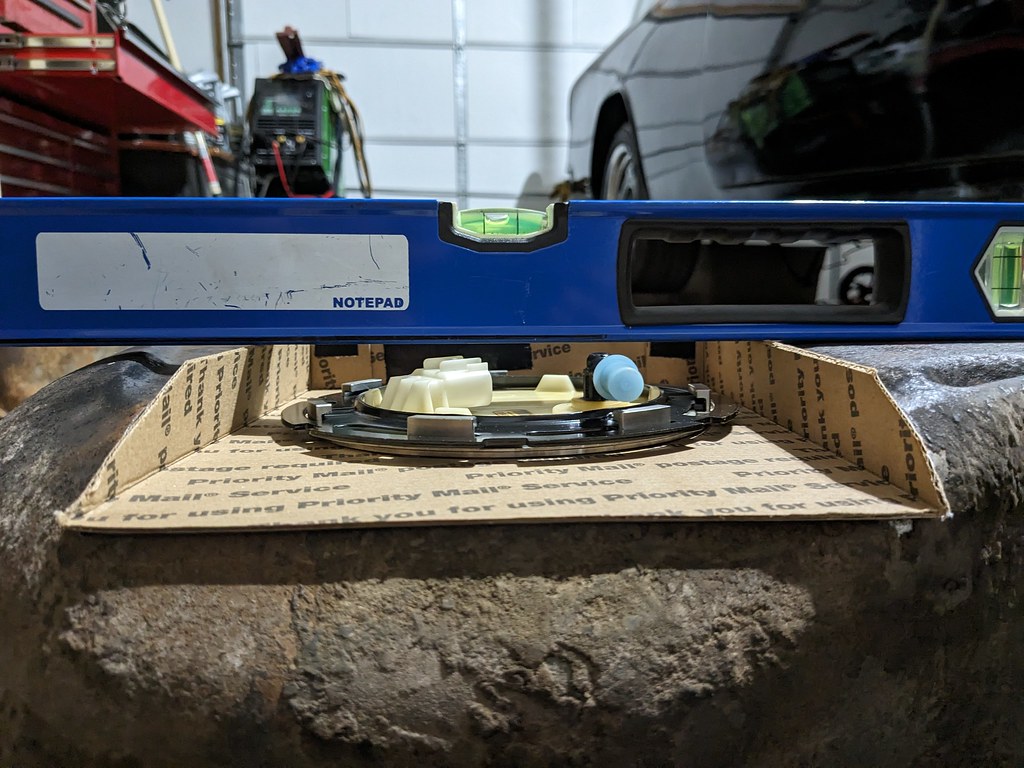
I'm very pleased with the fitment and there should be plenty of clearance above the fuel pump. With it all in place, it was now time for the first test fit in the car.
Huge fail!! But this is why I've come to realize that test fitting parts before a final weld or assembly is so important. While there is plenty of space above the fuel pump, there isn't anywhere for the fuel line to go.
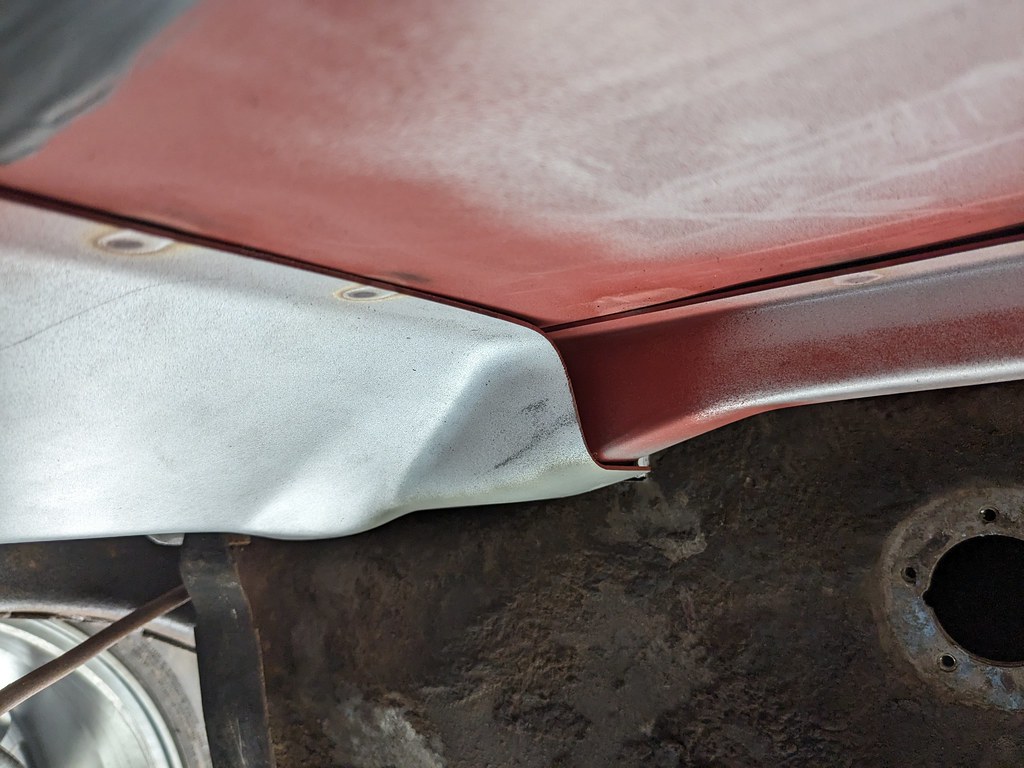
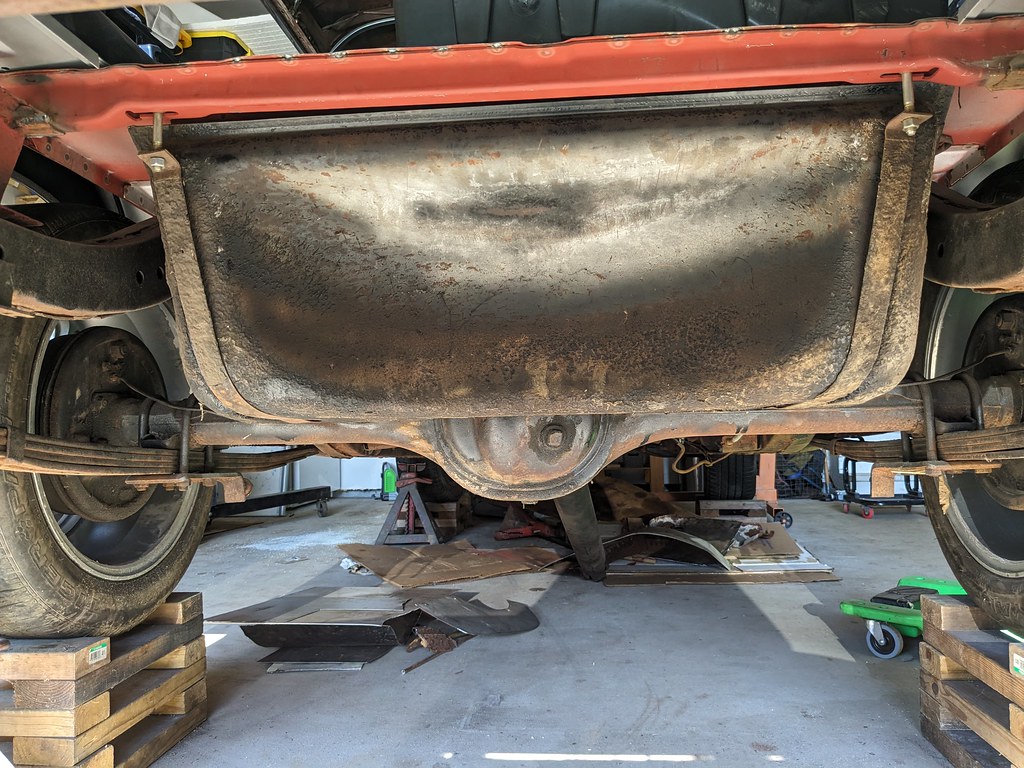
I marked where it needed to be for a fuel line to be, then pulled it out and started over. I had to make a new template because the old one wasn't long enough on the sides. trimmed the tank about 3/4" lower then reinstalled for a second test fit. It's perfect now and I'm very pleased.
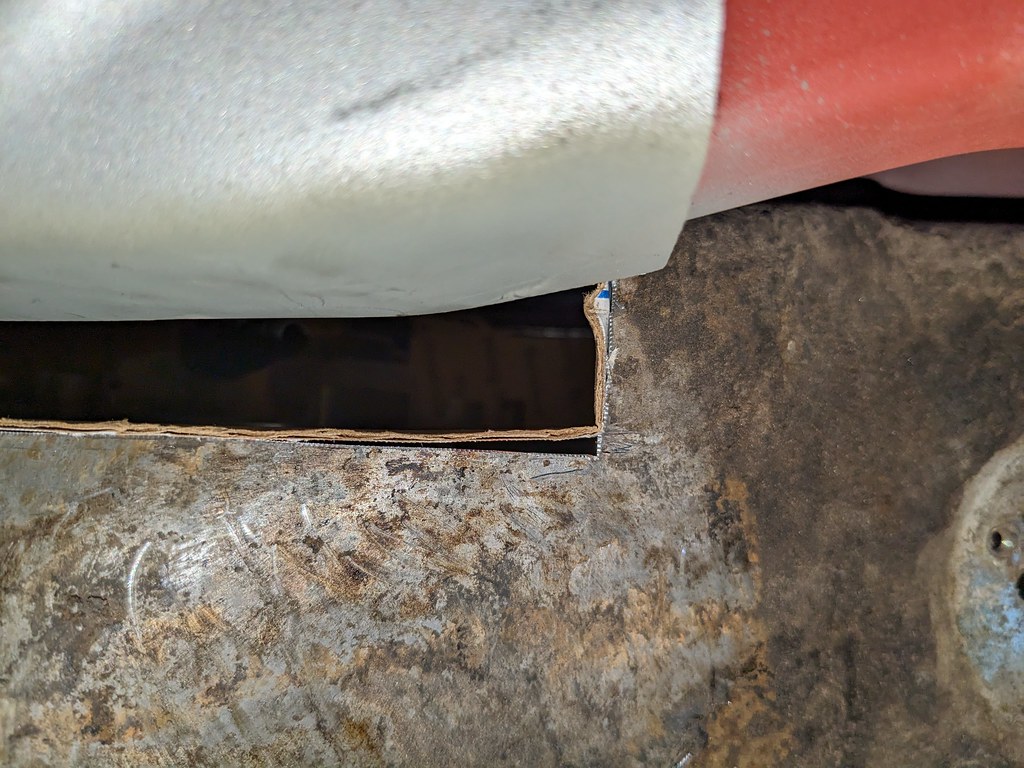
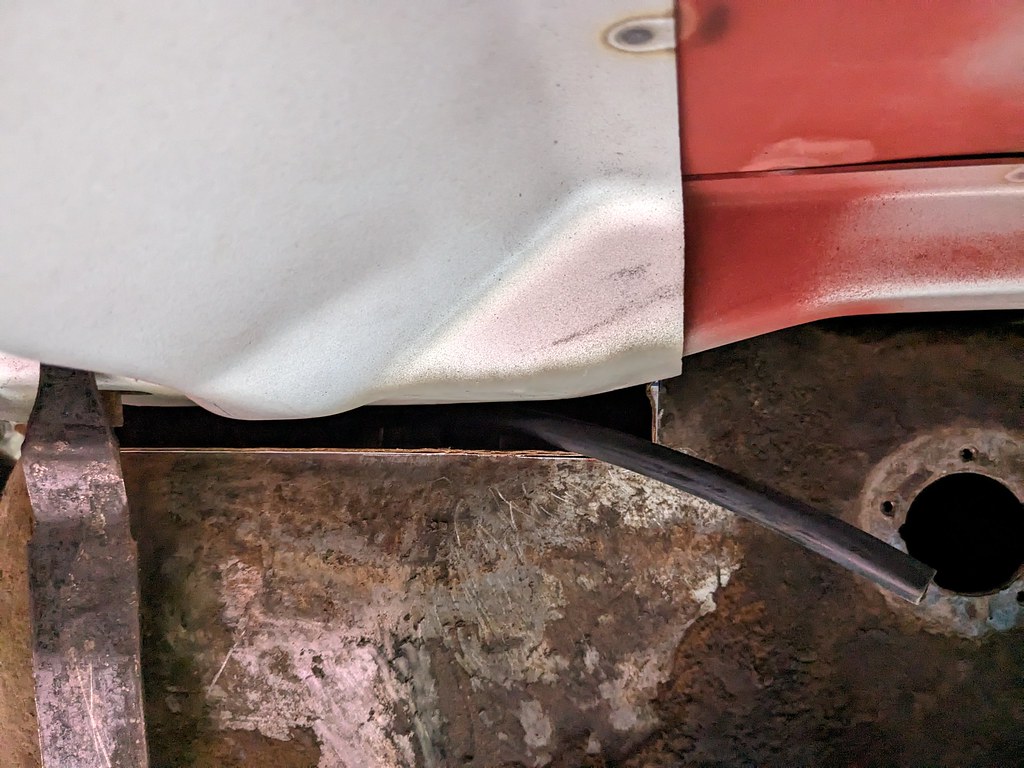
Miles of room above the fuel hat.
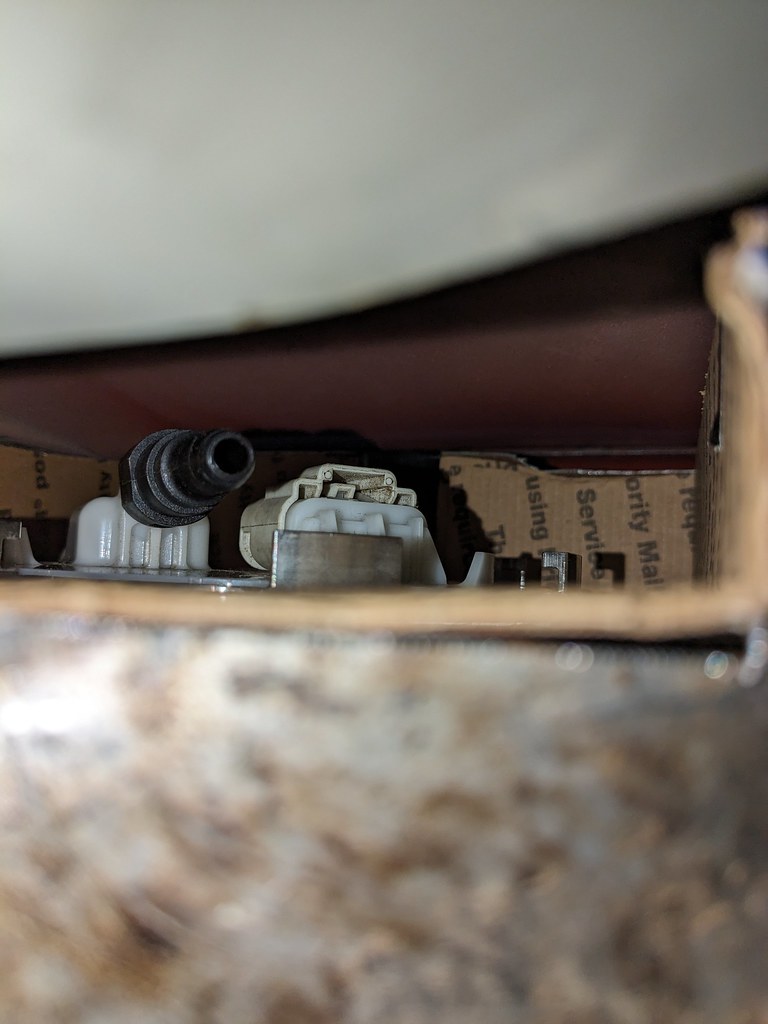
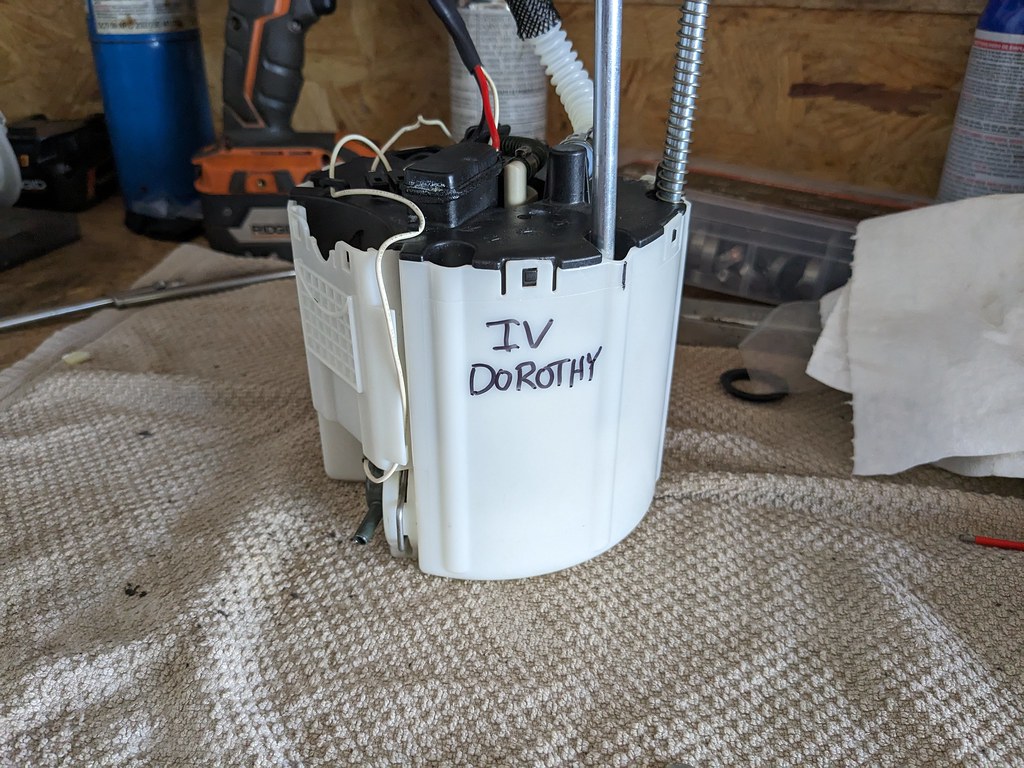
Here's the final mock up. One minor adjustment I'll need to do is shorten the rods just slightly because they are just a touch too long now that I had to lower the recess panel. That will be a very quick process, but here's the completed fuel pump. Next up will be transferring my template to metal and getting it welded in place.
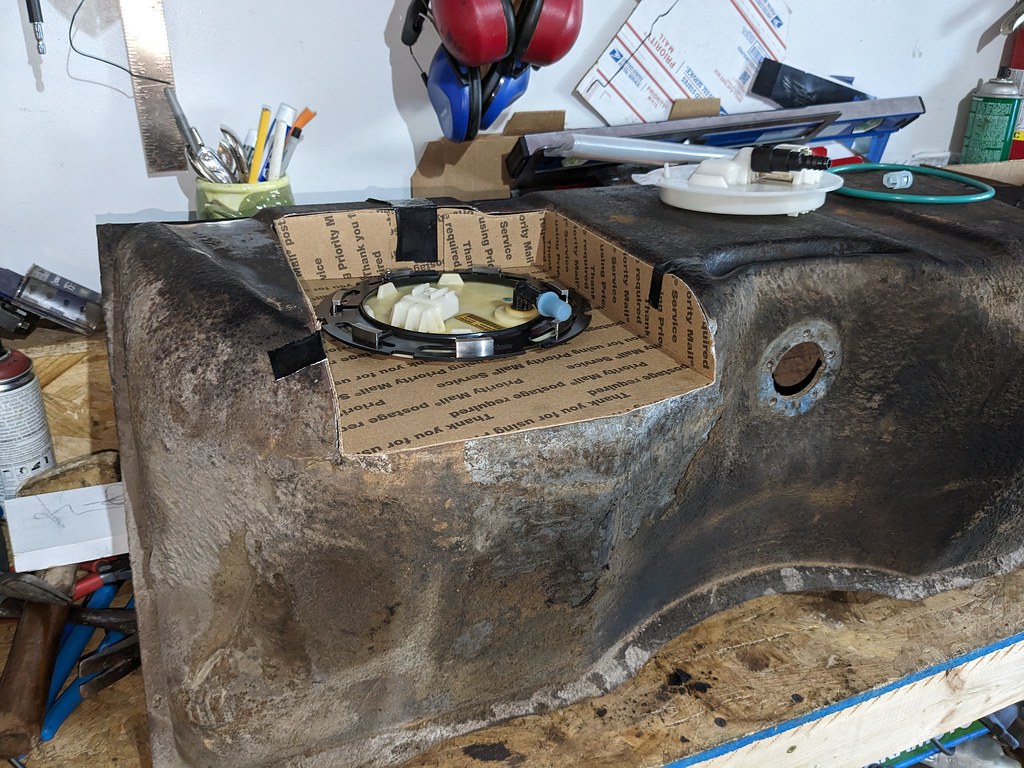
My buddy Jonathan said that my fuel pump looks a lot like the tornado machine from Twister. So I added a mark for Dorothy IV haha
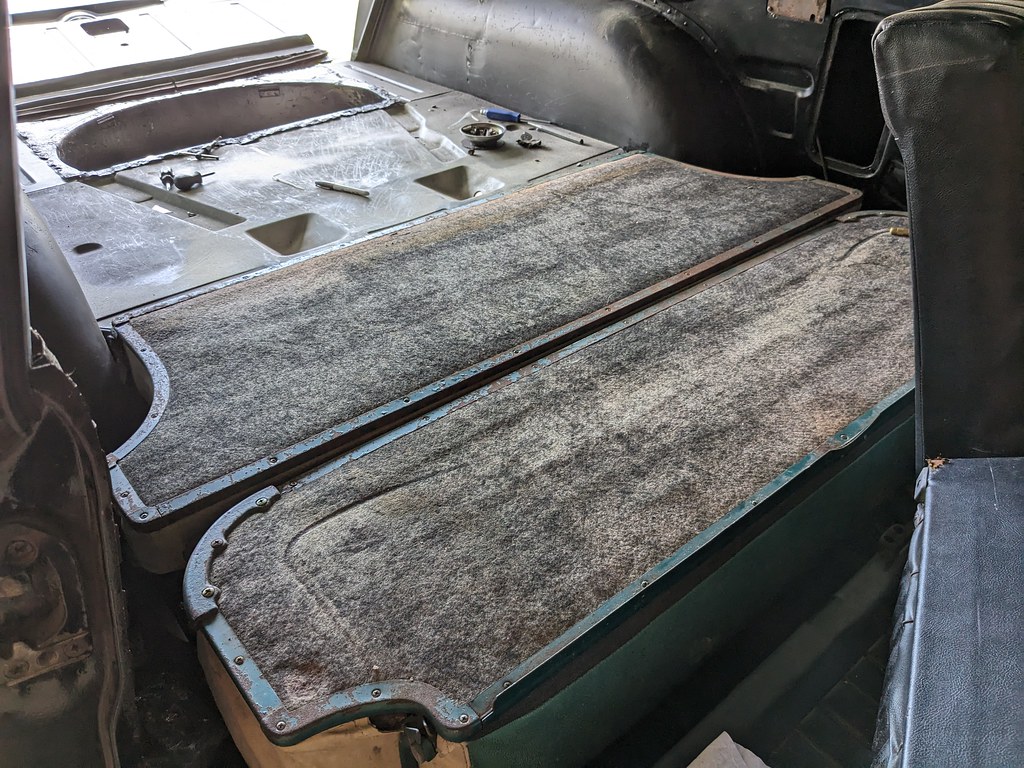
I was also tinkering around with the seat bracket placement and think that I've nailed down the seat bottom, but need to finalize the location for the upper hinge brackets. I drilled the lower brackets with self tapping screws to tighten it to the floor and the seat flips up and down nicely. The upper will be more difficult because it needs to pivot at the right location to both hit the upper latches and lay flat and not too far forward in the down position.
I sharpened all my tig tungsten, so hopefully I'll get the recess panel built and welded in this week.
Cheers,
Ryan