I started working on the interior installation on my 72 Firebird this week. The first thing I wanted to do was to install the bow type headliner. The bow type was used primarily before 1973. I didn’t want to use the shell type because I do like the earlier bow headliner so I figured I would give it a try doing it myself.
Honestly, there a hundred ways to skin a cat. So there are a lot of techniques that can work for this headliner . Firebird specific the bow headliner actually is pretty easy and straightforward. I did a lot of reading up and watching different videos on installing the headliner. A few years ago I purchased a book on automotive interior it served as a real good reference.
The work itself is hard to do, in fact each step is quite simple. However it does take time and preparation. The first thing I did was to lay out the headliner, because it comes folded in a box, the fold creases need to be smoothed out. The headliner is vinyl and laying it out in the sun takes care of the wrinkles.
Originally this car had a cloth ( Lombardy) headliner. I opted for the black vinyl one from Legendary Interiors . I also had to purchase a new set of bows. The old ones could have been used but I had two that were bent. I also had to purchase new front and back trim. The originals were dry rotted and were not reusable. The front and back trim is a rubber type trim which has a grain texture. I also got a new set of bow clips mainly because the original ones are old and I did not want to take a chance them breaking.
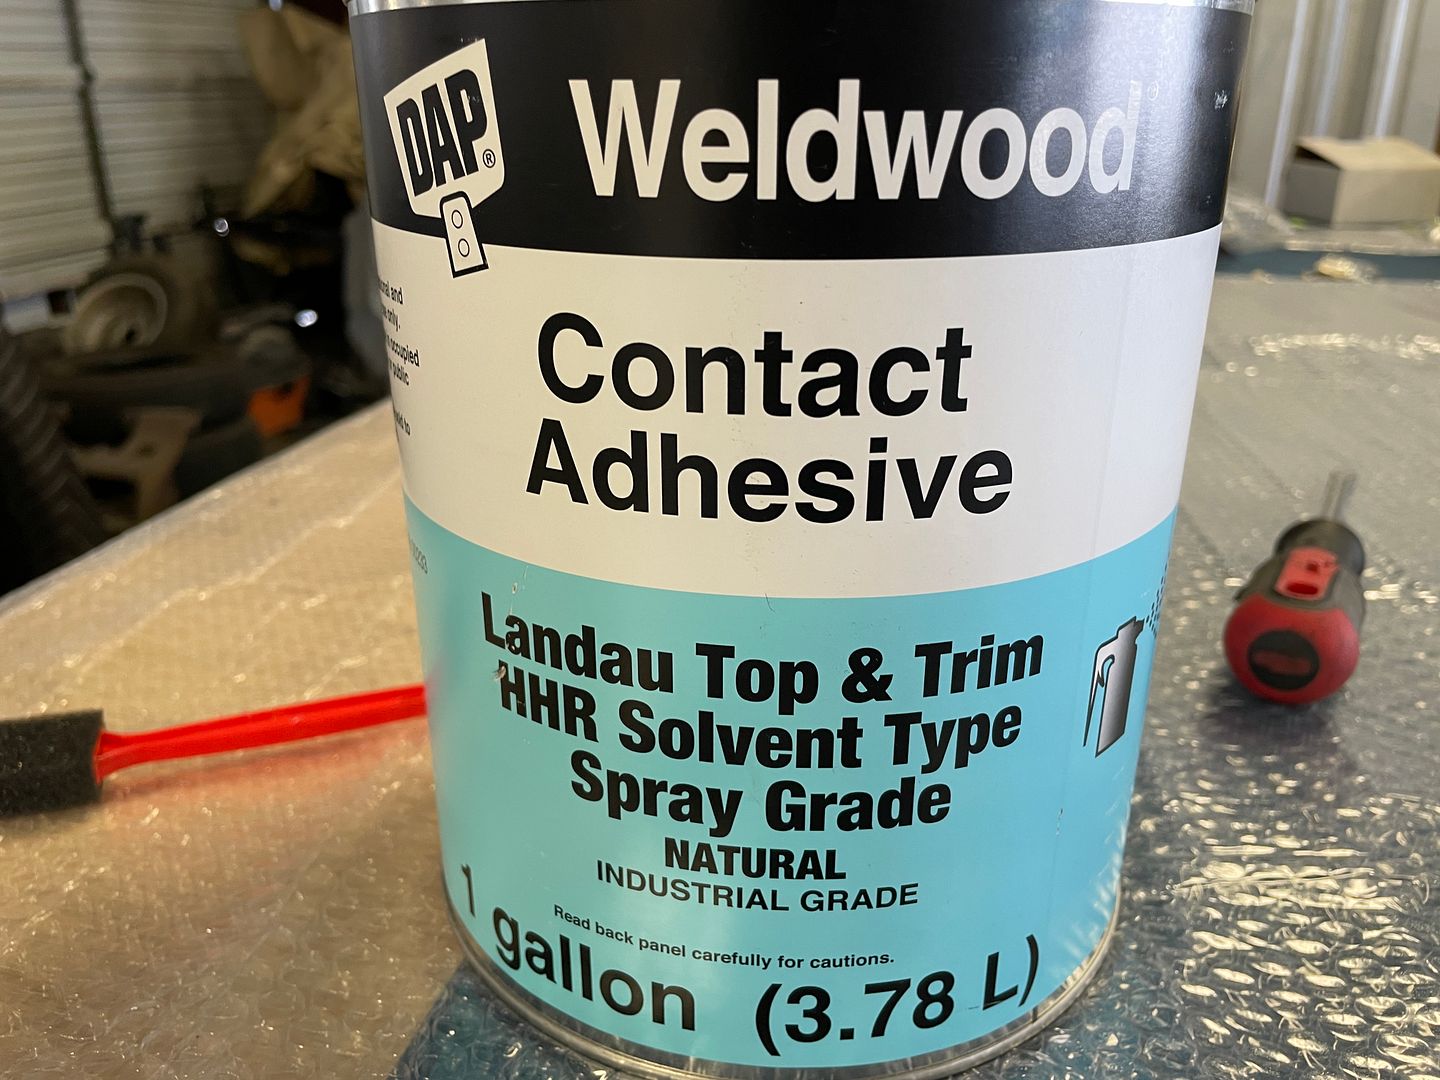
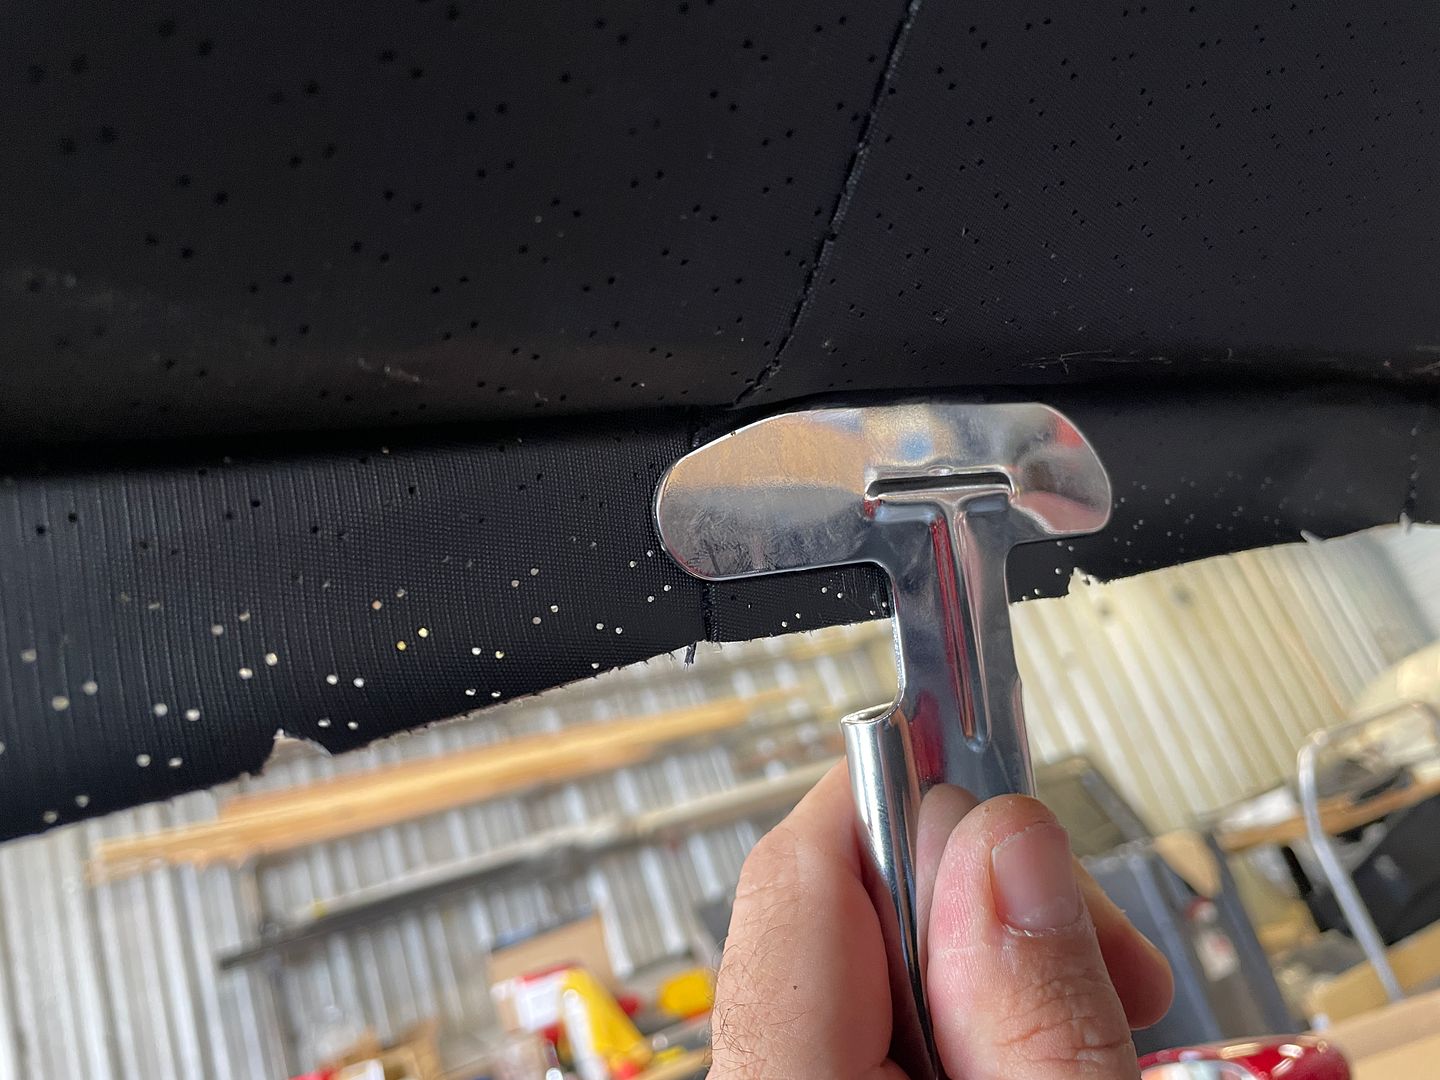
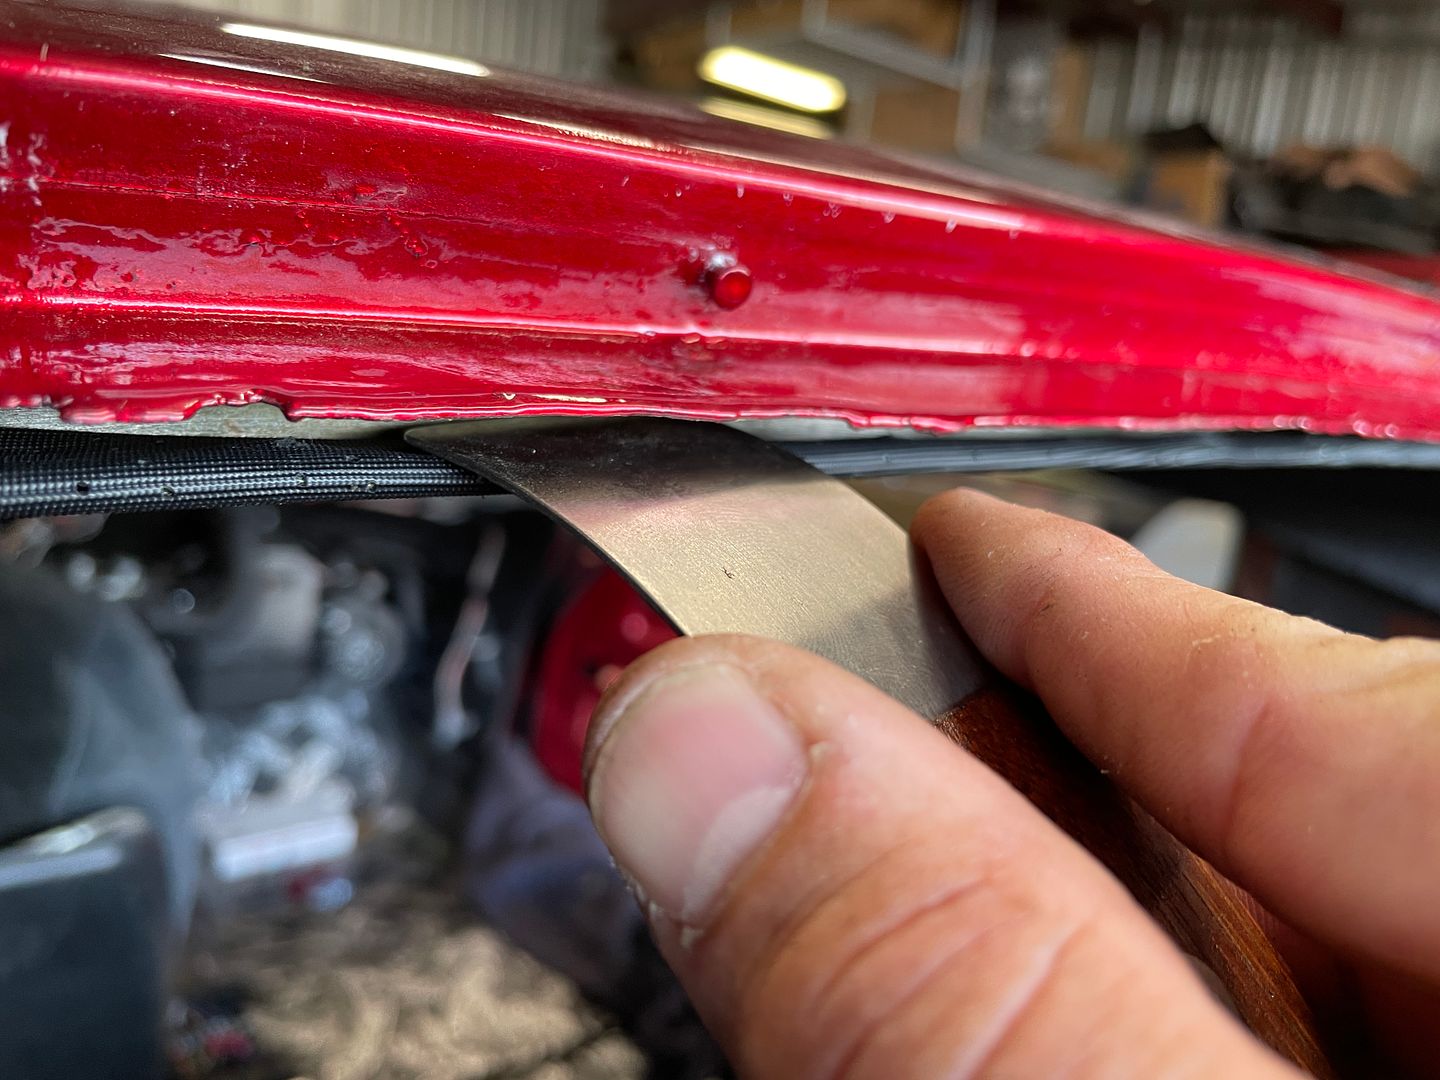
As far as things need to install the headliner that is pretty simple also . I did buy a headliner trim tool, actually I bought two types although they are both similar in function. One looks like a flat spatula and the othe has a curved edge. Both work well in all areas of tucking in the headliner. I bought Welwood contract cement formulated specifically to headliner and vinyl top applications. I bought a box of metal clips from Office Max. I used the clamps to keep the headliner in place during installation. A sharp razor ( like a exacto knife or similar) . A good set of scissors is also needed.
The are pics of the two types of headliner tools I used.
The prep work started with laying out the headliner in the sun to remove creases from packaging. While I waited for the sun to do its work, took some measurements where the retaining clips mount to the roof.
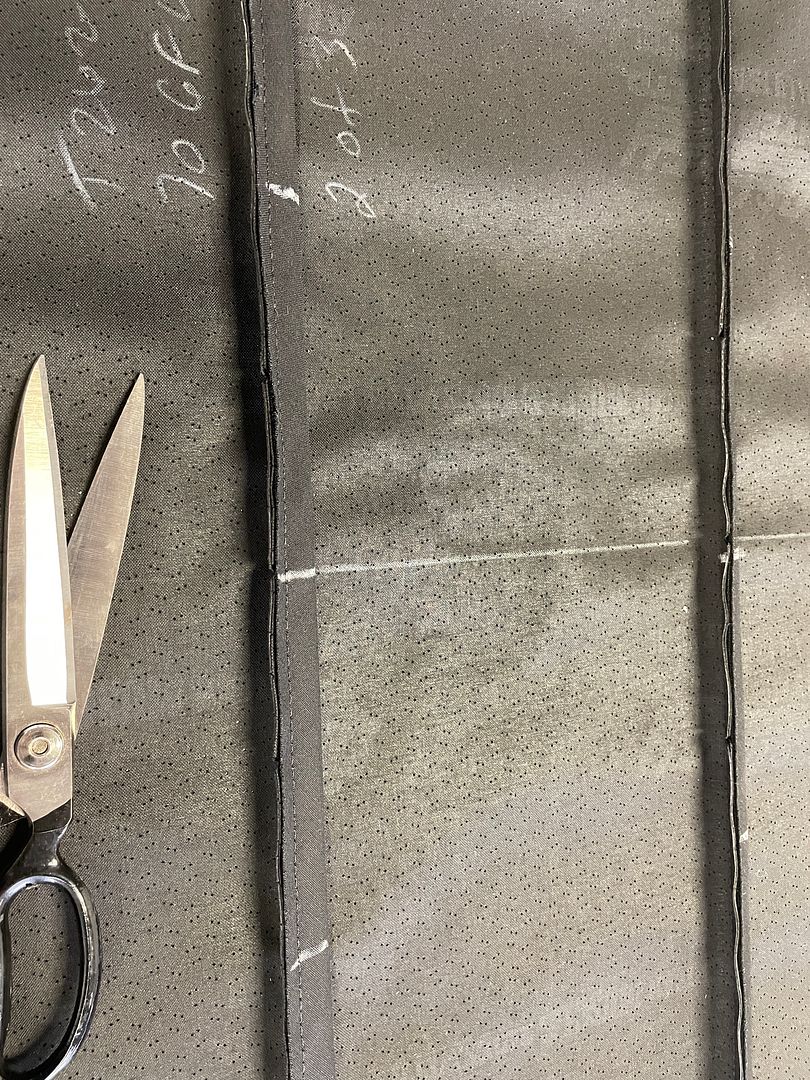
I drew a centerline using a China marker ( grease pencil) down the center of the roof from the front to rear.
I took my measurements from there to serve as a reference when I installed the headliner. This was very helpful when installing the headliner to keep it centered.
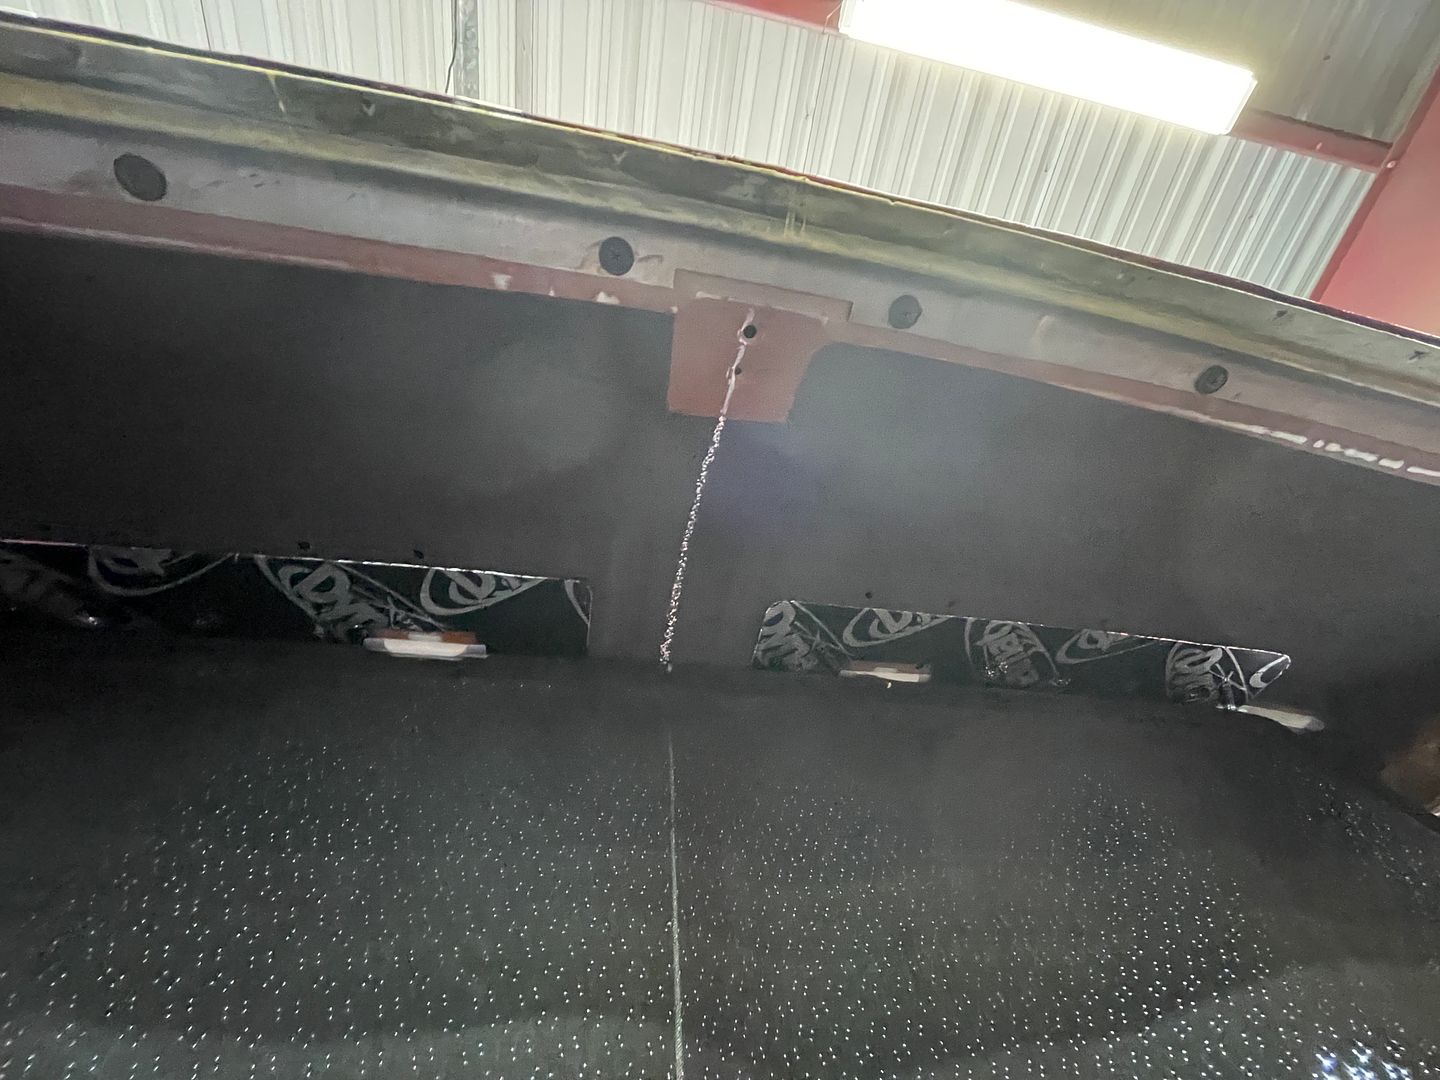
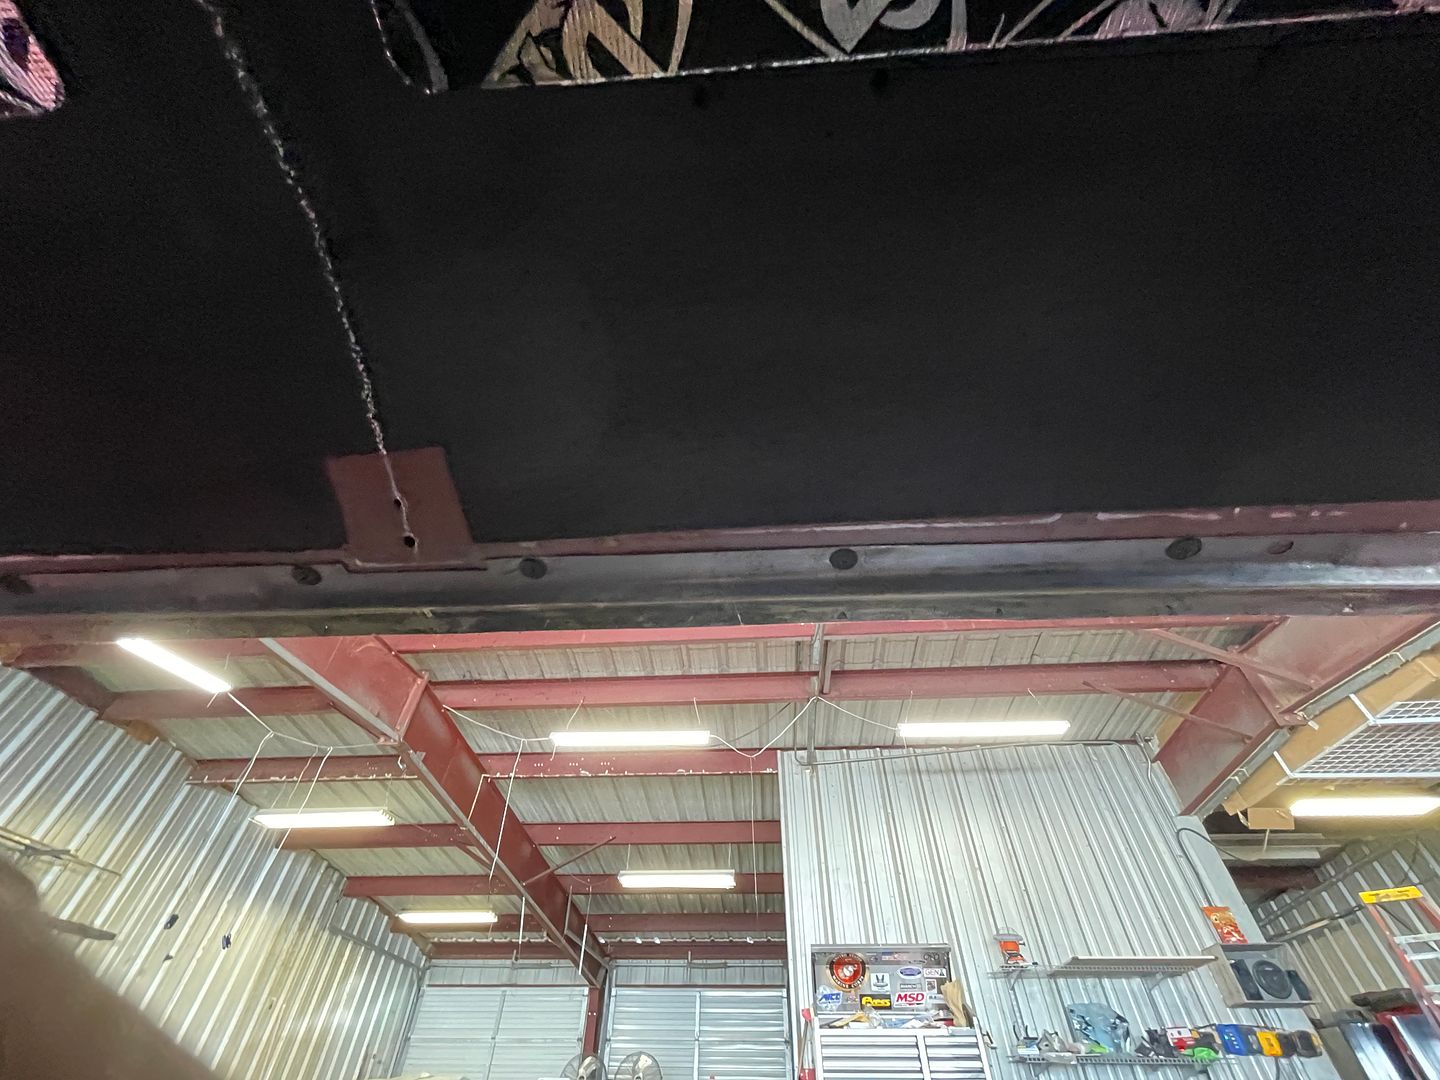
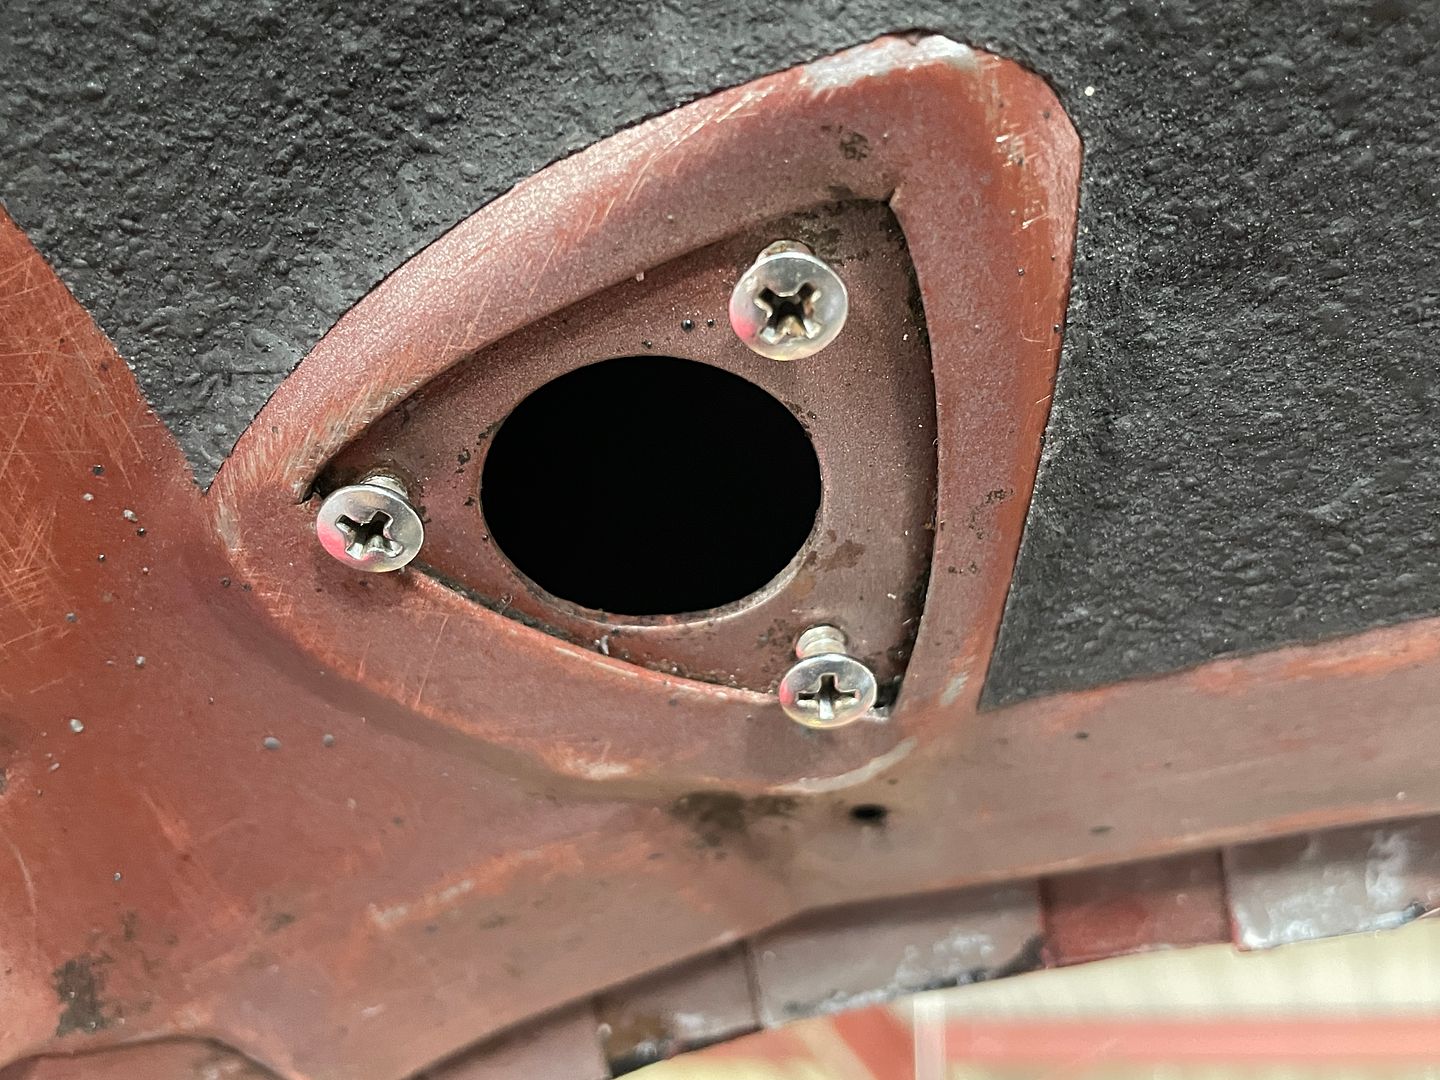
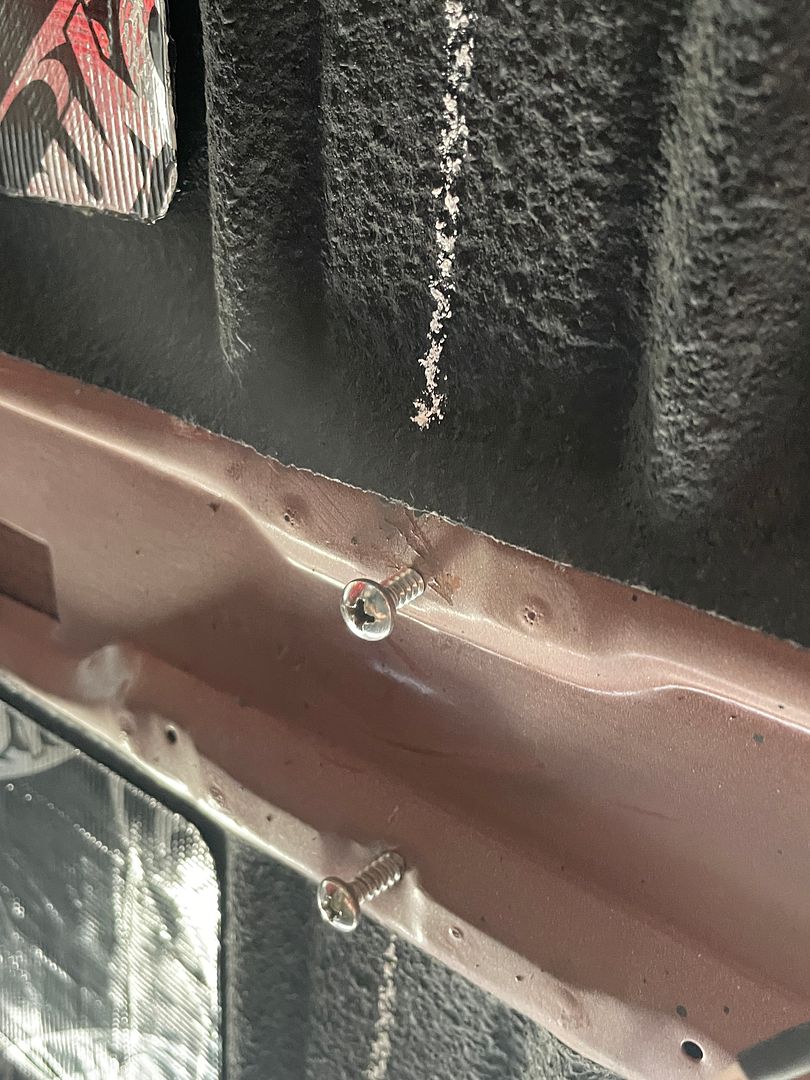
I installed the screws and bolts where the visors, shoulder harnesses, dome light and coat hooks mount. This really is important because it will be difficult to find the mounting holes once the headliner is installed.
For the dome light make sure you have the wire harness centered and positioned when it comes time to install the dome light. I pulled the circuit breaker for the courtesy and dome lights to prevent any electrical shorts. I did this awhile back to prevent any battery drain.
You have to also clean off the old glue used to hold up the old headliner. When you do this note where the factory applied the contacts cement. Once cleaned it serves as a guide when applying the contact cement.
I took the headliner and laid it out flat on my work table. If a table is not available, lay some cardboard flat on the floor and lay the headliner out. I used a China Marker ( grease pencil) and drew a centerline on both sides. The China marker is a basically a light grease pencil and cleans off easy after installed. I also marked the locations where the bow clips go. It is also go to note the forward edge and rear edge of the headliner. In this case the corners were round on the front of the headliner , the rear edge corners are square.

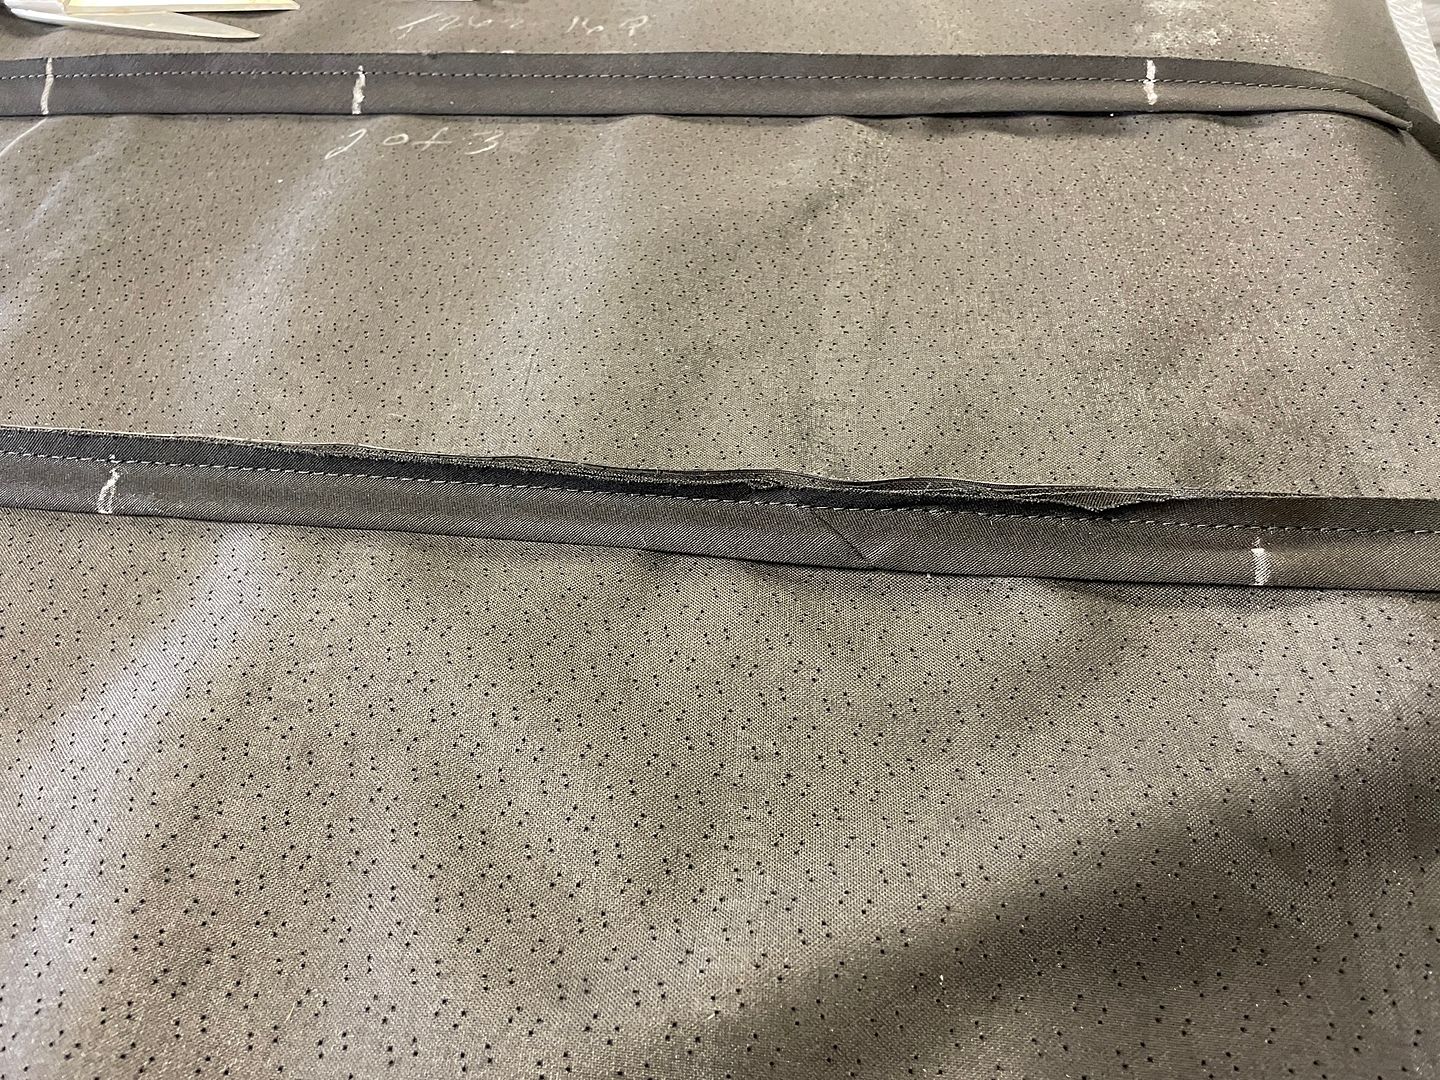
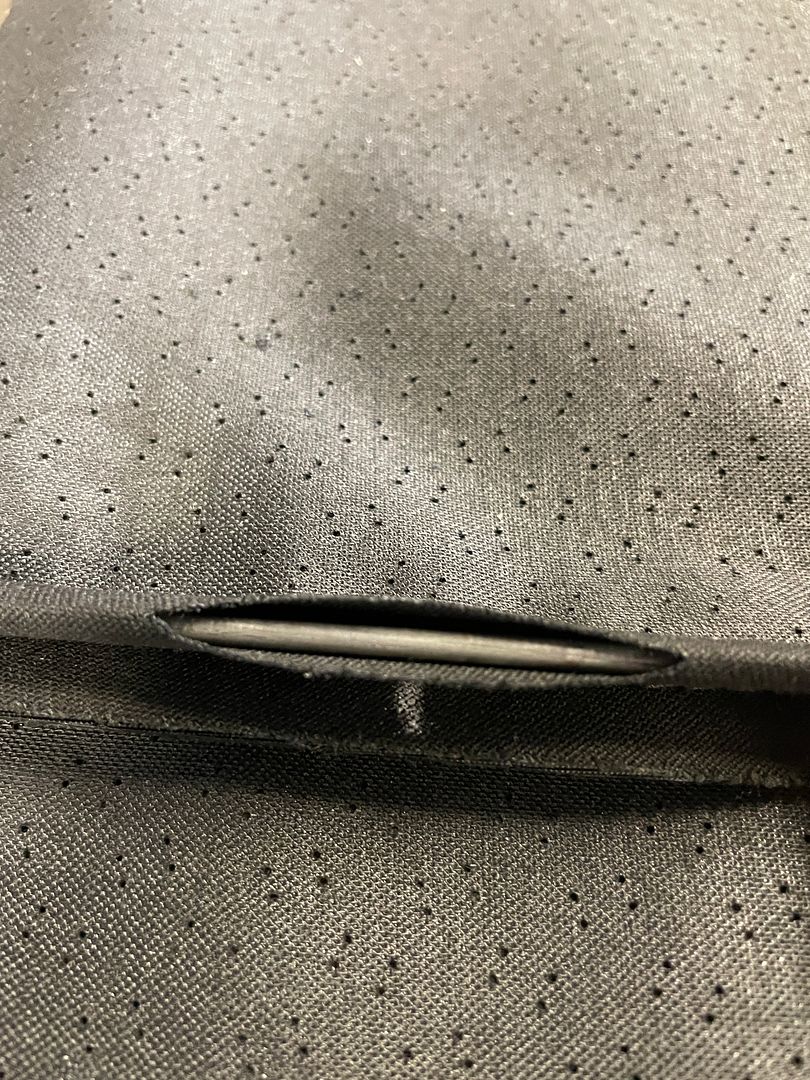
The metal rods which are referred to as “bows”. On some cars the are different lengths and shape and it is important to mark each one and where they mount. Fortunately for the Firebird, all the bows are the same length and are not position sensitive. The bows are inserted through the sleeves between each panel. I marked each location on the headliner where the clips are installed to the roof. The bows clip into the plastic retainers, but it is a real pain. So I used another technique. With the retainer clips locations marked, I cut a about a 2-3” slit at those areas. I then slid the bows through the sleeves and and through the clips.
I removed the outer clips and installed the after I hung the headliner inside the car.
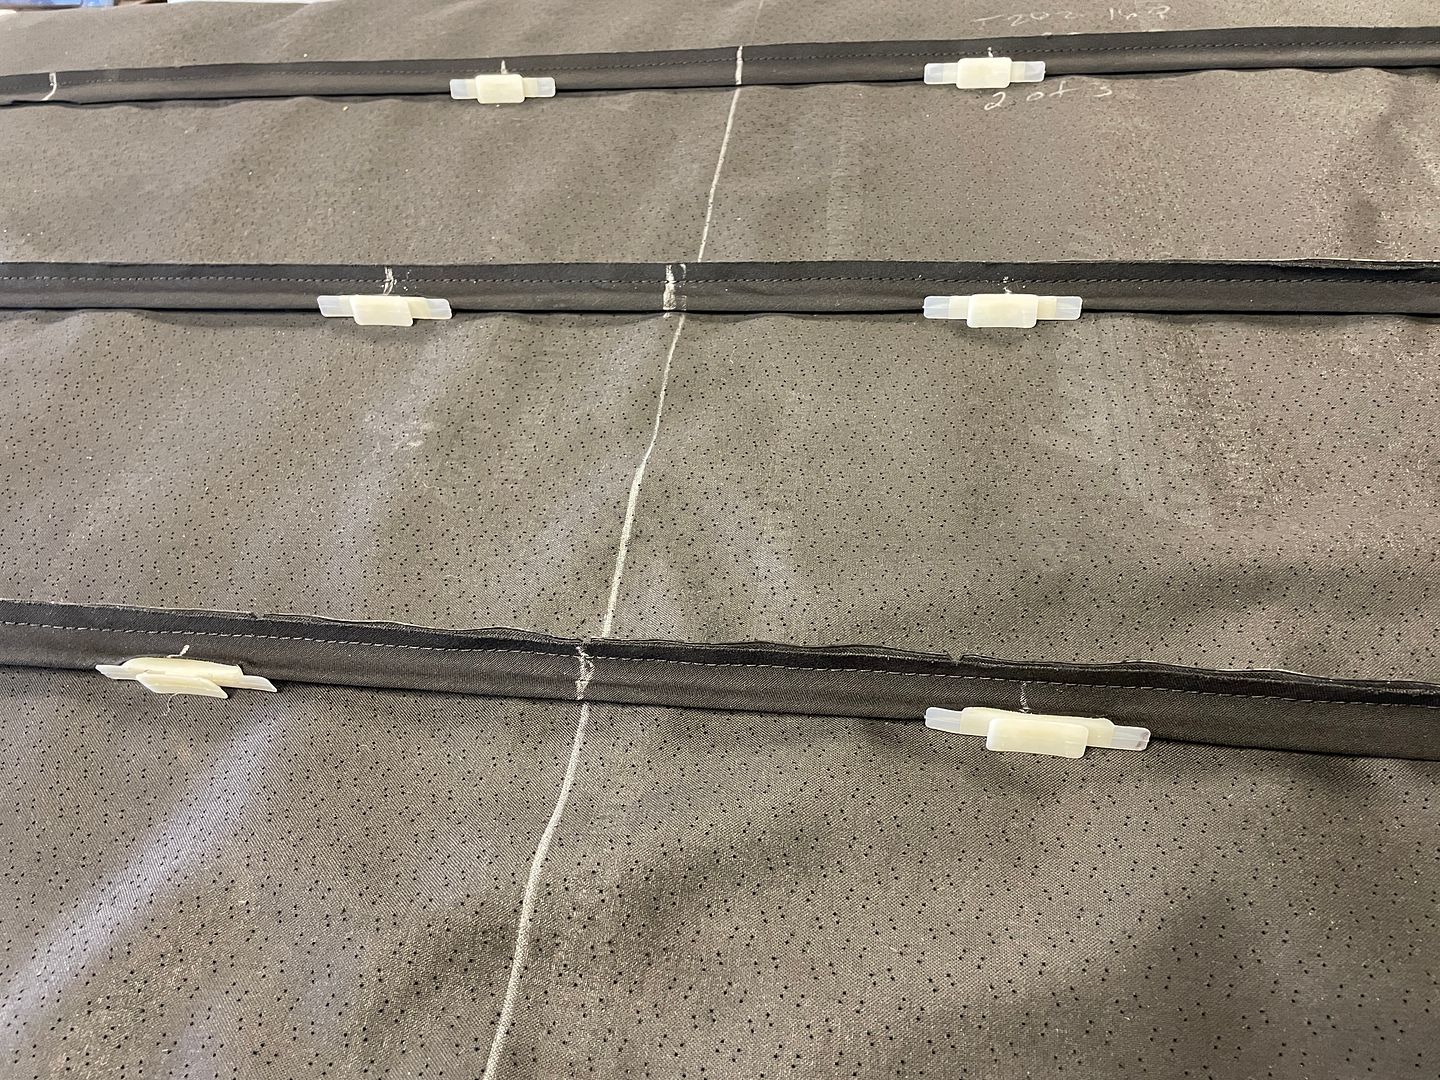
I then took the headliner and began to hang it to the roof. I started in the middle and worked alternating forward and rear. I then installed the outer clips in the same fashion. Using the marked center lines this will help keep the headliner centered.
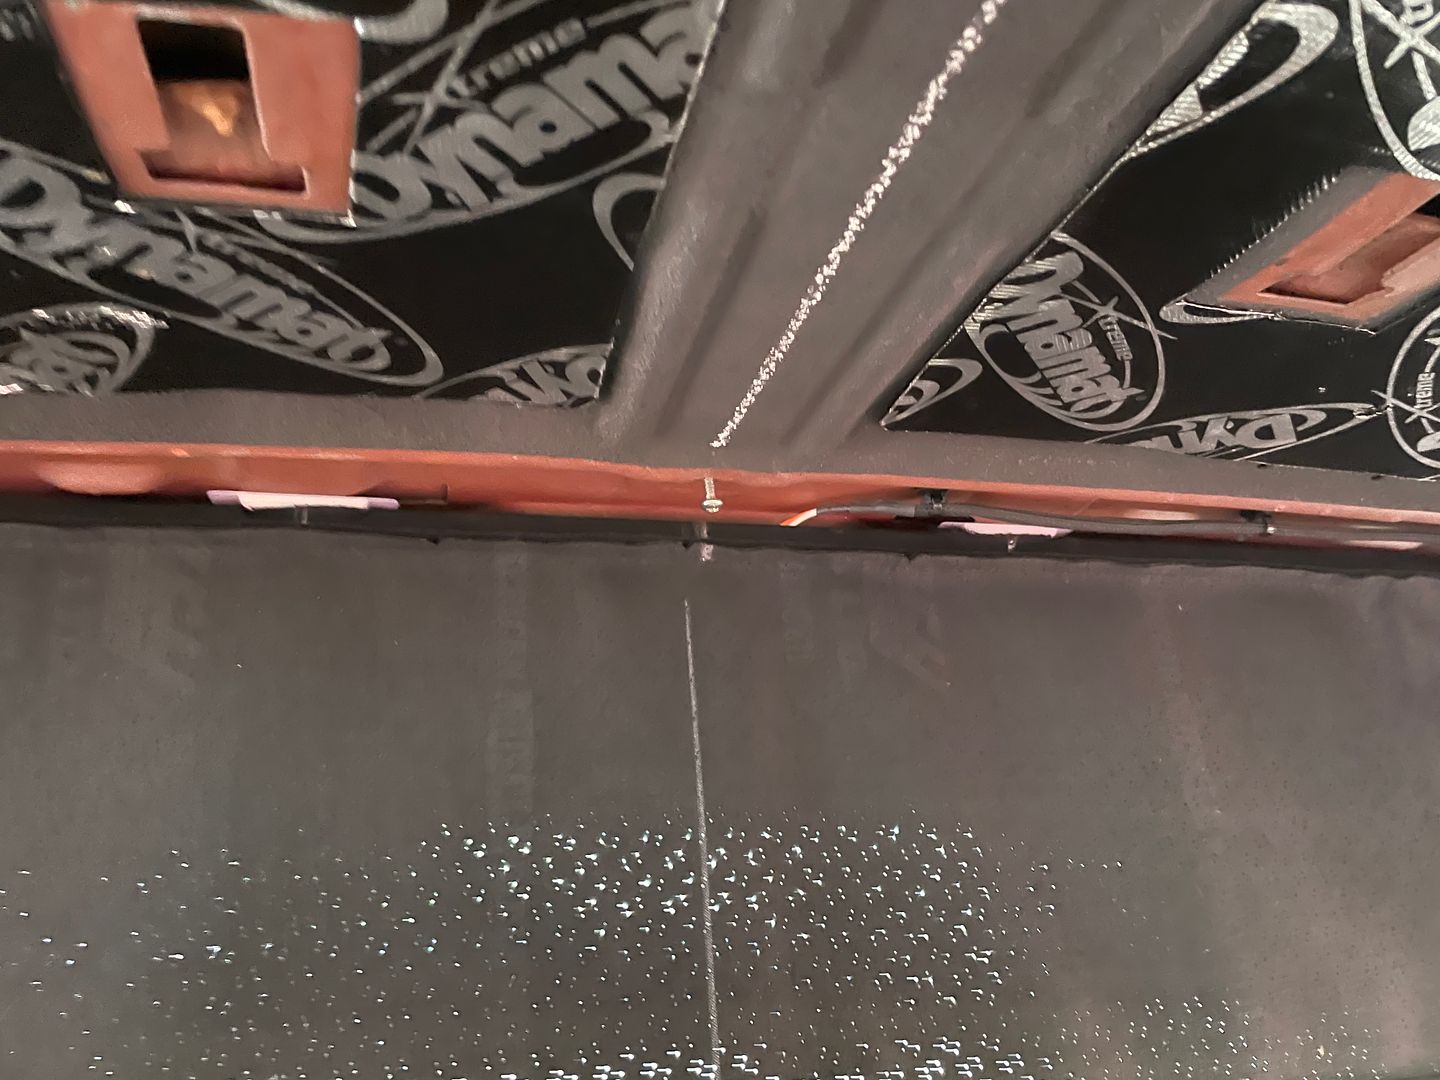
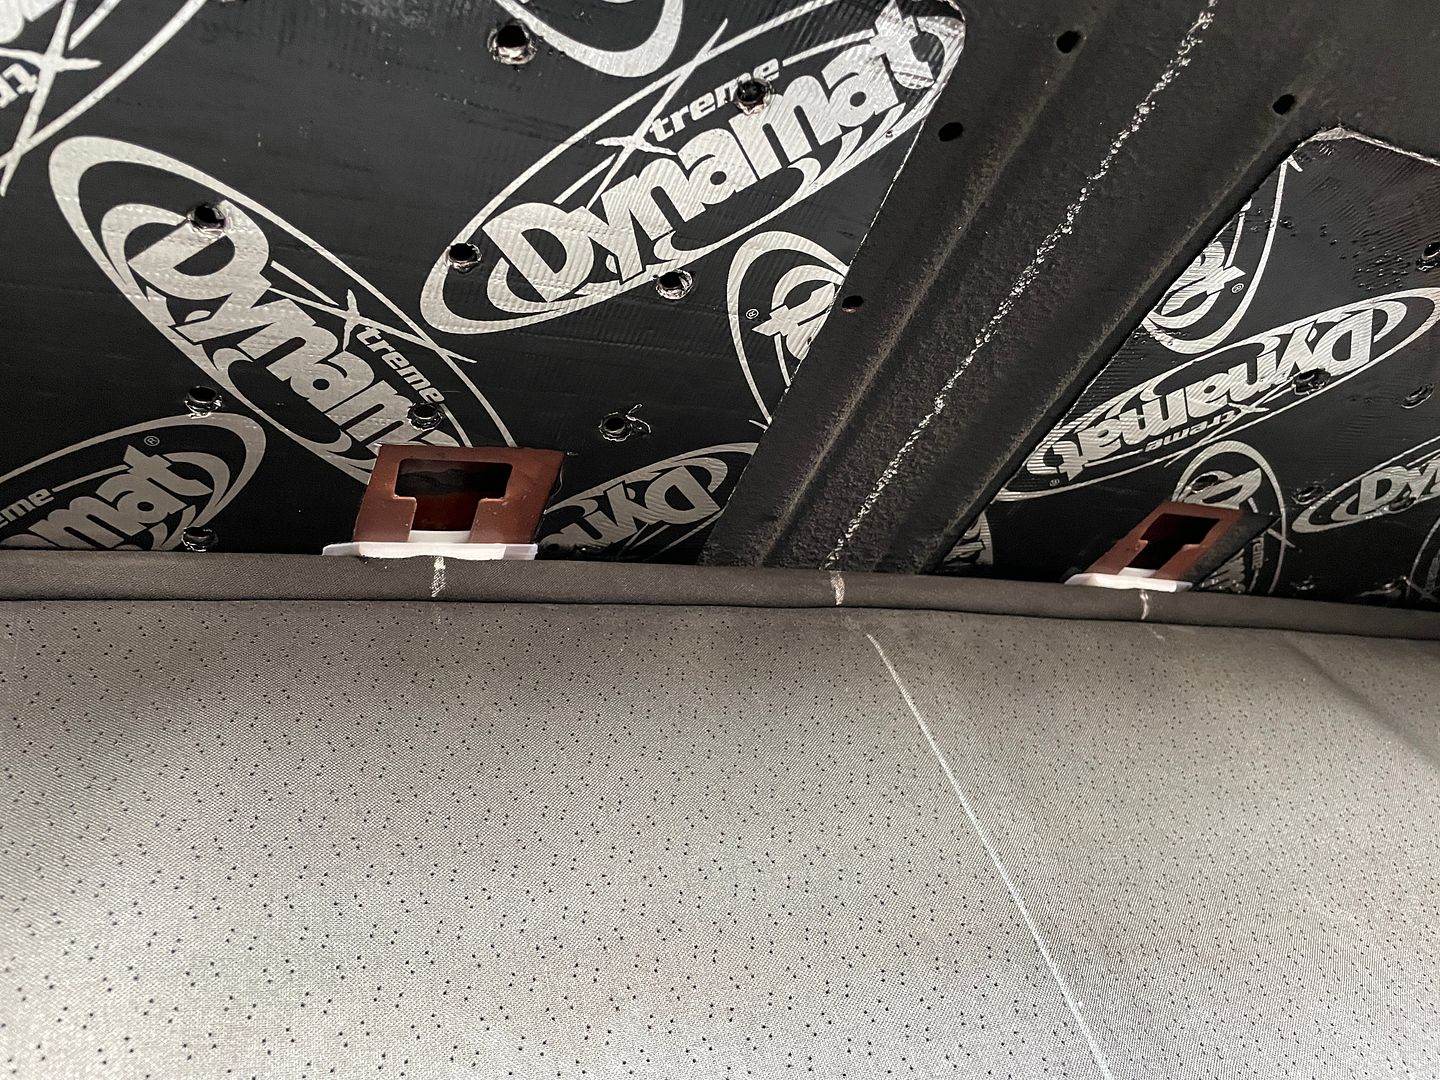
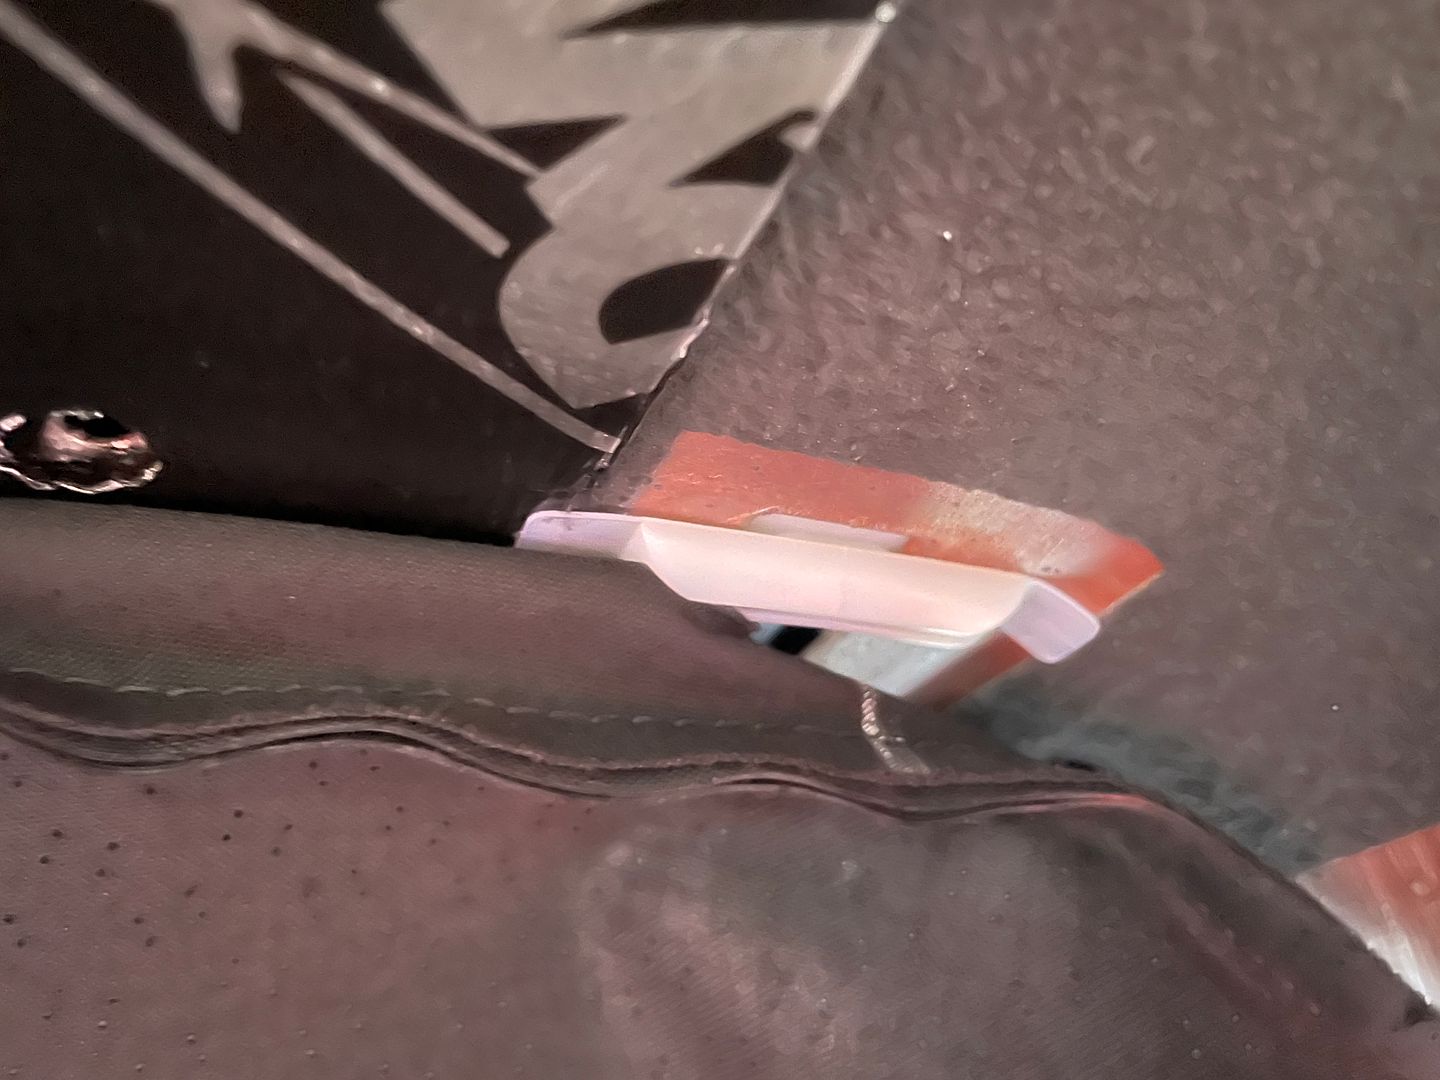

Once the headliner was hung I used the metal clips to temporarily attach the headliner in the front and back. This gave me an idea of the initial fitment. From this point I could see how the headliner would fit and I could also mark to screw locations with he China marker.
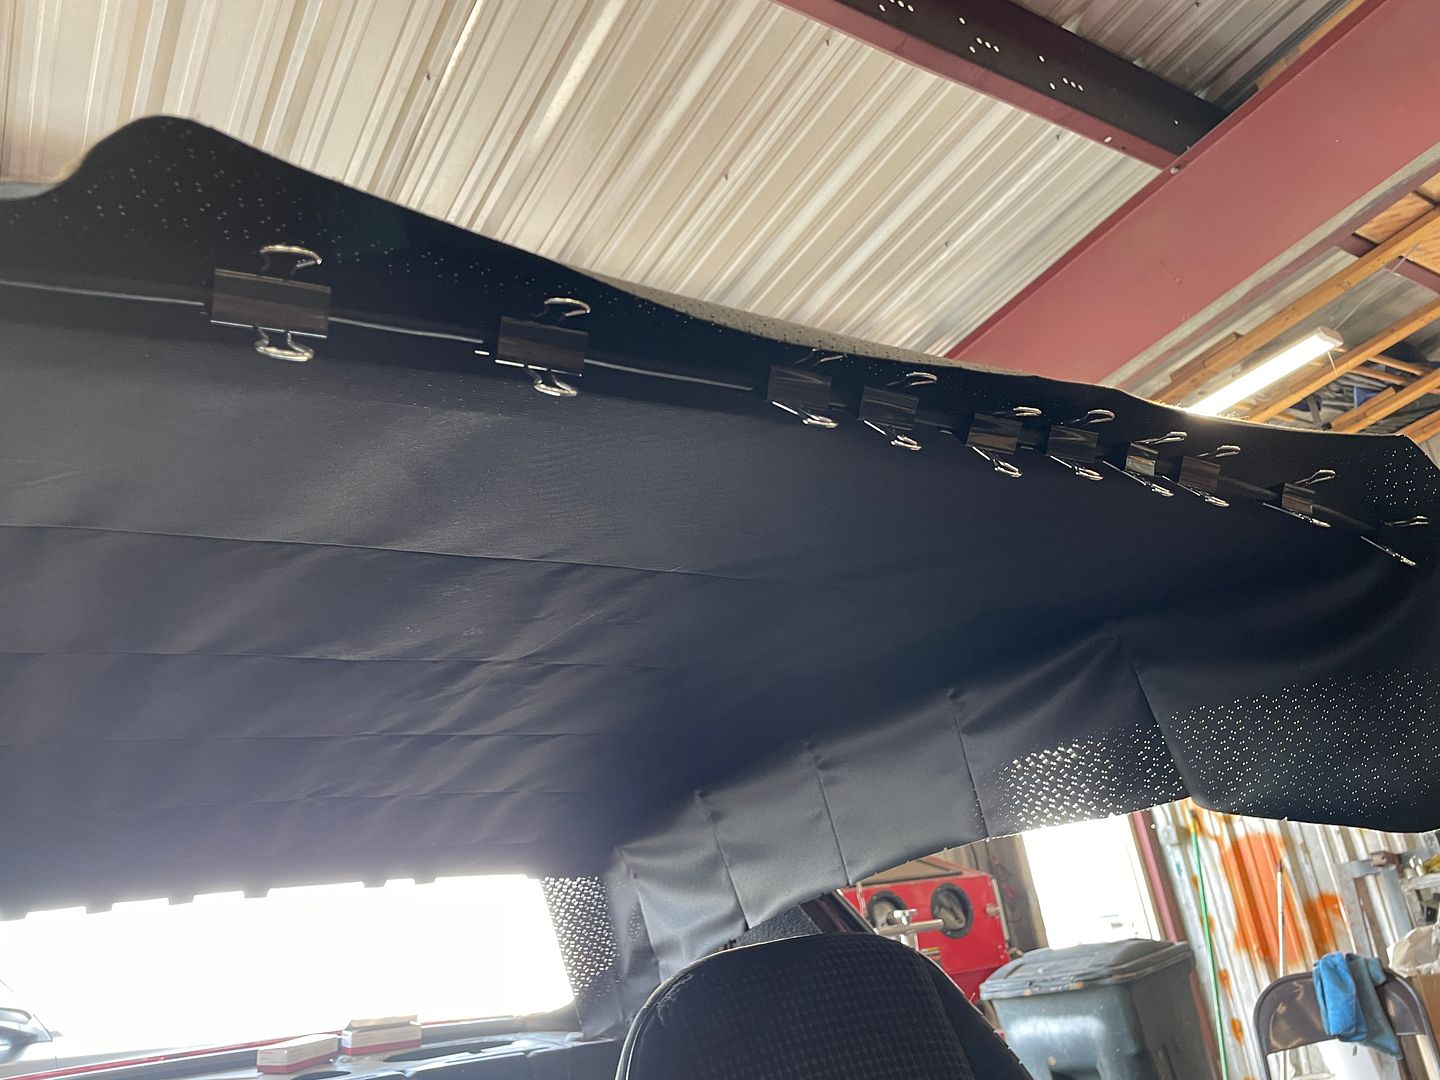
There are two metal tack strips that mount in the front and rear. There are also two tack plates which mount in the sail panel areas. There are a couple of things too keep in mind with these tack strips. First they must be cleaned from old glue residue and old fabric. The headliner will tuck into these strips and plates so you want to ensure they have a clean surface. Second, the fore and aft strips have small triangles tangs , you want make sure they are raised up a little bit. A small flat screwdriver can serve as a gauge and tool to raise them up if needed.
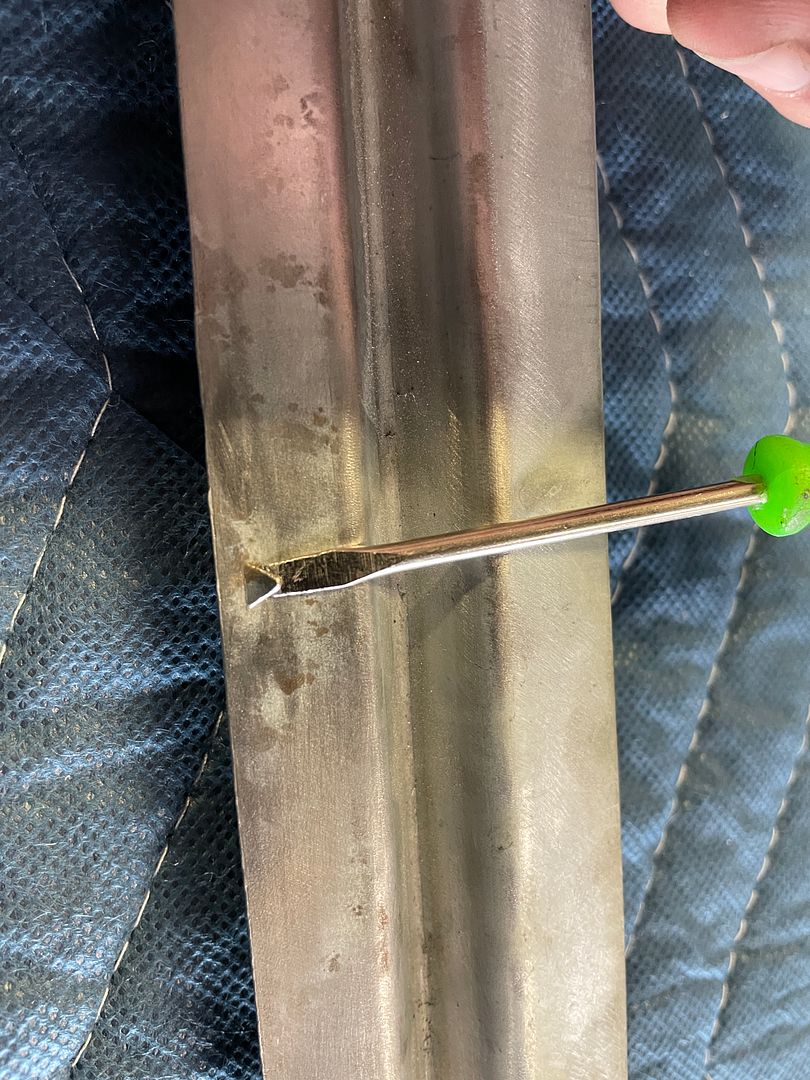
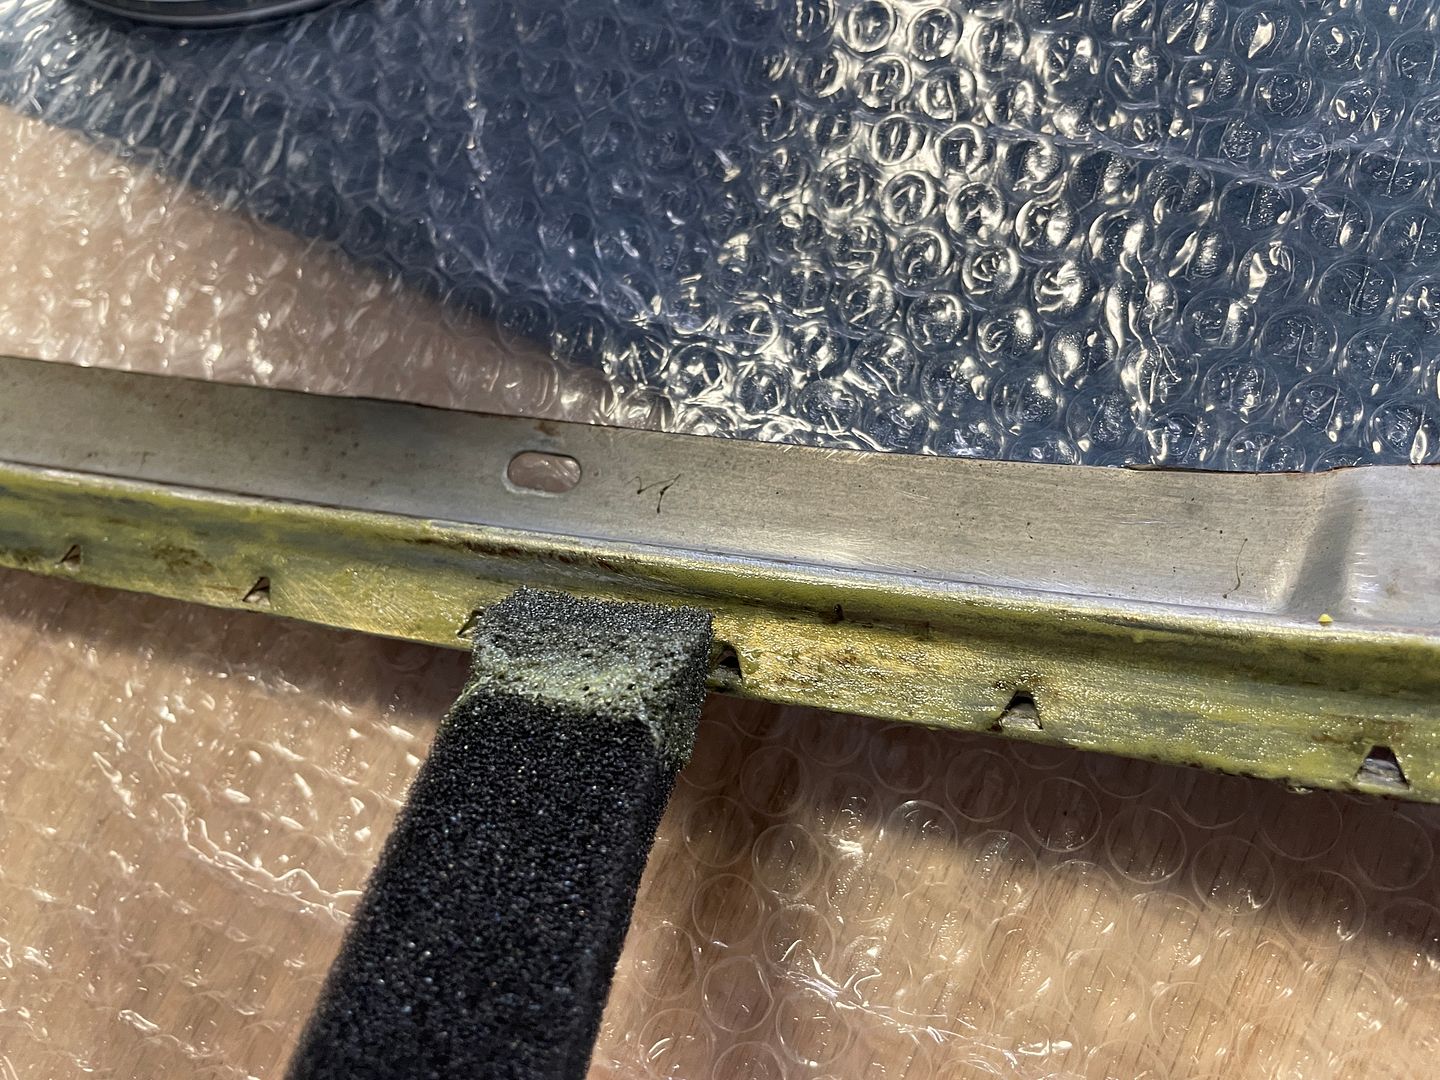
Next is to apply contact cement to the edges of the tack strips and plates. The weld wood cement can be sprayed or brushed on. I chose to use a brush and this worked very well. In the picture I used a foam brush. Don’t use this type, not good for this job, just use a cheap chip brush from a hardware store.
I also applied the contact cement in the areas in the corners and also on the sides. When the old headliner was removed you can see where the old glue residue was cleaned off. This will serve as a guide guide where to apply the new coat of cement.
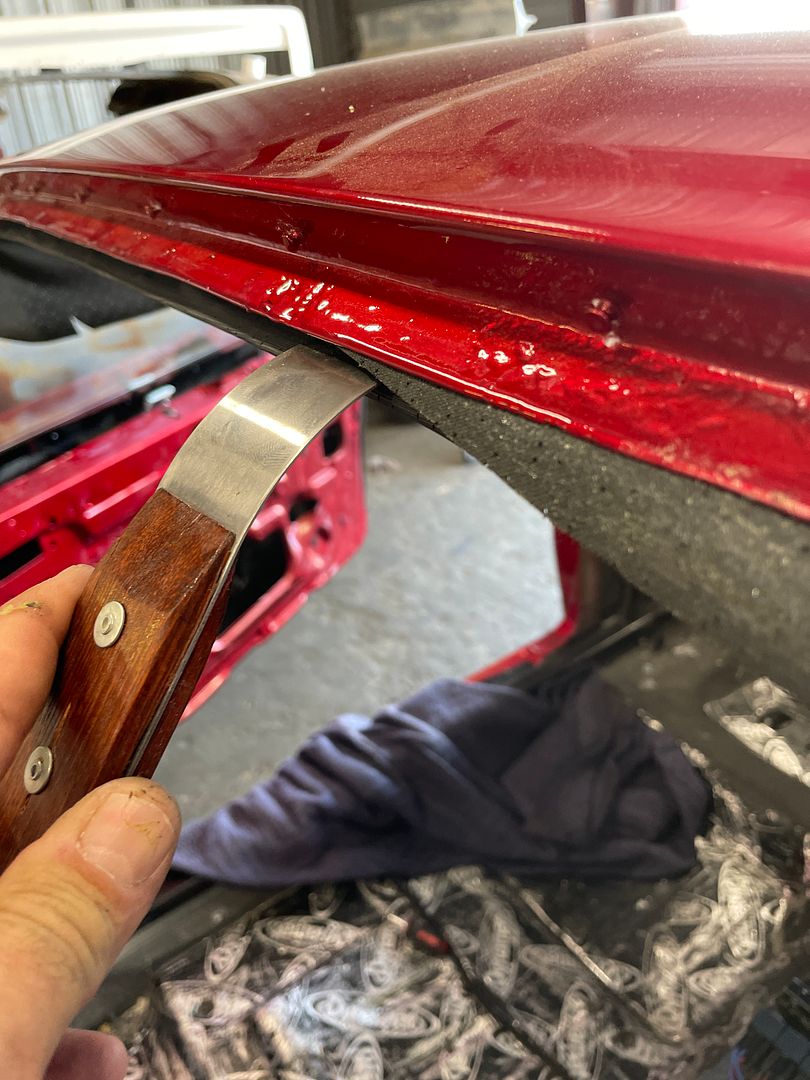
I did the front tack strip first and reinstalled it place. Using the brush I brushed light coats of contact cement on the forward edge the headliner. After about 10 minutes I began to pull and press the headline onto the tack strip. The technique I used was to start from the center and work outwards. You want to pull only enough to get the front headliner panel tout but not drum tight. The key here is to make sure it has an even slight stretch. Pulling and spreading with your fingers will give you desirable results. The contact cement works very well and will allow for minor adjustments but take your time , slow is smooth and smooth is good! Work from the center outwards toward the corners . Once the front part is attached to the tack strip, you can trim the headliner of any excess. Typically, along the tack strip you will want about 1 1/5” excess . This excess will get tucked into the strip.

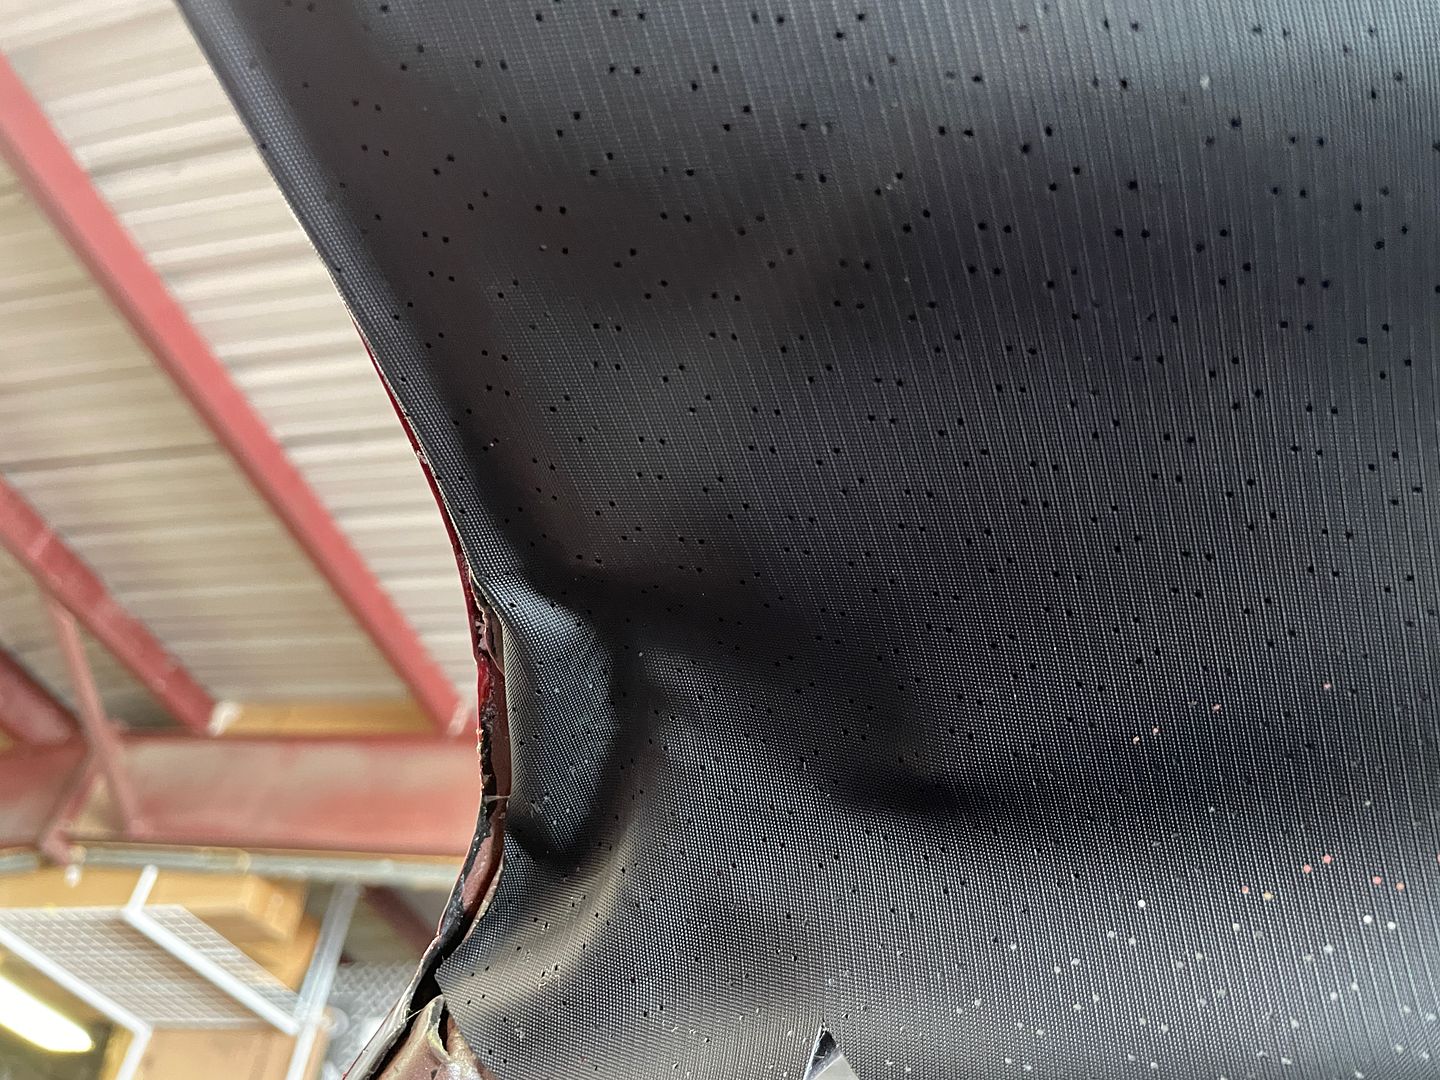
The rear tack strip will have the metal clamps still attached while you are working on the front

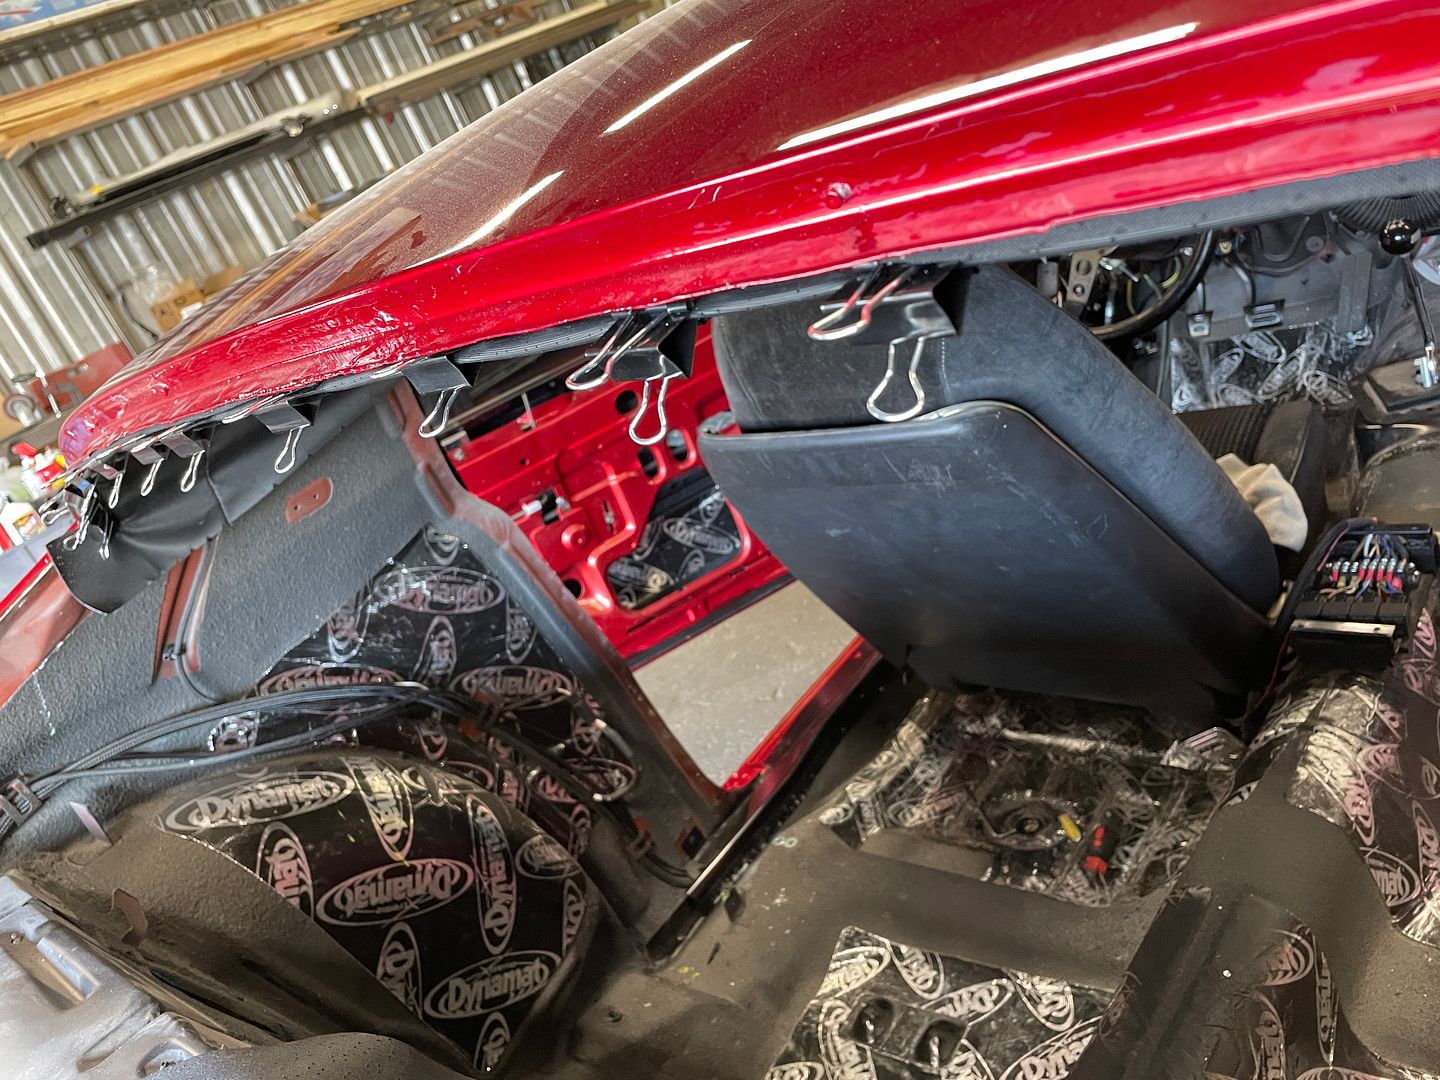
Attaching the headliner to the rear tack strip is similar technique to the front. A few things additionally you have to do to the rear, it cut some relief slits consistent with the curvature of the back window. With it clamped in place this will give you an idea where to cut the slits ( or darts as they are sometimes referred to). The corners are square and the headliner will need a slit at those points.
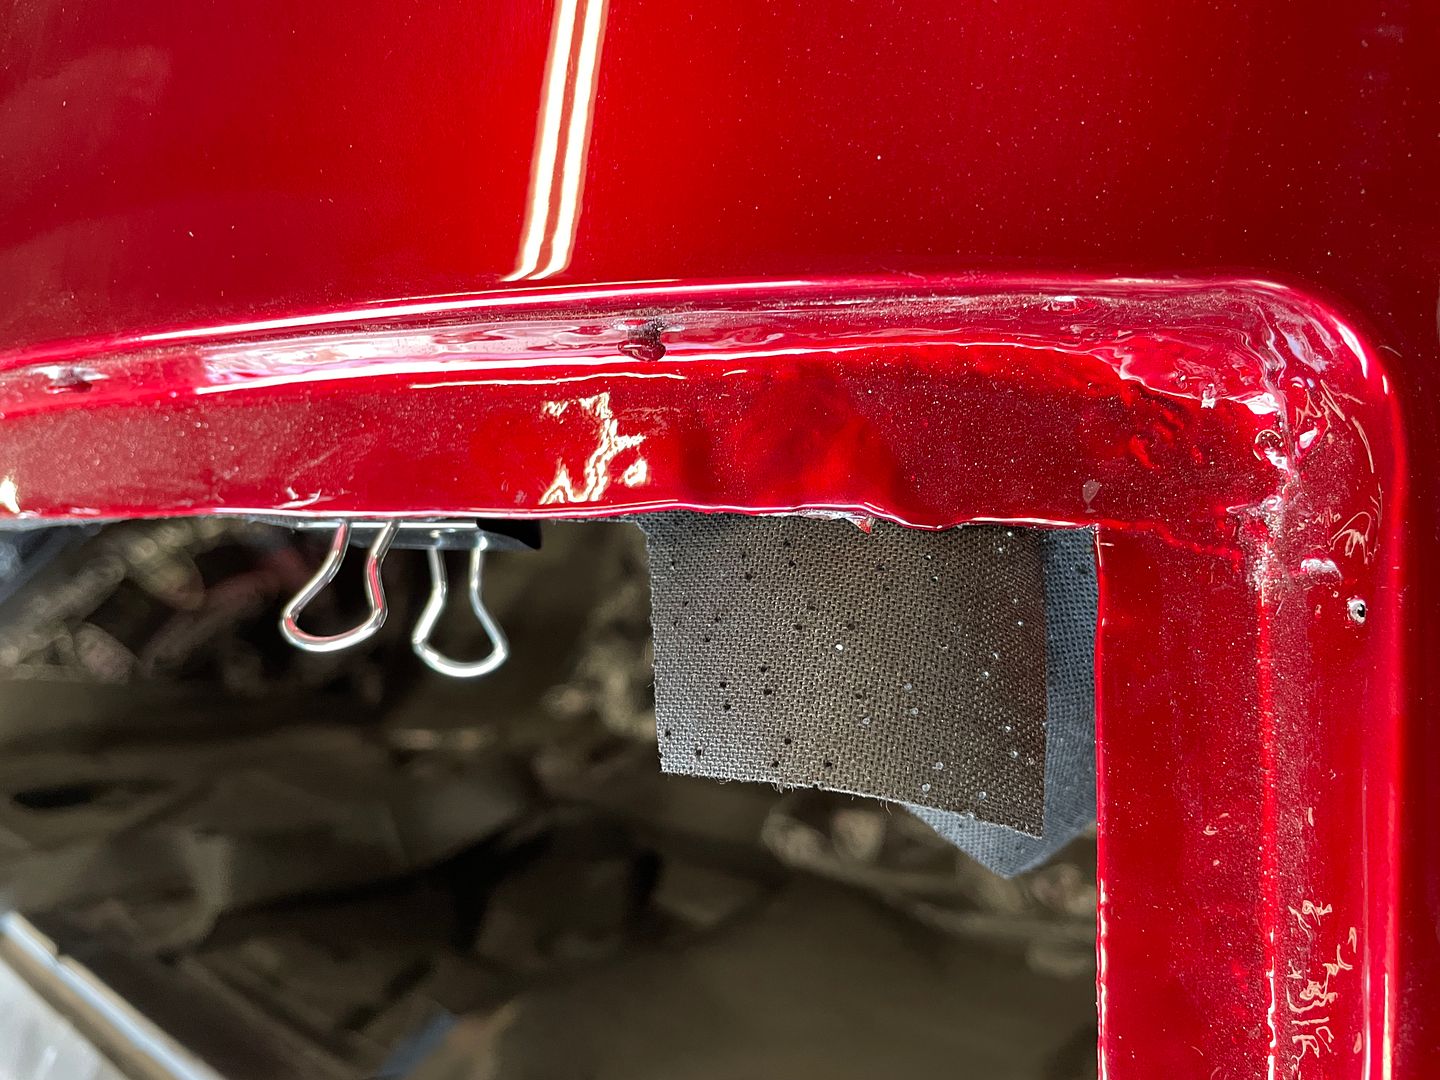
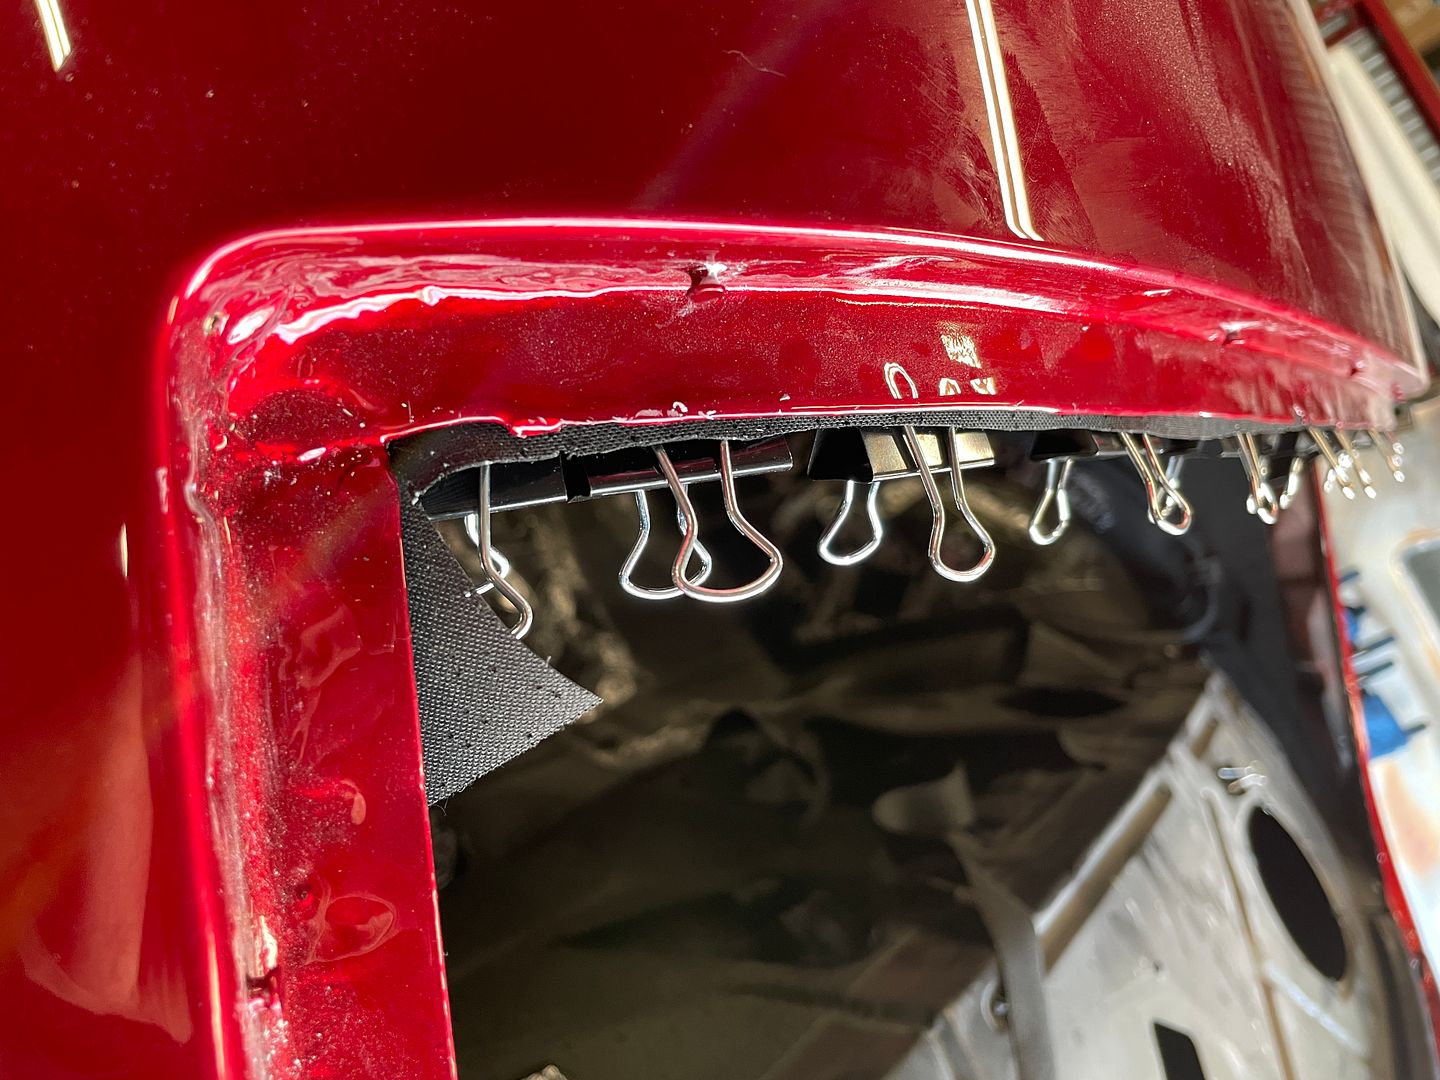
Once you have the corner slits and relief slits cuts made, you want to pull and press the rear edge of the headliner. Similar to the front work from the center toward the corners evenly. On the rear edge you want to pull and press with a little more force simply to stretch the headliner and take up the slack. Give it a few test pulls to help stretch the headliner. You don’t want to pull it drum tight, just so much as to make sure there is a even tightness between the headliner panels. You will notice wrinkles forward to aft but that is okay, they will go away once the sides are tucked. Once satisfied, tuck and trim the excess.


I am going to add the second part to this post tomorrow. Stay tuned
Jim