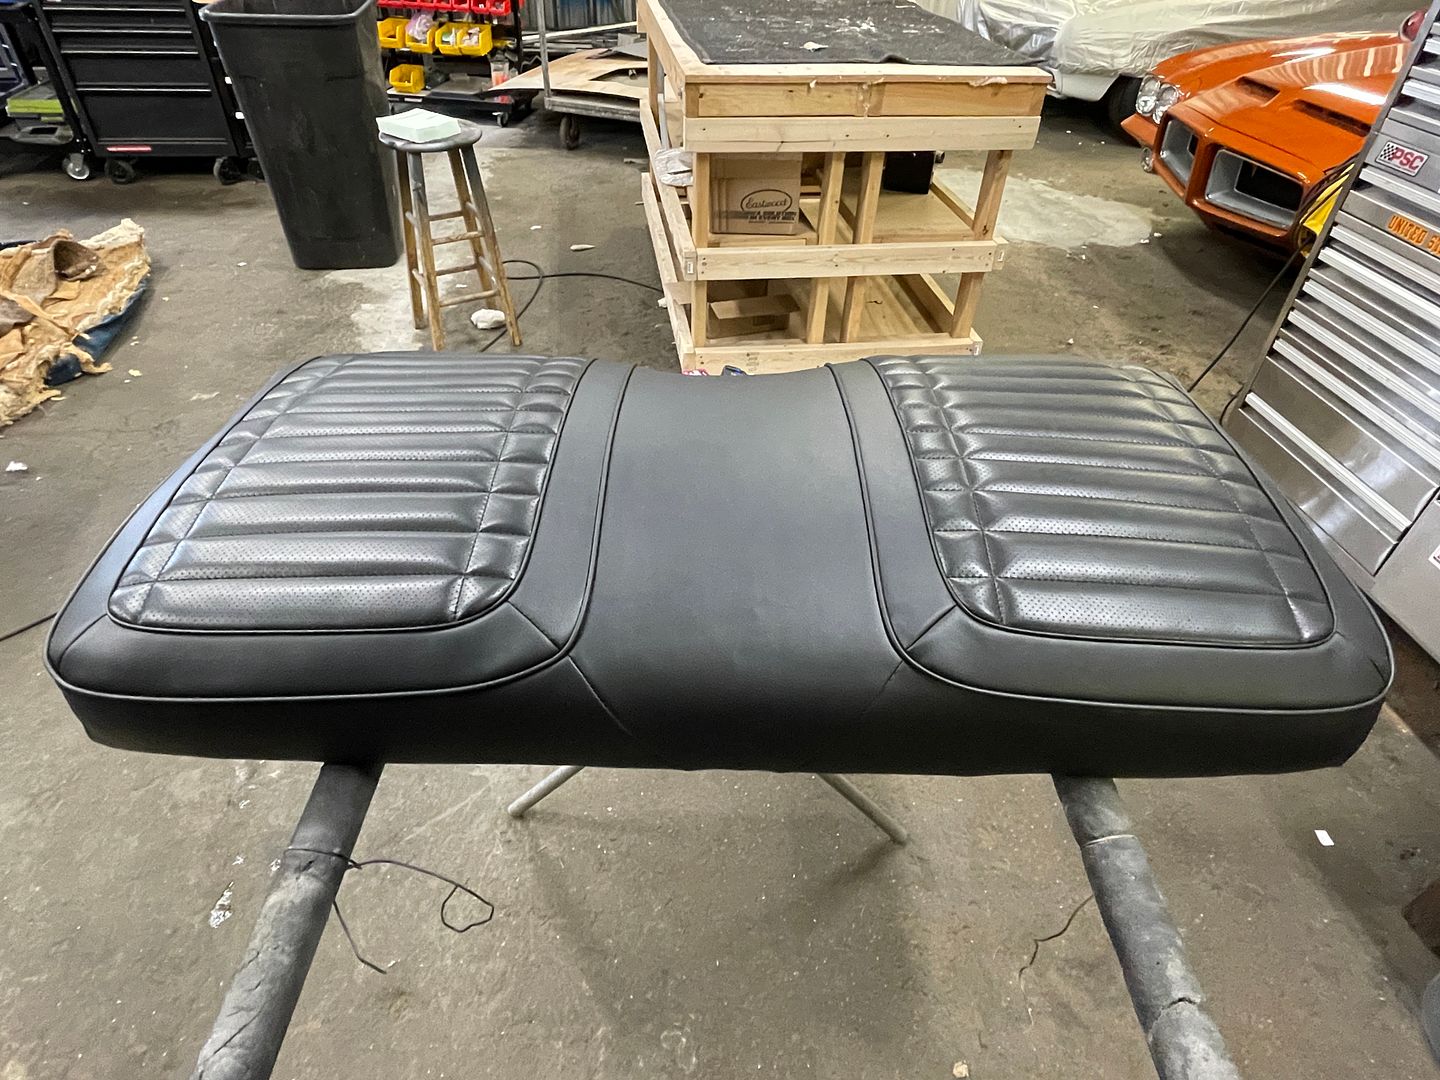
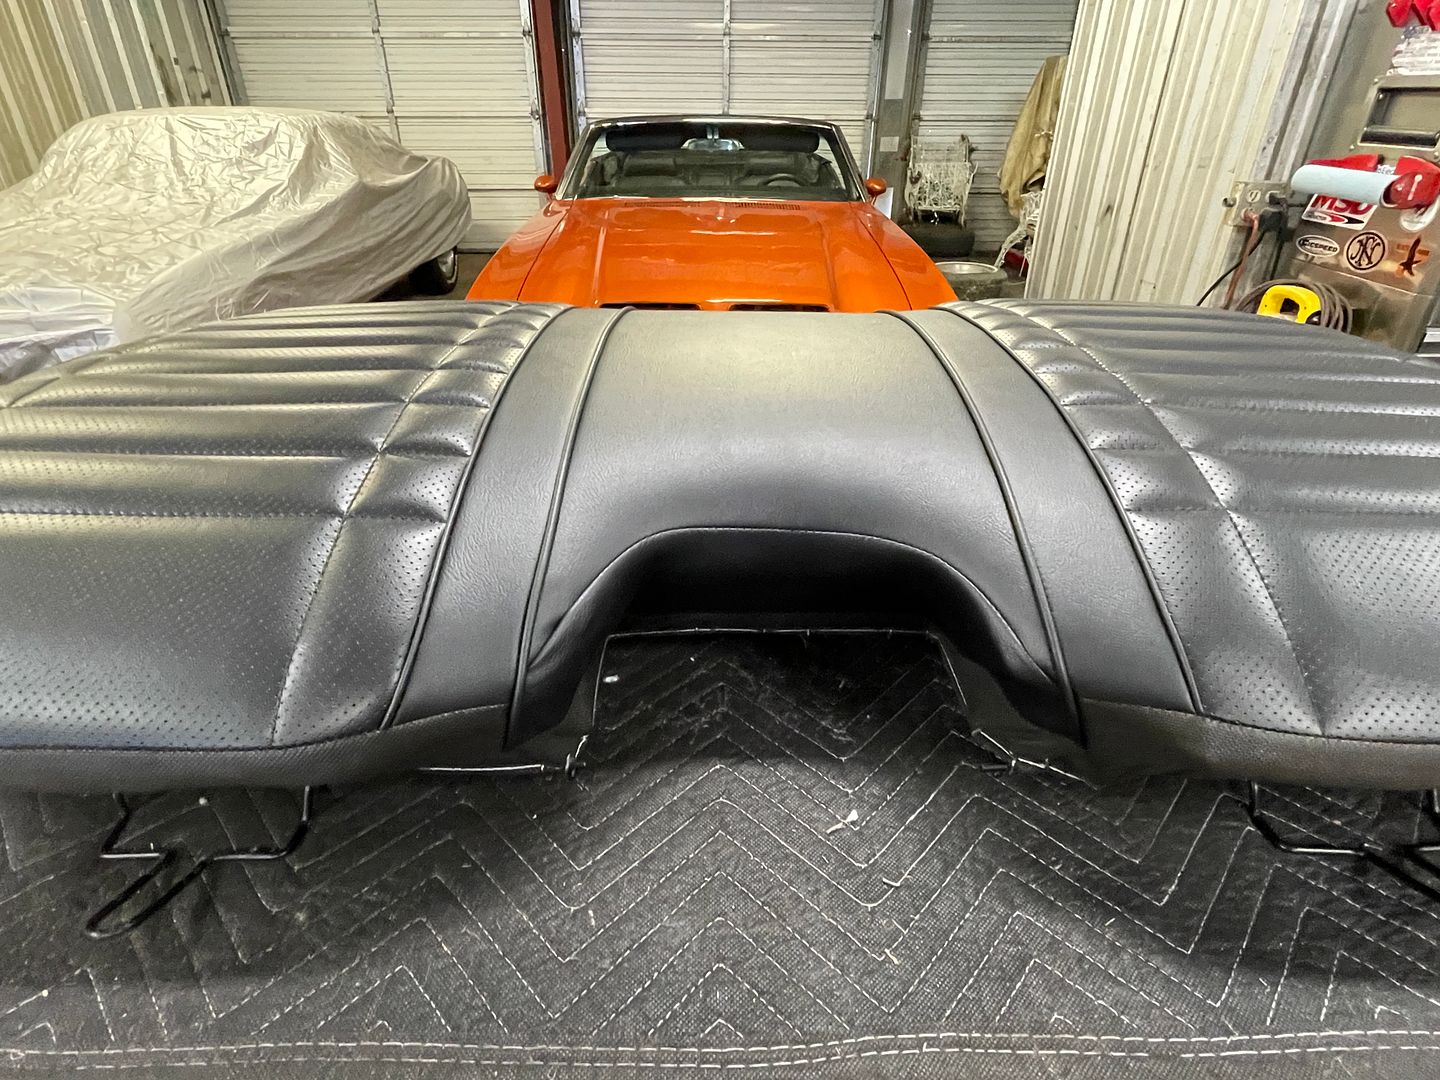
Today I finished re upholstering the rear upper seat cushion. When I removed the rear seat a while back, I found out the rear seats do not use molded foam to the seats like some of the later models. The rear seats use the older style seat padding. That also means it’s a different method of installation.
I used the seat upholstery kit from PUI . Originally I wanted to use a kit from Legendary Interiors but at the time their kits were on an 8 month backlog. The PUI upholstery kit is pretty good quality in my opinion.
For the 72 the seat padding uses burlap, cotton batting , listing cord and muslin. The process is pretty straightforward and works well. It does take a little more time to do , but works out good.
With the seats removed I began to remove the old upholstery. With a pair of diagonal pliers I removed all the hog rings and took off the old upholstery. This can be a little messy and dirty, however with a little attention to detail the old covers come off pretty easy. I took pictures of the original installation and made some notes before I removed it. This was merely meant to have some guidelines for the re install.
Once the frame is bare, it has to be cleaned up . I had mine media blasted and then powder coated. Another way is to simply clean the frame and use a rust oleum or other similar type spray paint.
With clean seat frames , the next step is to lay down the burlap. I had an installation kit that included all the needed items. The burlap simply lays over the frame and is hog ringed in place . I had to measure the pattern along the top edge and make a pattern to cut out a strip from the burlap. I had the piece made with about a 1 1/2” overlap. The overlap was done in order installing the listing wire along the edges. The listing wire basically provides an edge to use the hog rings to secure to the frame.
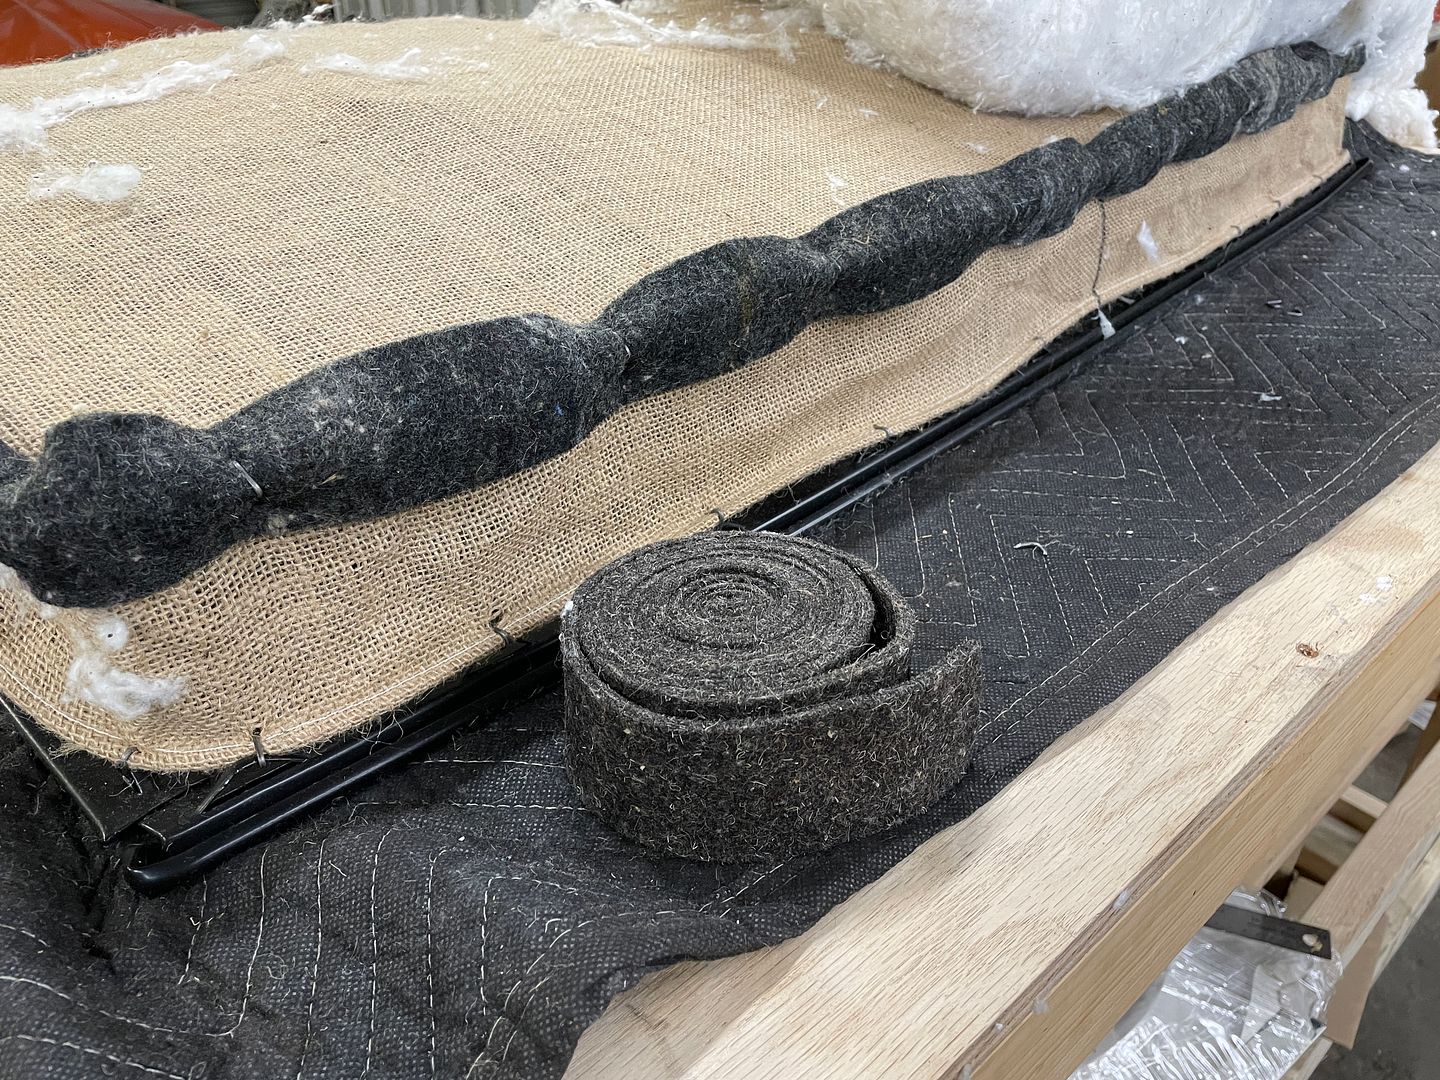
Once the burlap was in place, i laid a strip of jute strip along the edges. This prevents premature wear of the upholstery around the edges.
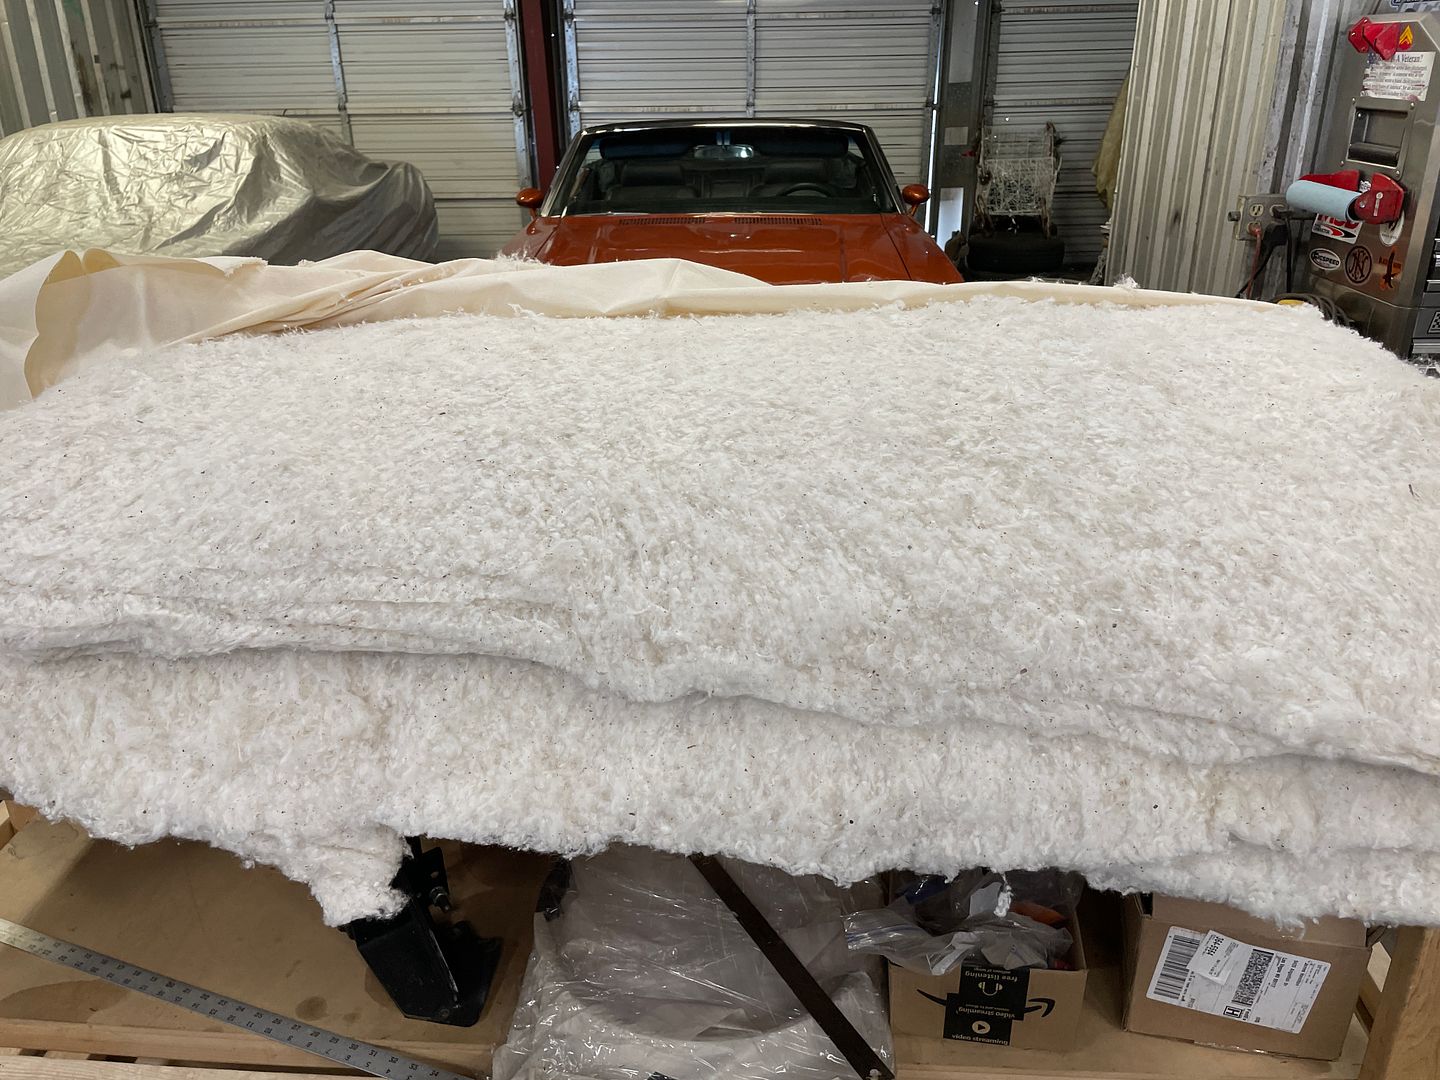
The cotton batting was laid over the seat frame and I ensured I left enough on the sides to keep the sides with some padding. This cotton material works pretty well but if can be messy. With some care a cotton mess can be minimized.
Muslin material is the laid on top and then hog ringed to the seat frame . It works best to have about a 4” overlap to the back of the frame. I hog ringed the top edge starting from the center and working outward. I did the bottom edge next starting from the center and working outward. When attaching the muslin cloth it is important to make sure you have even consistently without any lumping of the cotton. The one good thing is that if you do make some mistakes you can easily correct it by cutting the hog rings and re doing your work. The key thing is to have consistent padding thickness with no big lumpy area. The total thickness of the cotton is about 3-4 inches. It does compress easily and typically 3-4 layers are needed.
The next step I took was to apply the actual seat cover. I used the black vinyl deluxe seat covers. Before I started to put it on , I sprayed the muslin with a silicon spray ( WD40 brand silicone spray.). Using silicone spray allows the upholstery to slide on the seat padding without bunching up the cotton. It takes a bit of sweat to get the covers over the frame , but patience is the key. Another key note is to make sure the upholstery cover is centered. The way I did it, was keep working around the cover and stretching it into place, to the point where you can hog ring it to the frame.
I did the top first then bottom and sides. Again, the key is patience and taking your time. If you do make a mistake then you can always remove the hog rings and re do it.
Legendary and PUI both have install videos that offer some great info and guidance. For this seat frame the Legendary video for the 69 charger rear seat video was very similar to this installation.
I was pretty happy with end result. The rear seat back looked every bit as good as I could expect. Overall I believe I spent about 3- 4 hours on this seat back. Once I got the hang of it , things started making sense to me and the installation was pretty easy.
Jim
Here is the bare frame, after media blasting and powder coat
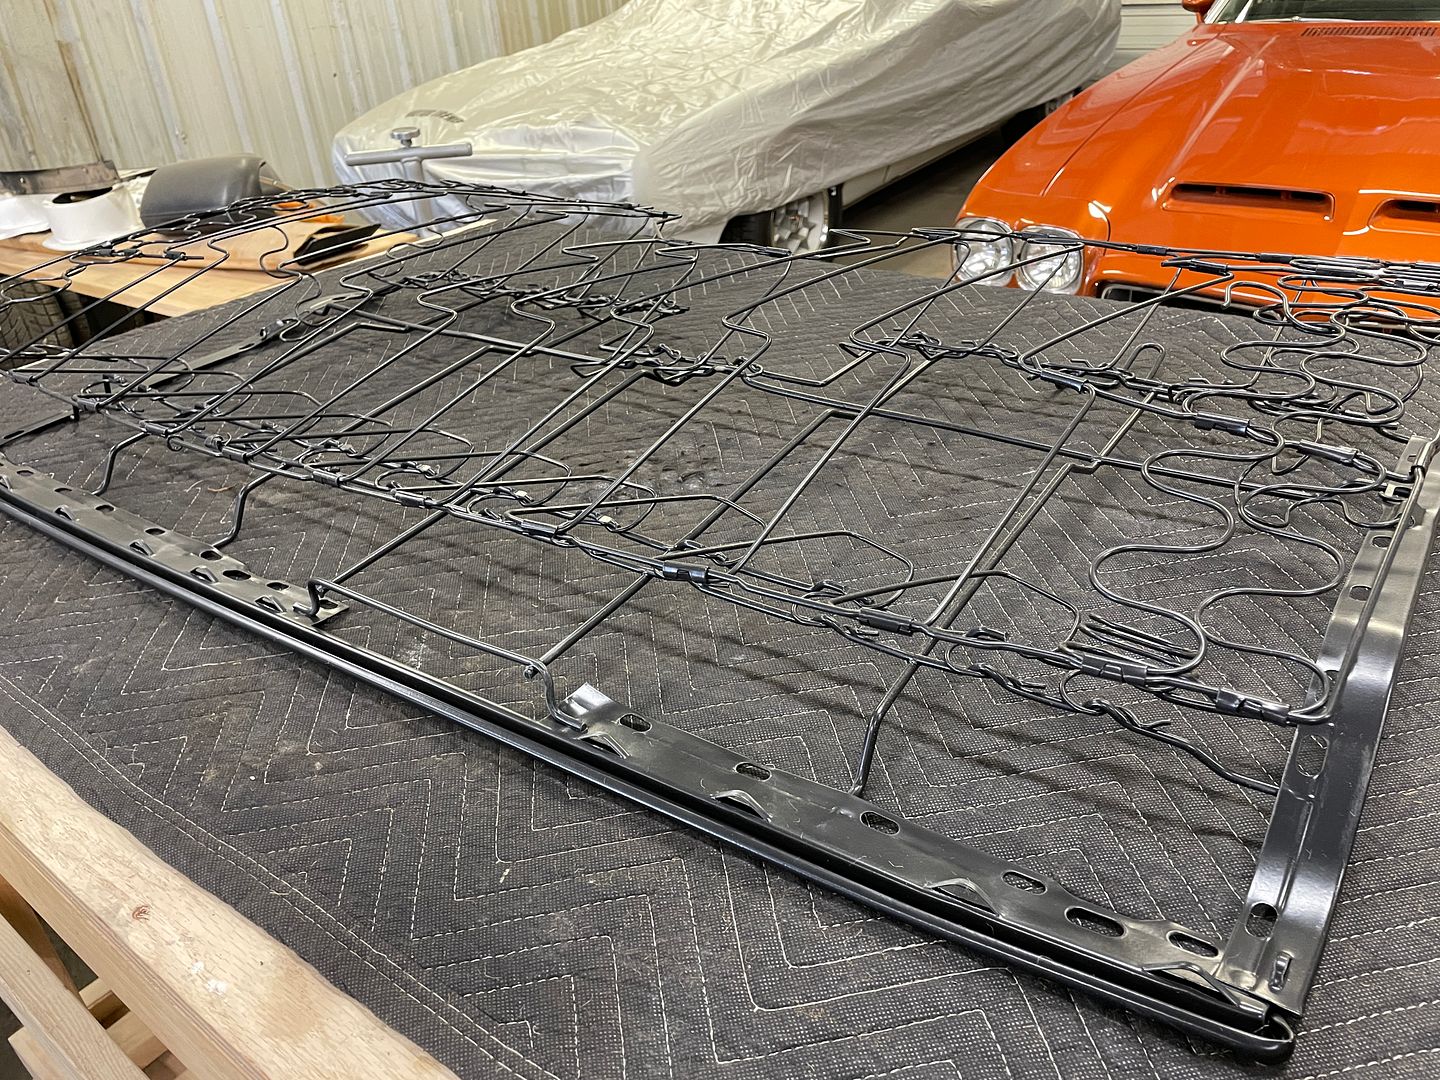
Here is the strip of burlap I attached a long the top frame
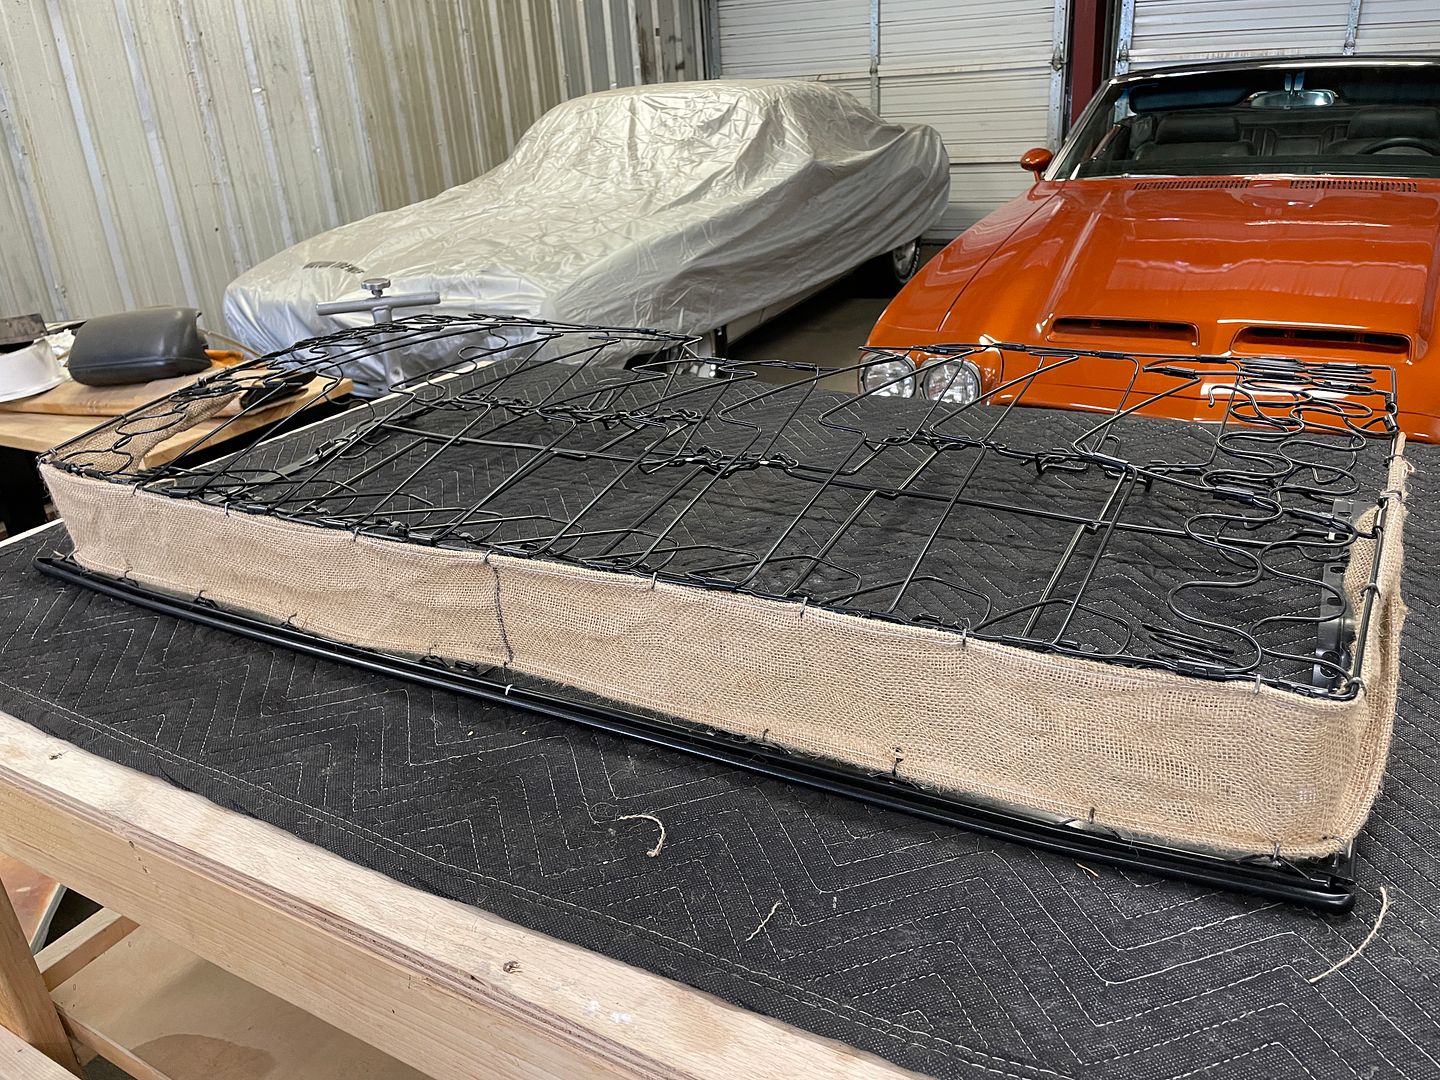
Here is the burlap attached to the frame.
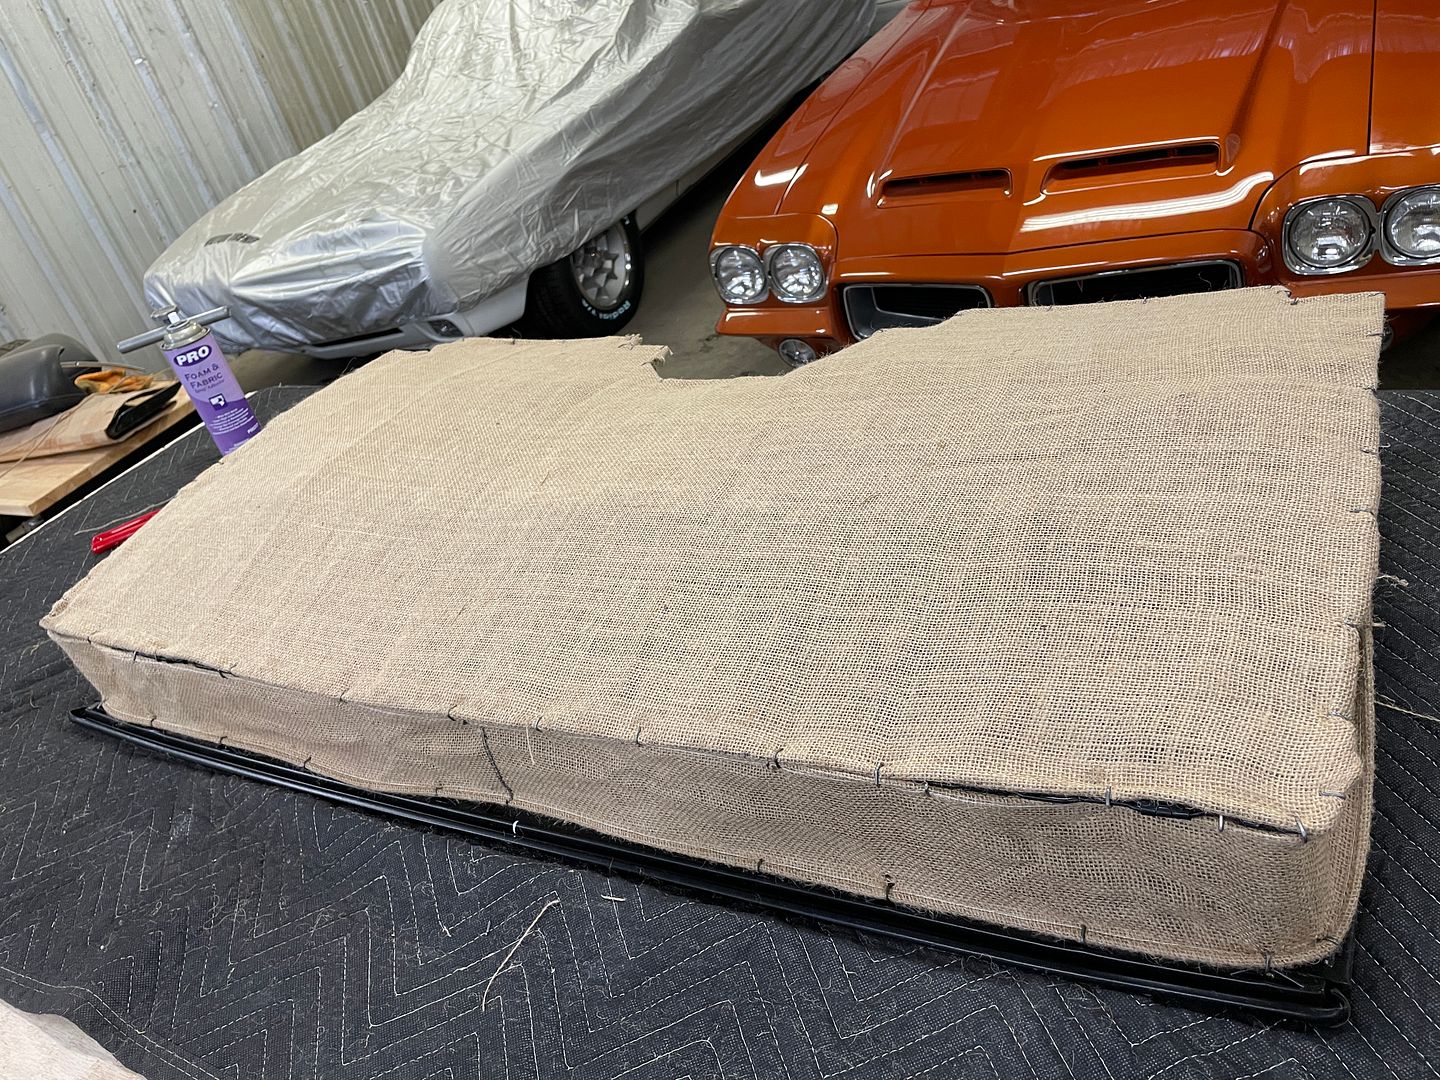
Along the bottom edge I folded over the burlap and used contact cement spray to the frame and burlap. This made a nice edge to the bottom and I then installed some hog rings.
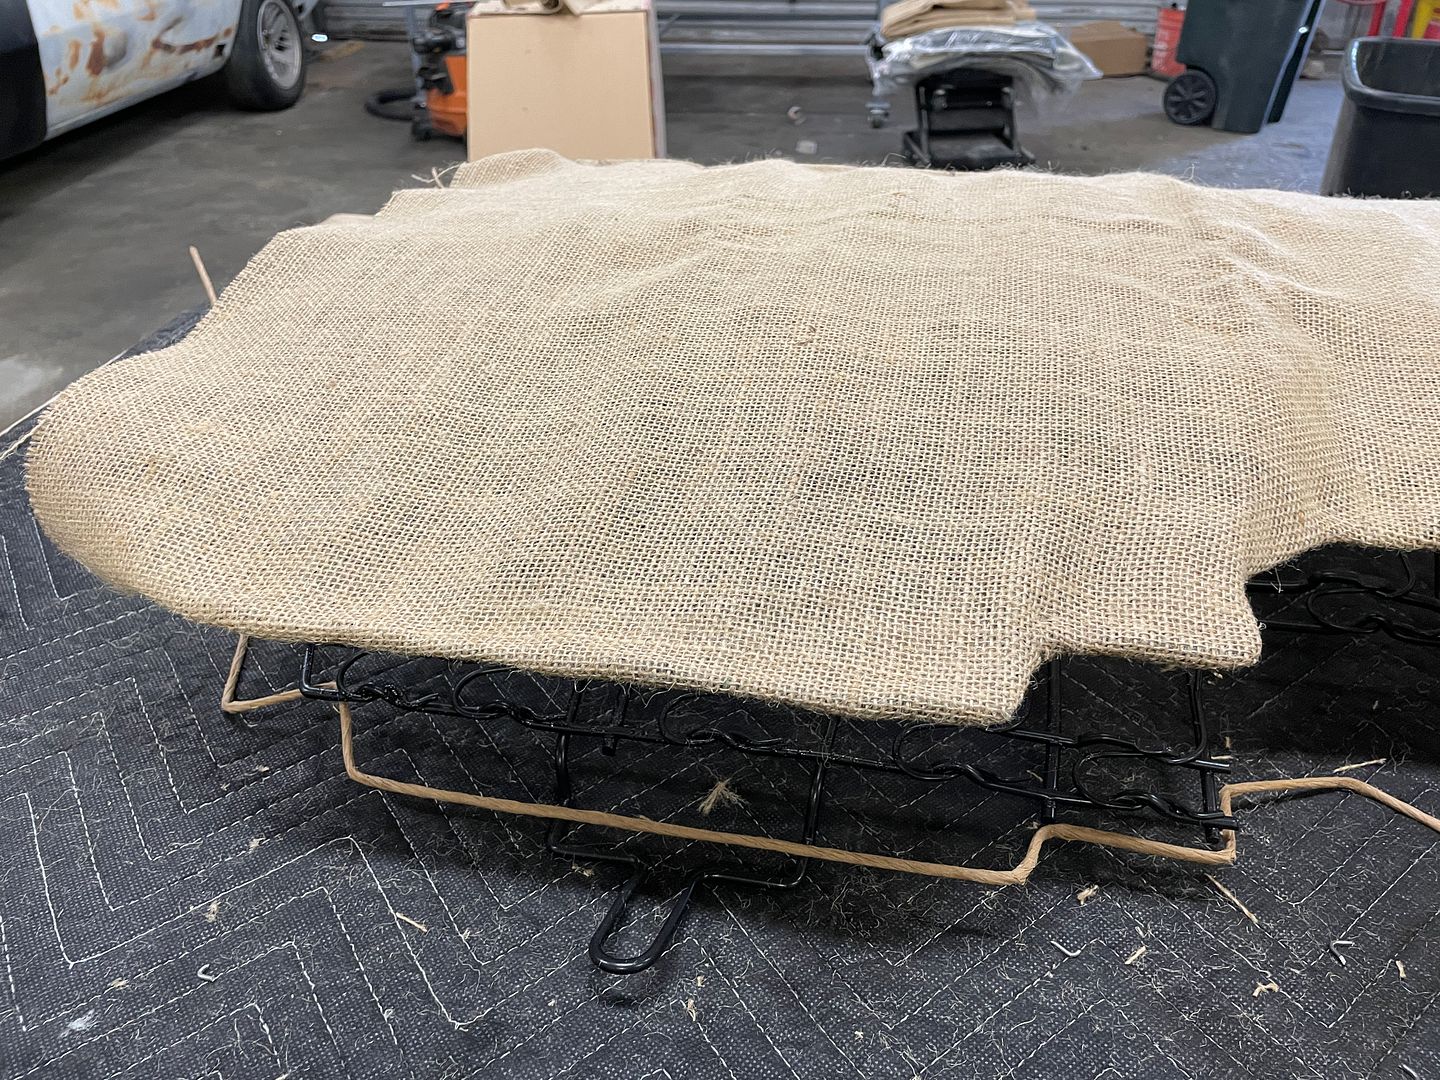
This was the contact cement I used recommended by the local upholstery shop. Works great!
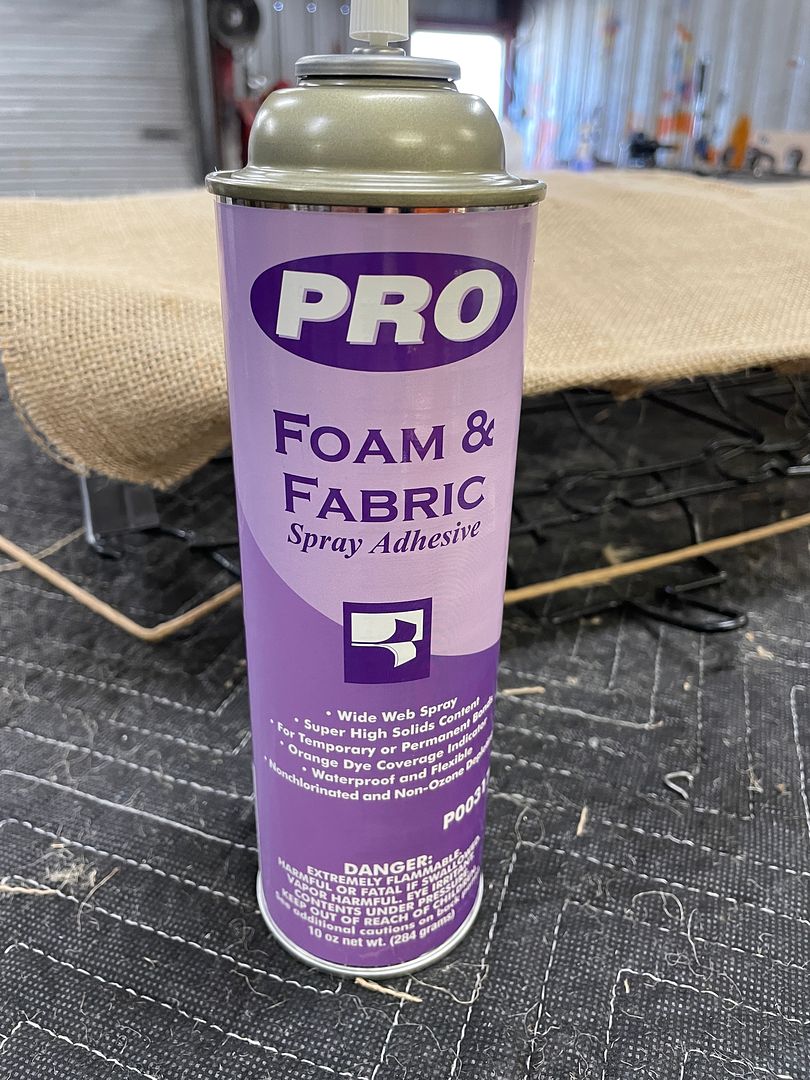
I applied the jute strip along side the perimeter of the frame. This prevents premature wear along the edges of the seat cover
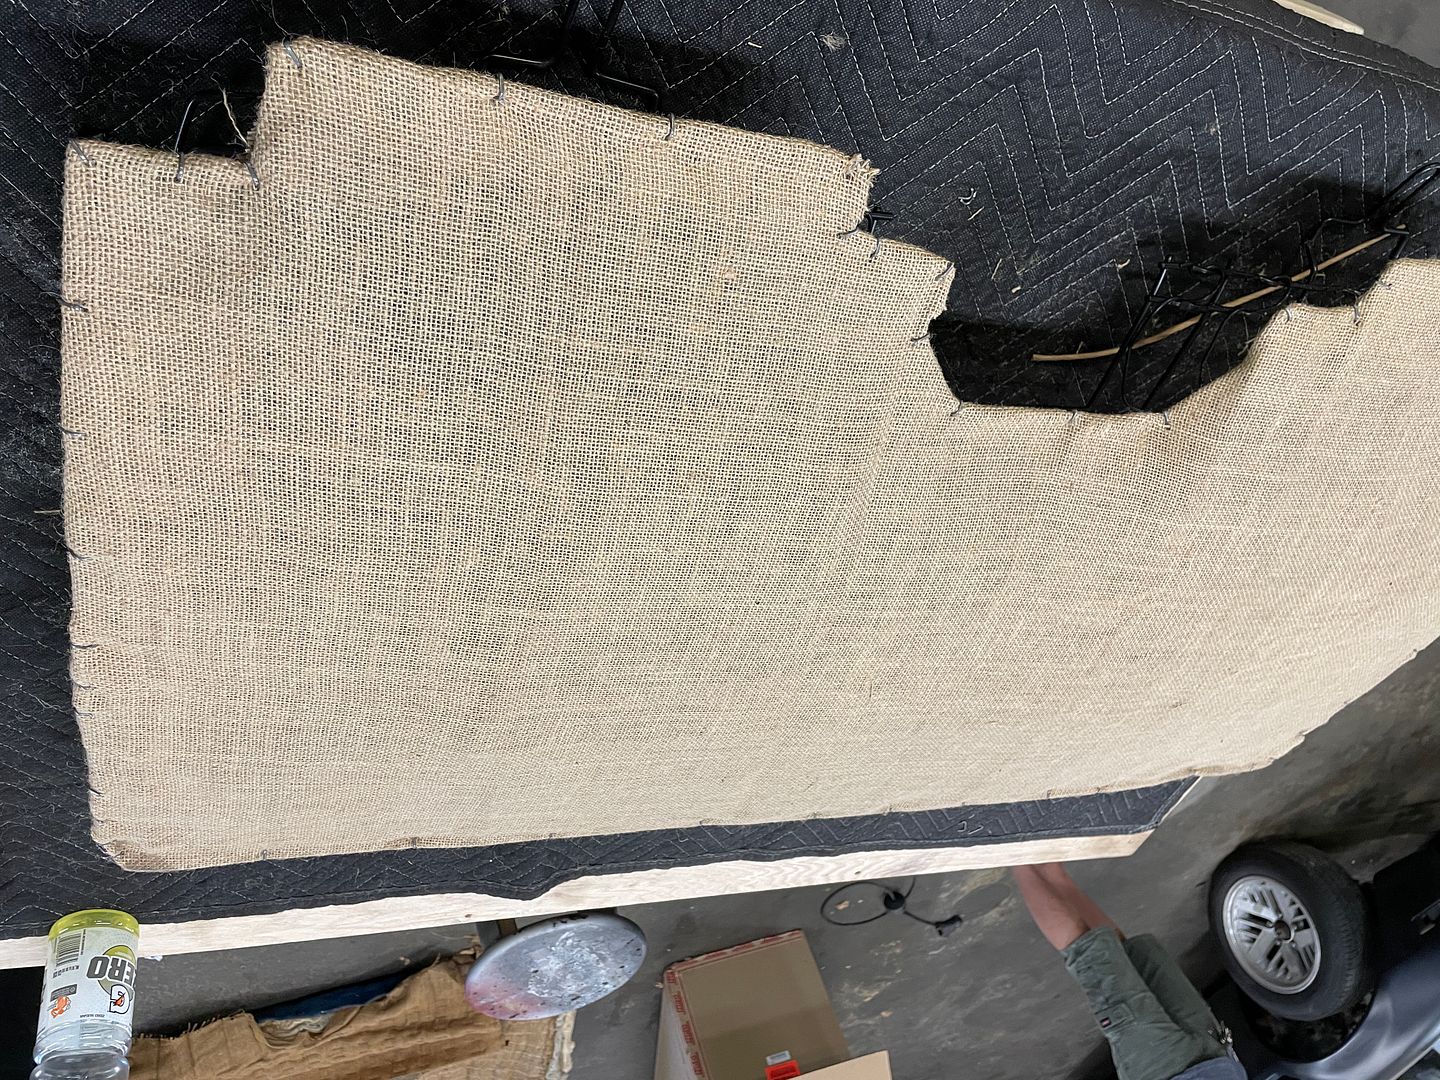
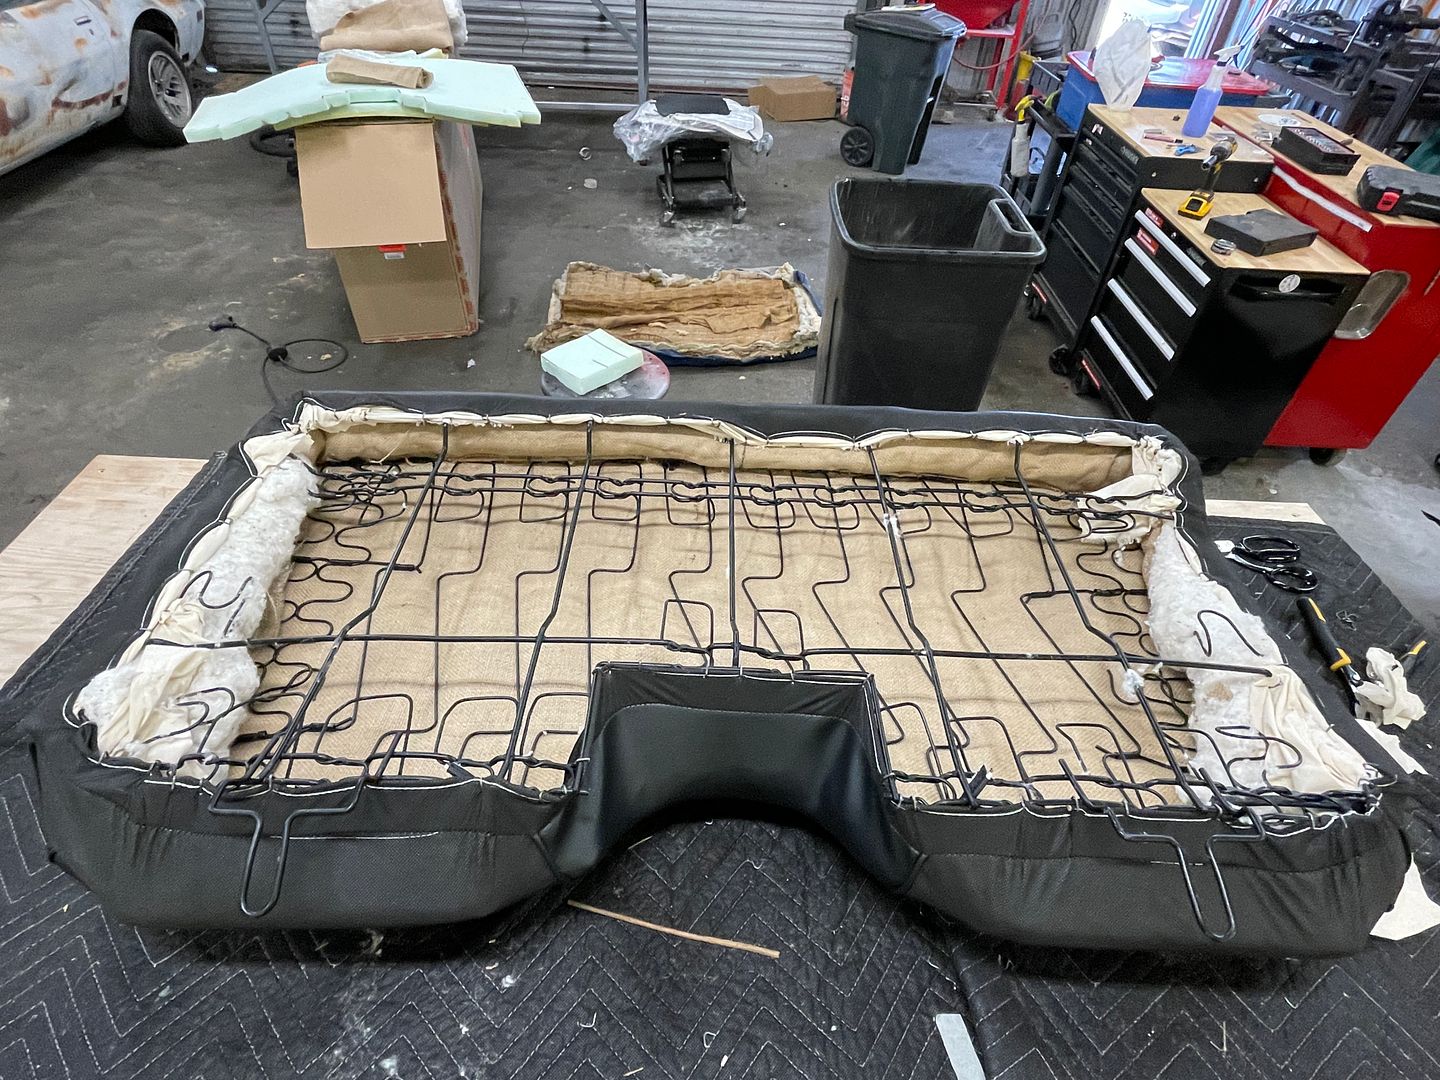
I laid out 4 layers of cotton batting over the top and sides leaving some overlap. It can be trimmed down as needed with scissors air by carefully tearing it off.
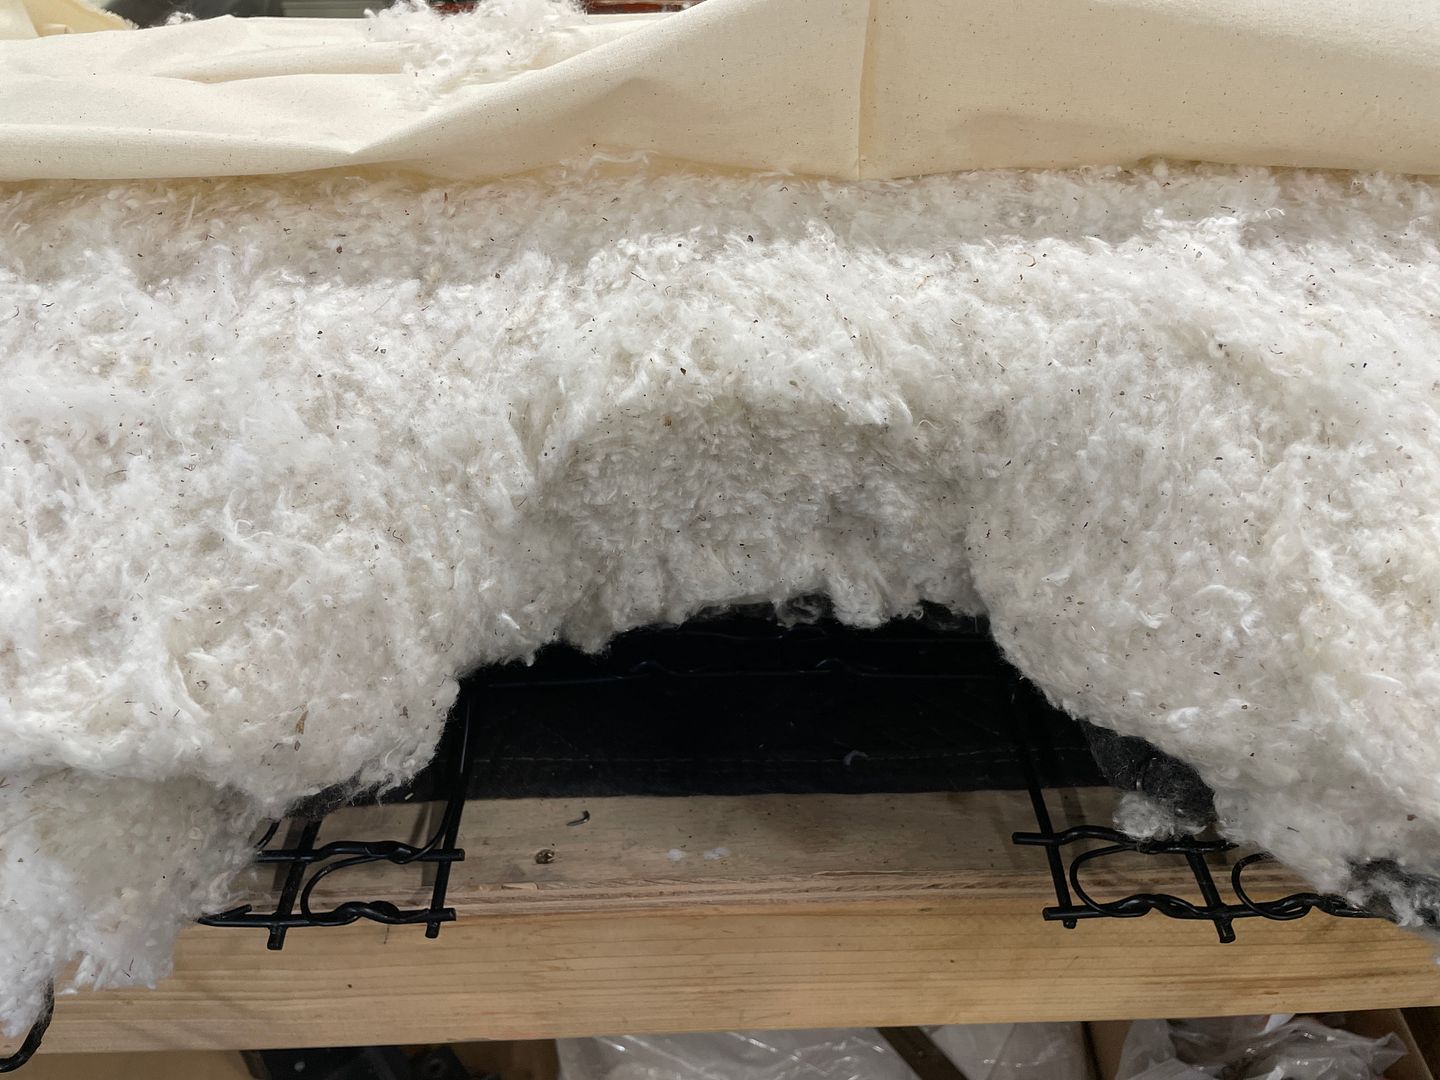
I laid the muslin cloth over the cotton and trimmed it to shape with about a3-4” overlap. This can be trimmed as you go so having a little bit of excess is okay.
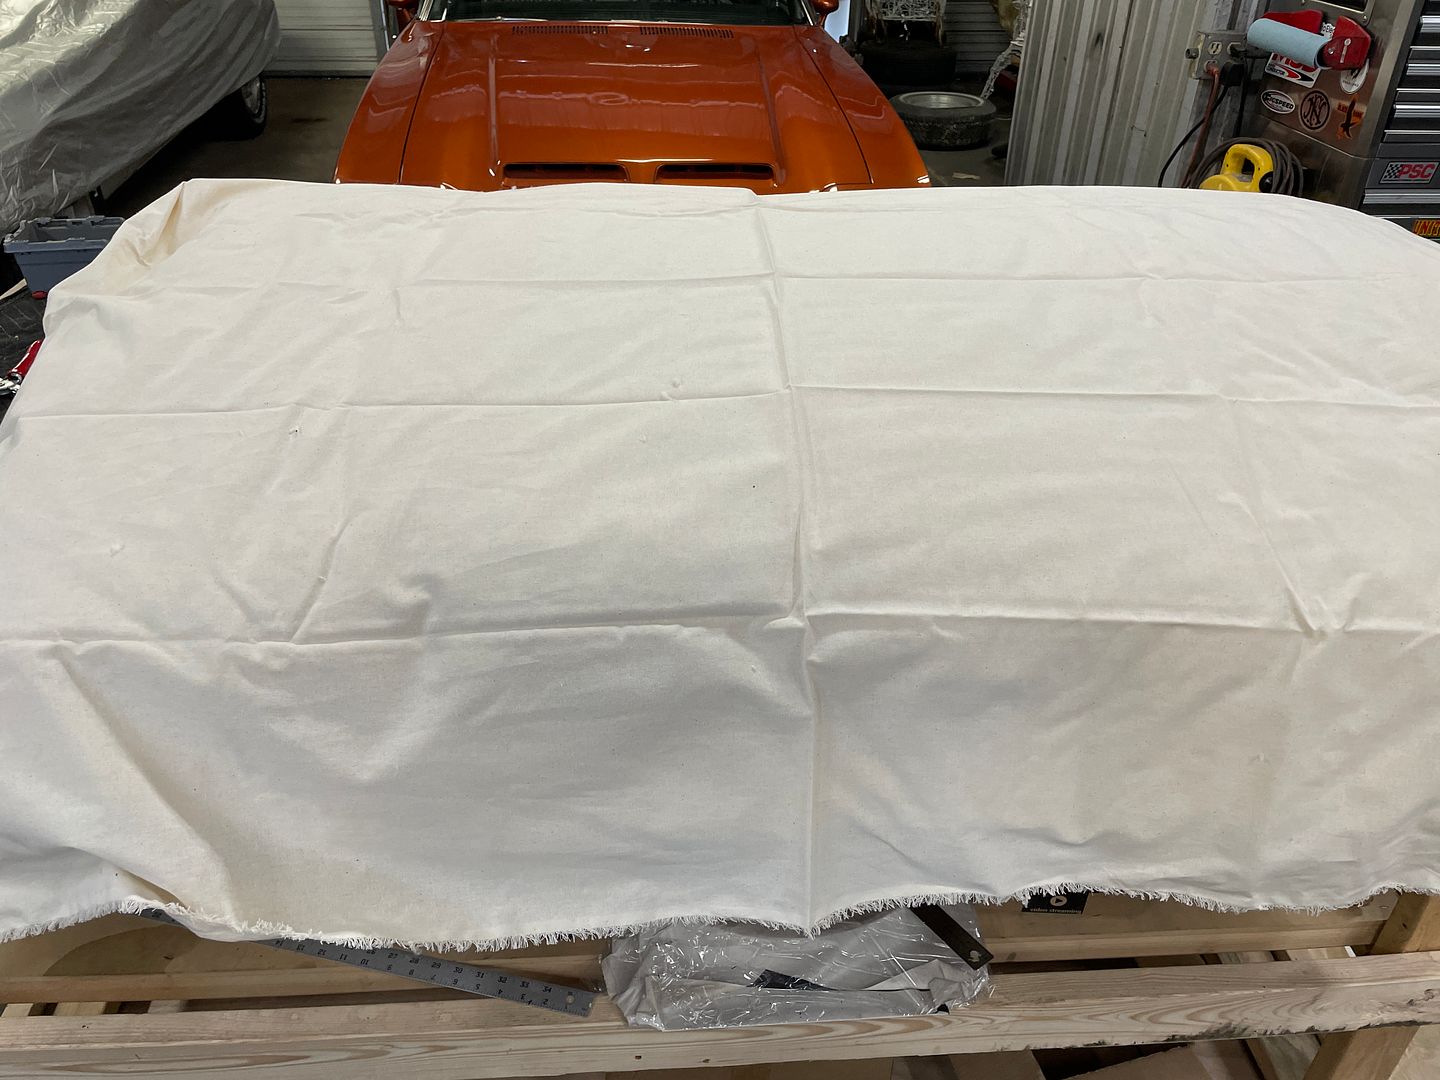
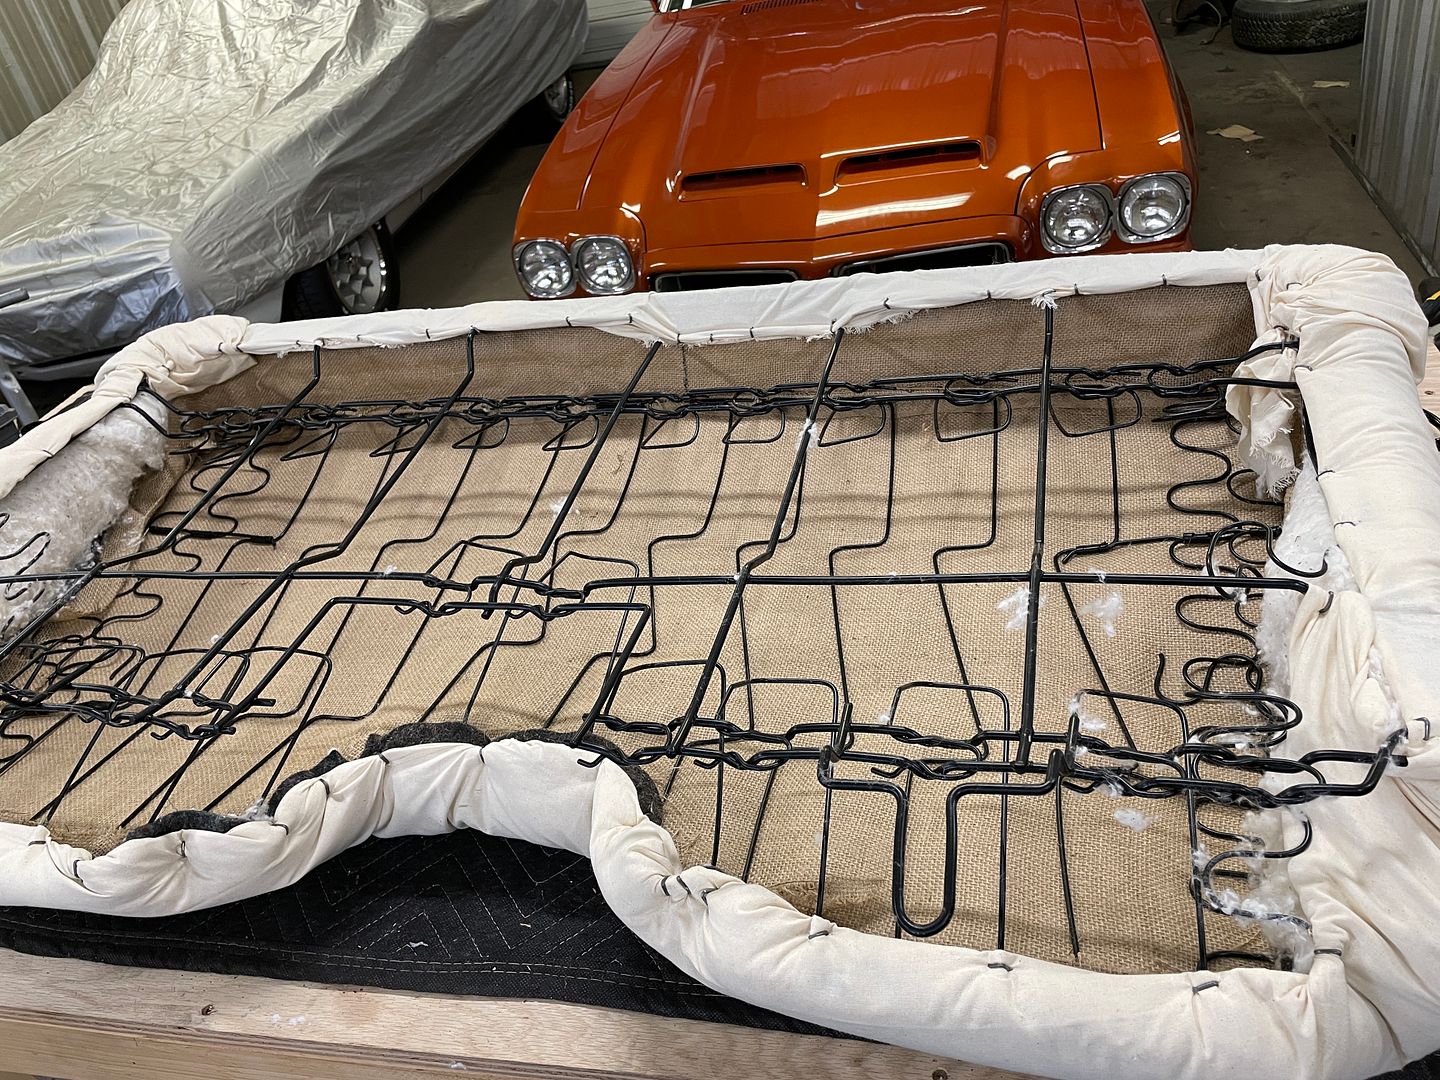
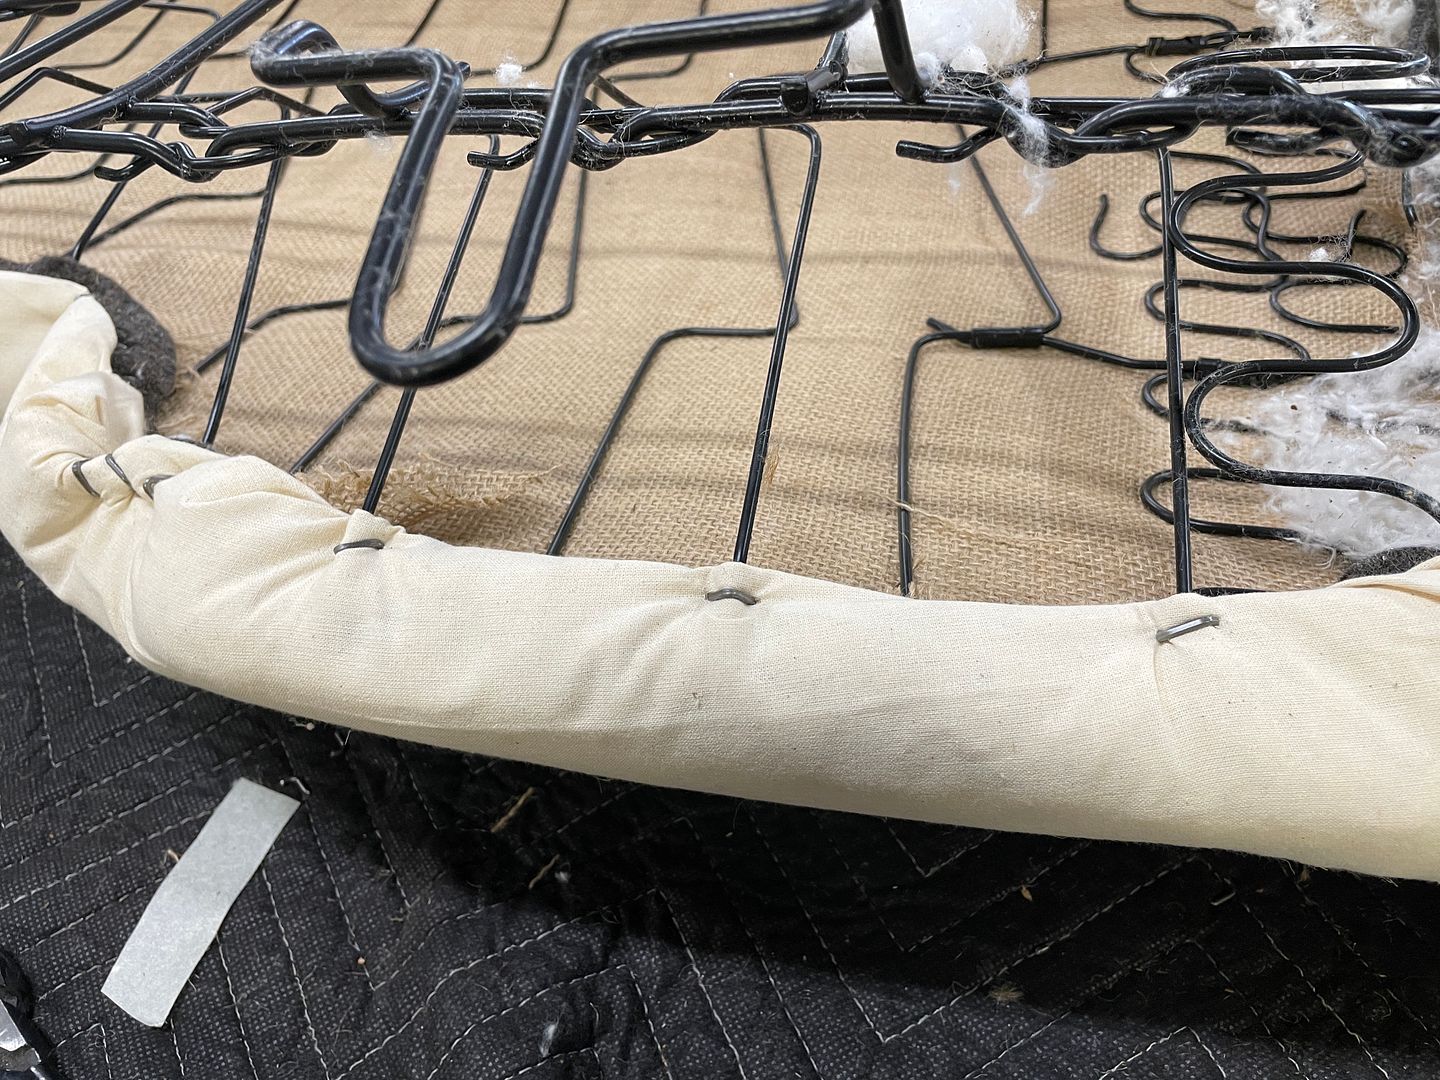
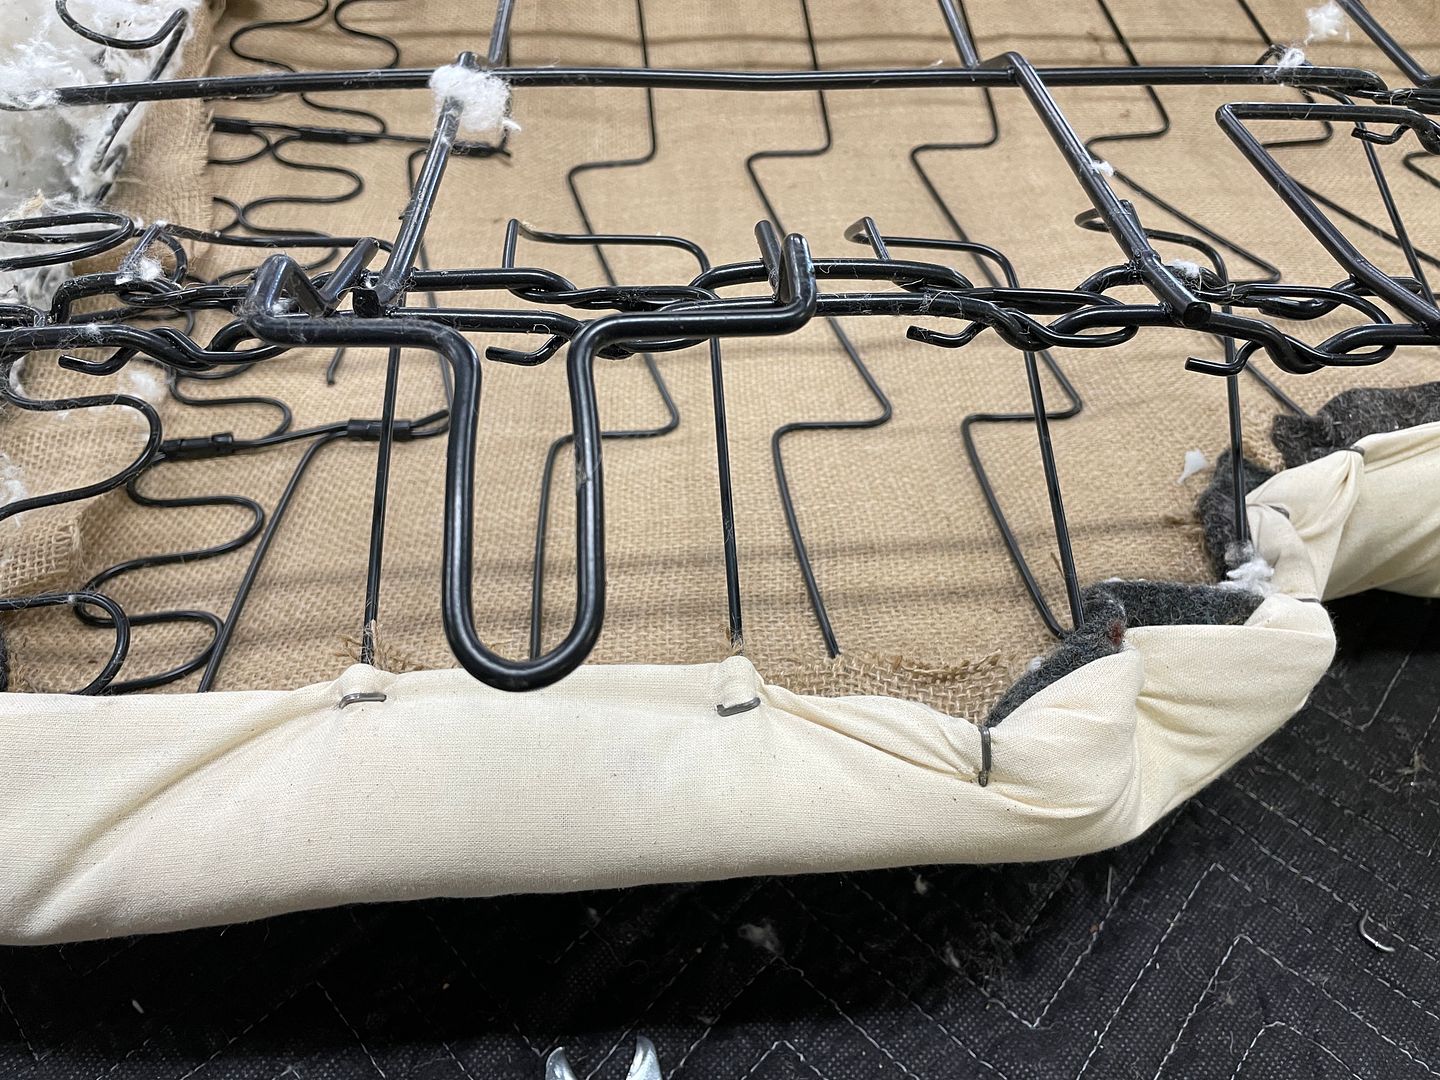
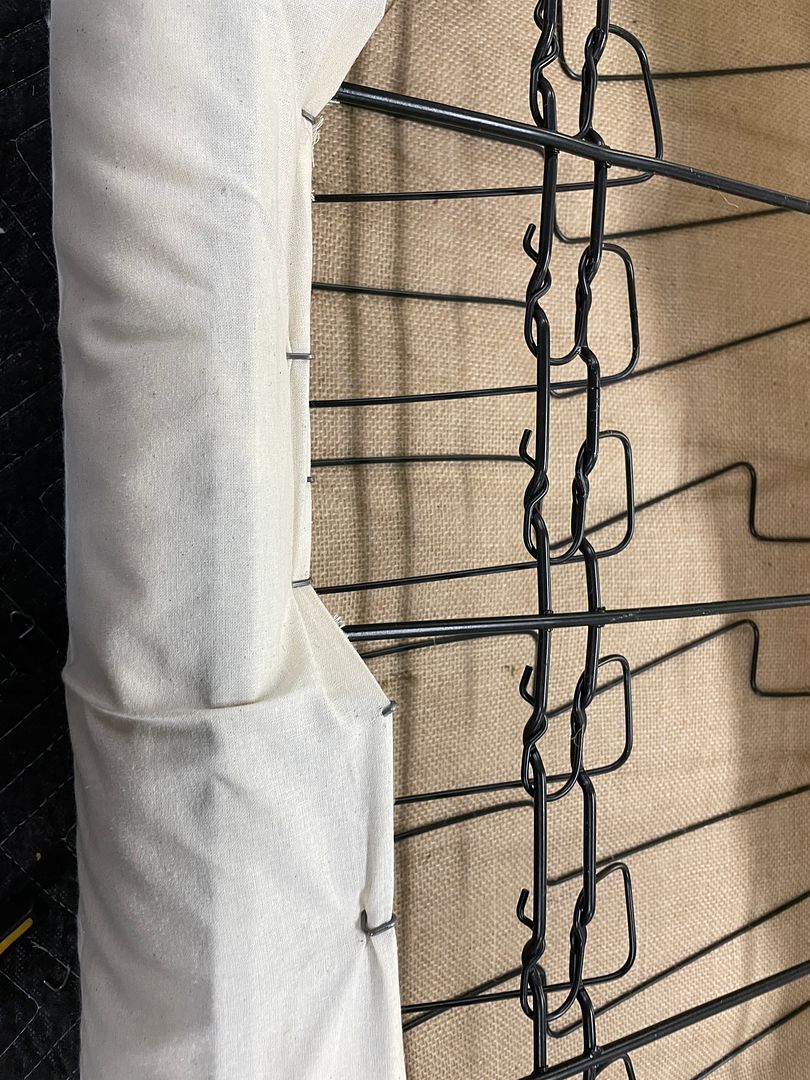

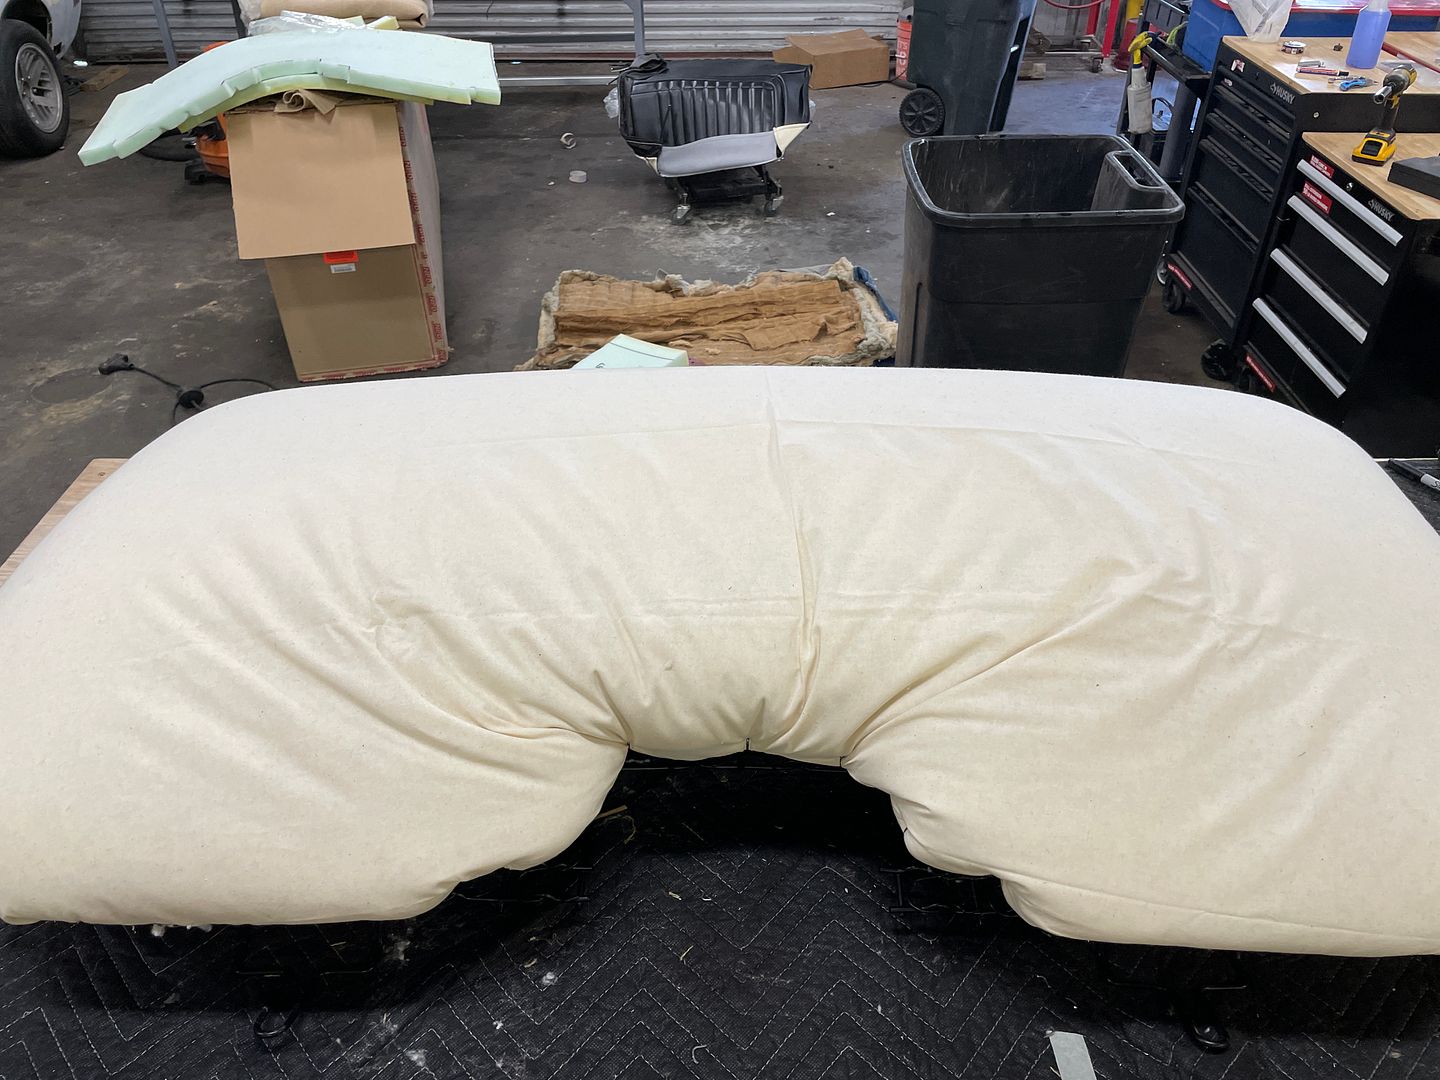
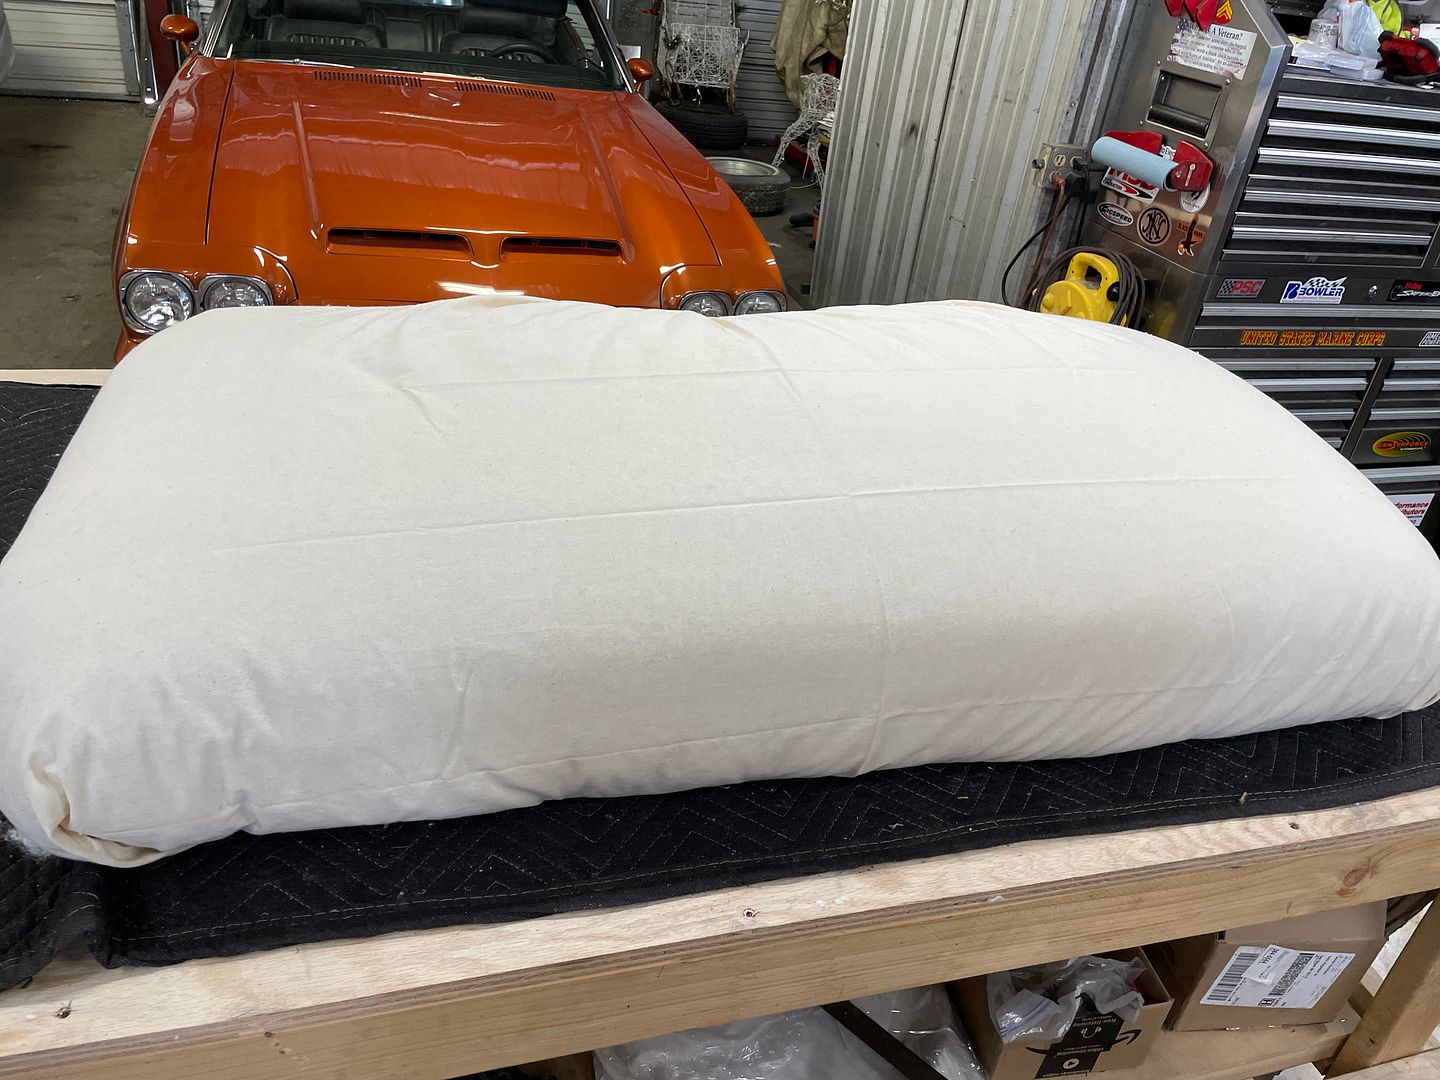
I placed and centered the seat cover and began working it around the sides to getting it positioned on the frame. Spraying silicon spray on the muslin does make it a bit easier process. It does take some grunting to stretch the cover over the frame. Shifting around the frame will keep it centered. Also compressing down on the springs really helps also.
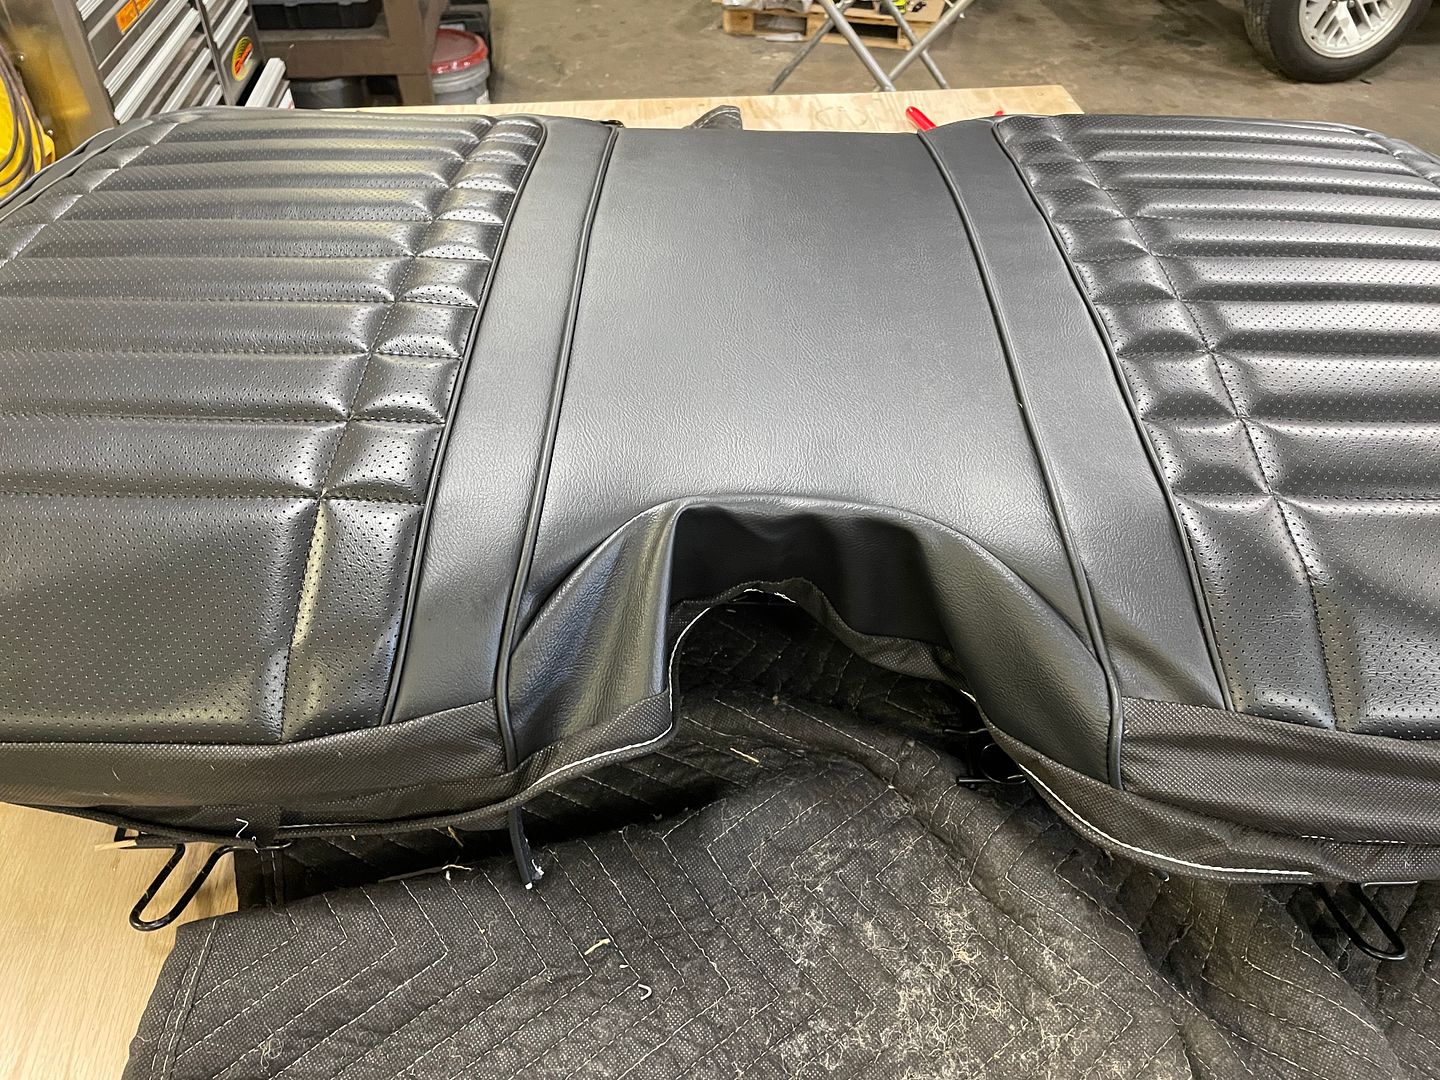
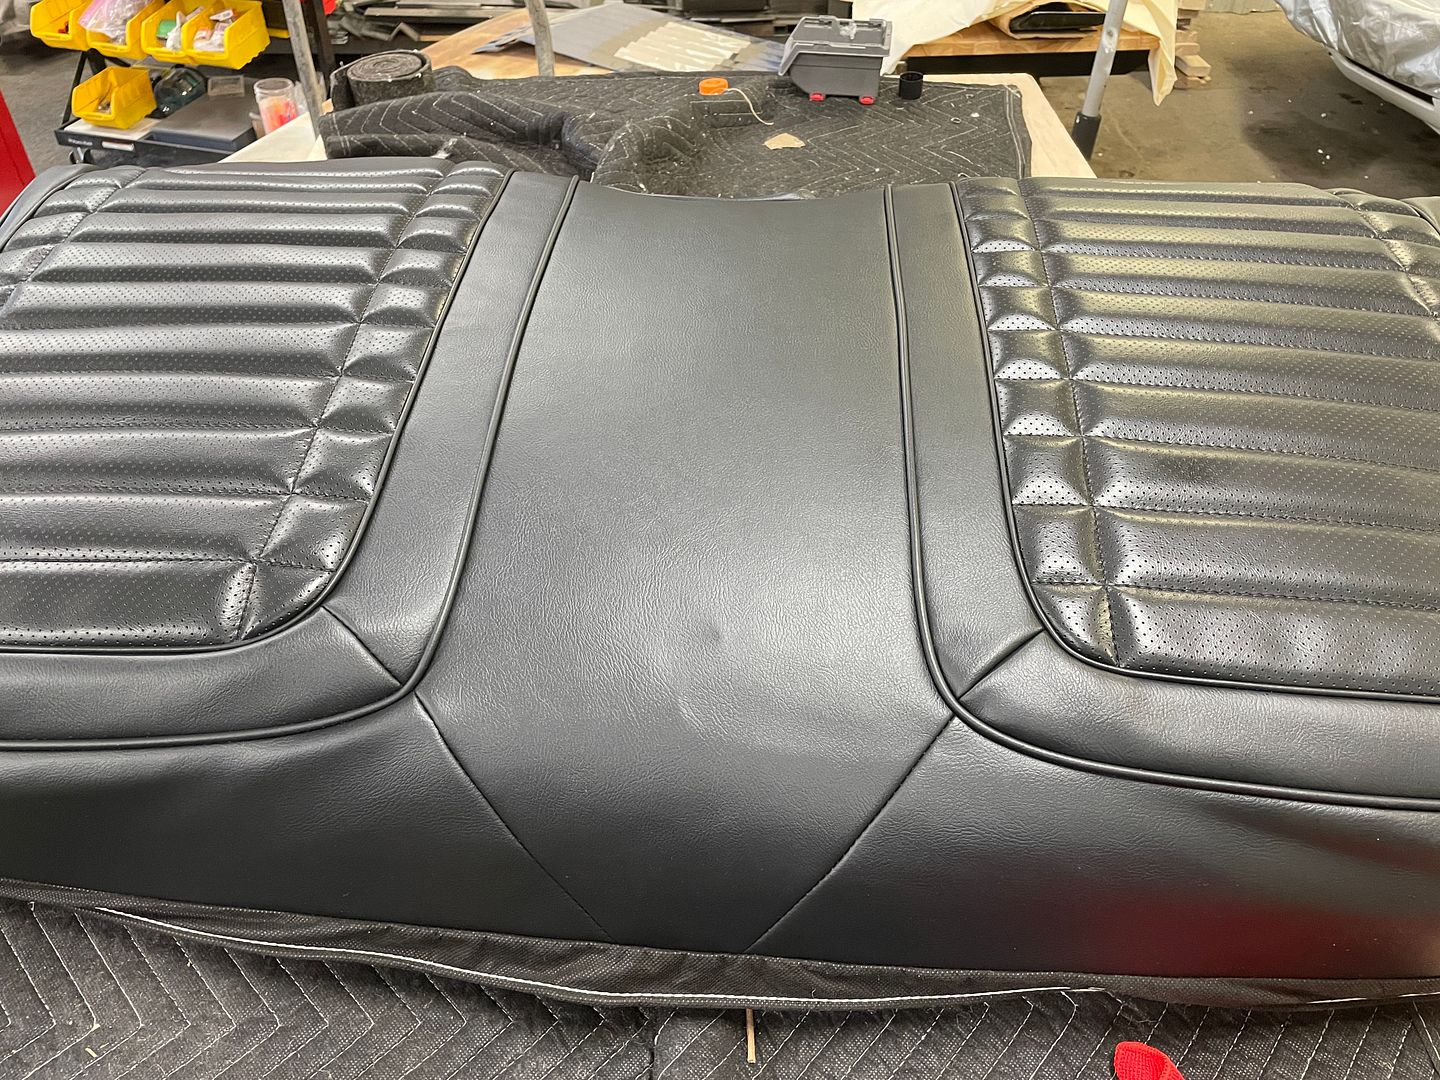
It takes a little bit of work, but patience pays off. The end results:
